View the relisted Item
Car Headlight Lens Restoration DIY System Professional Restorer
Check my rate
| Main centres: | 1-3 business days |
| Regional areas: | 3-4 business days |
| Remote areas: | 3-5 business days |
Product information
Description
Car Headlight Lens Restoration DIY System Professional
Restorer Polishing Kit
Product Features
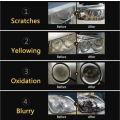
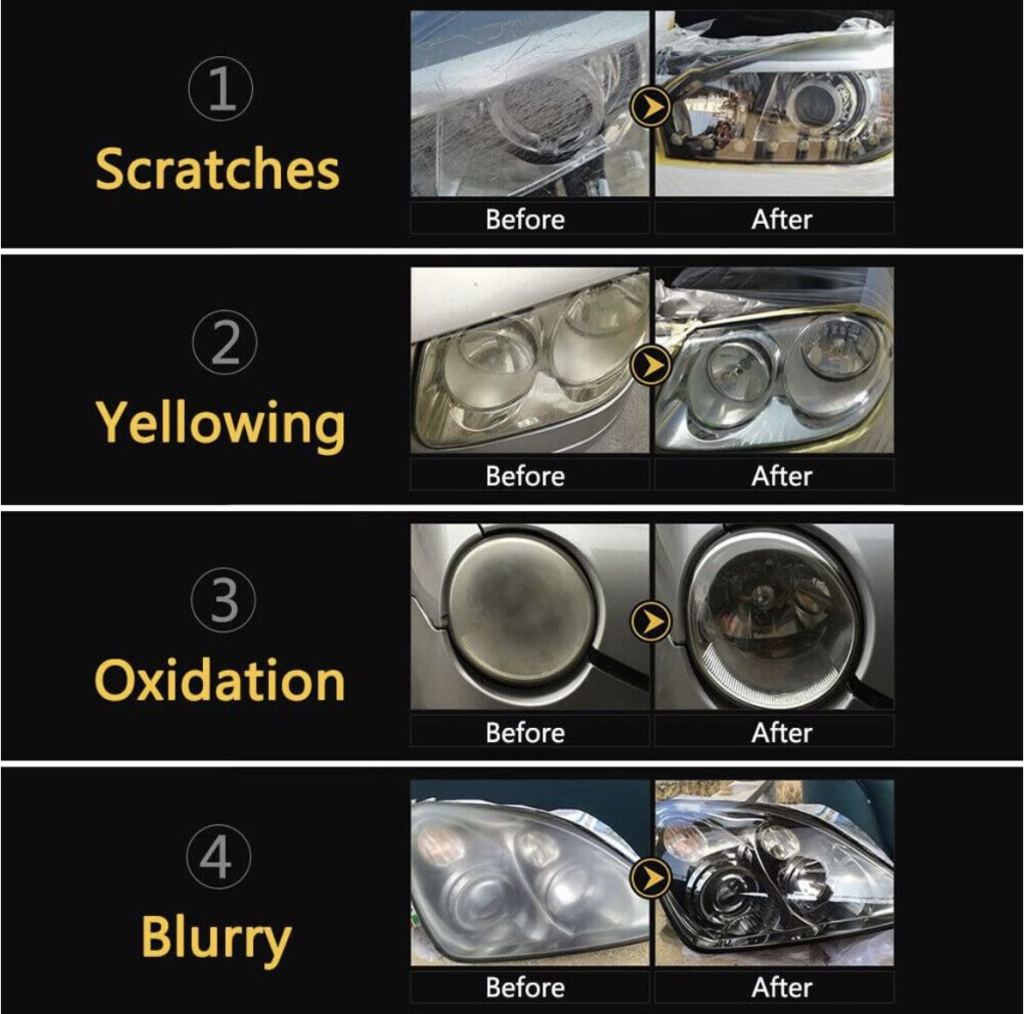
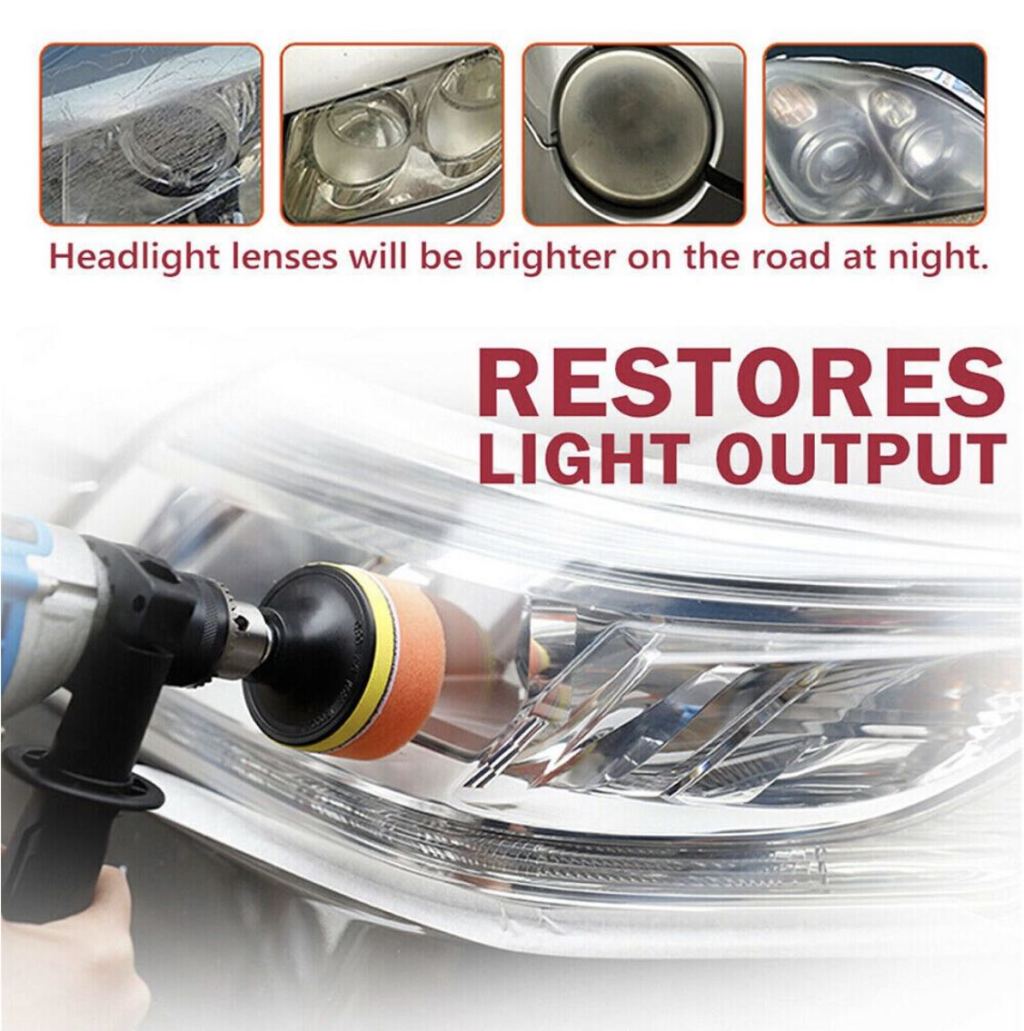
Plastic headlight lenses can yellow with age, reducing headlight brightness, and new headlight lenses can be expensive.
The Headlight Lens Restoration Kit lets you shine and restore plastic lenses, including headlights, taillights, fog and directional lights.
By restoring clarity to the lens, the performance of the headlight is improved and the appearance of the vehicle is enhanced
Now you can produce professional results with the Headlight Lens Restoration Kit.
Kit includes all items necessary to perform the task.
Features:
Helps restore the clear plastic by removing haze and discoloration
Provides a deep clean to the yellowed, hazed headlights with the use of a specially designed polish and sealant
Improves visibility and safety
One kit is intended to restore two headlight lenses.
This inexpensive kit saves hundreds of dollars and restores crucial night time visibility by restoring your own lenses.
Easy, 5-step process requires as little as an hour to remove scratches and restore cloudy, dull lenses.
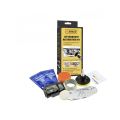
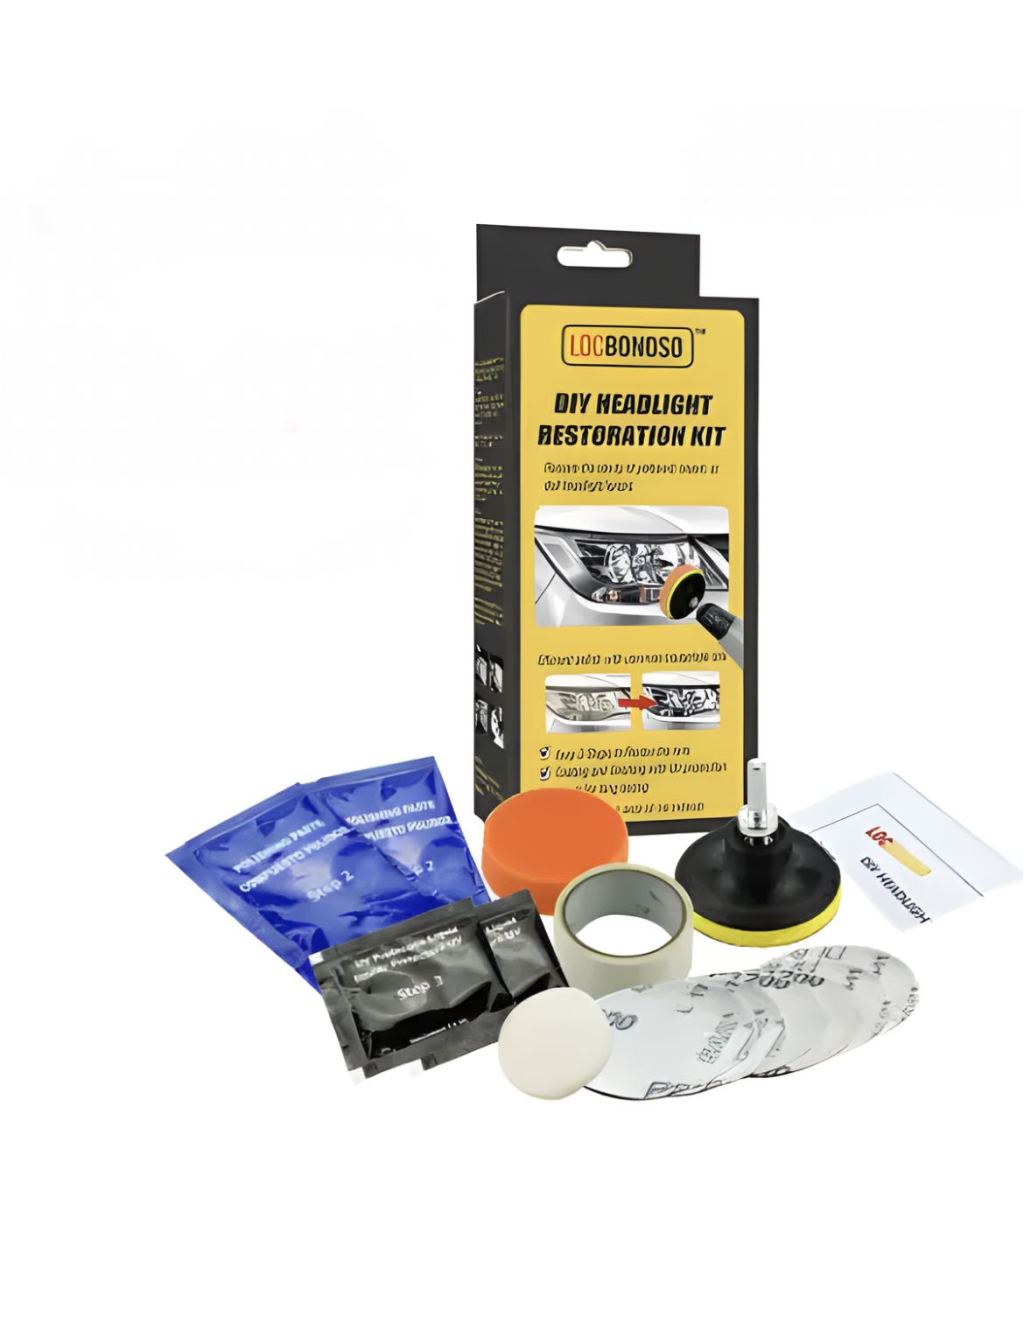
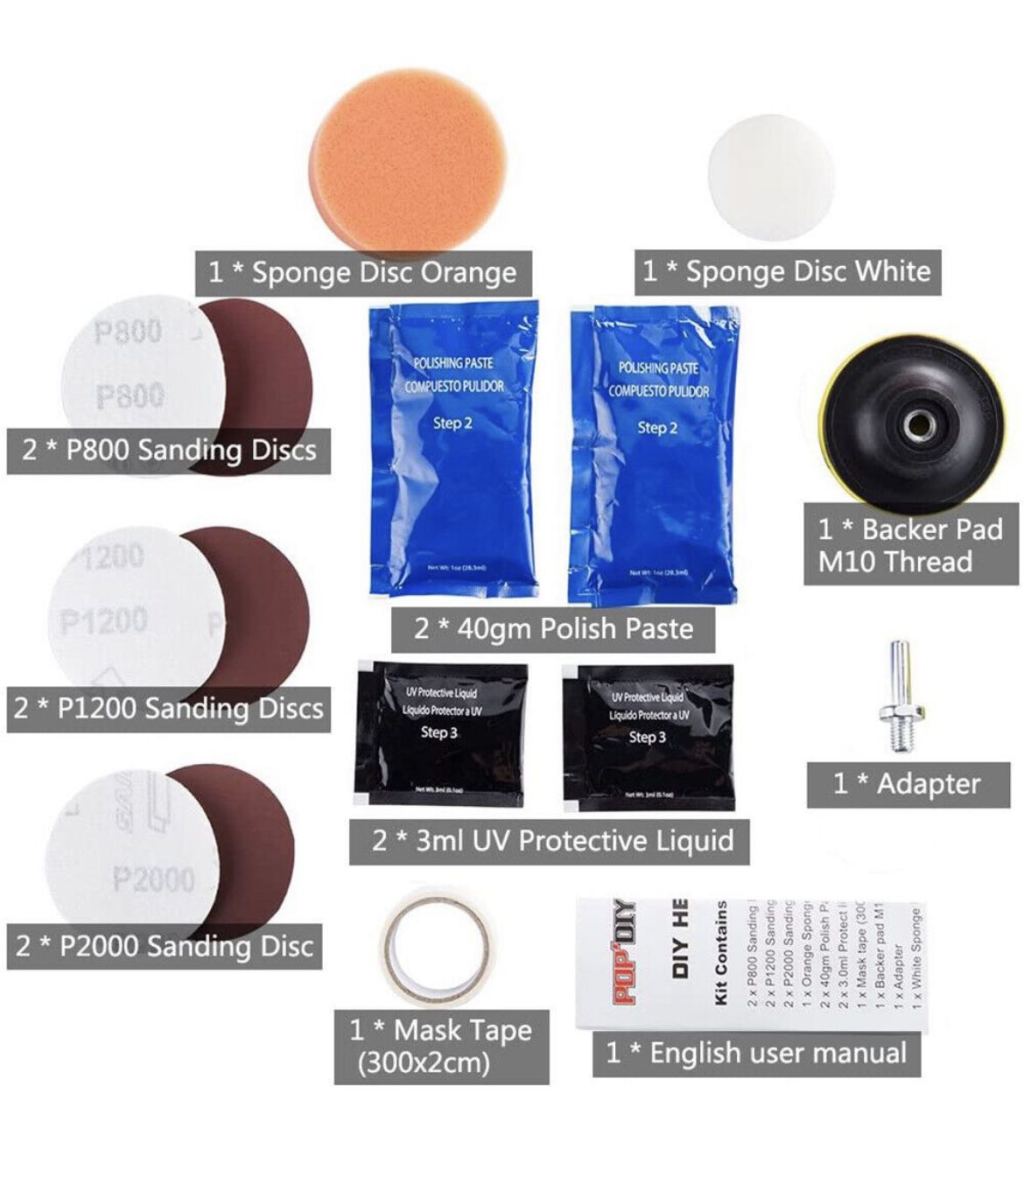
The Kit Contains:
1x Backer Pad M10 Thread+Adapter
1x Masking tape
1x Sponge Disc Orange
1x Sponge Disc White
2x Waterproof Premium Sandpaper P800 grit
2x Waterproof Premium Sandpaper P1200 grit
2x Waterproof Premium Sandpaper P2000 grit
2x Polishing Paste 40g
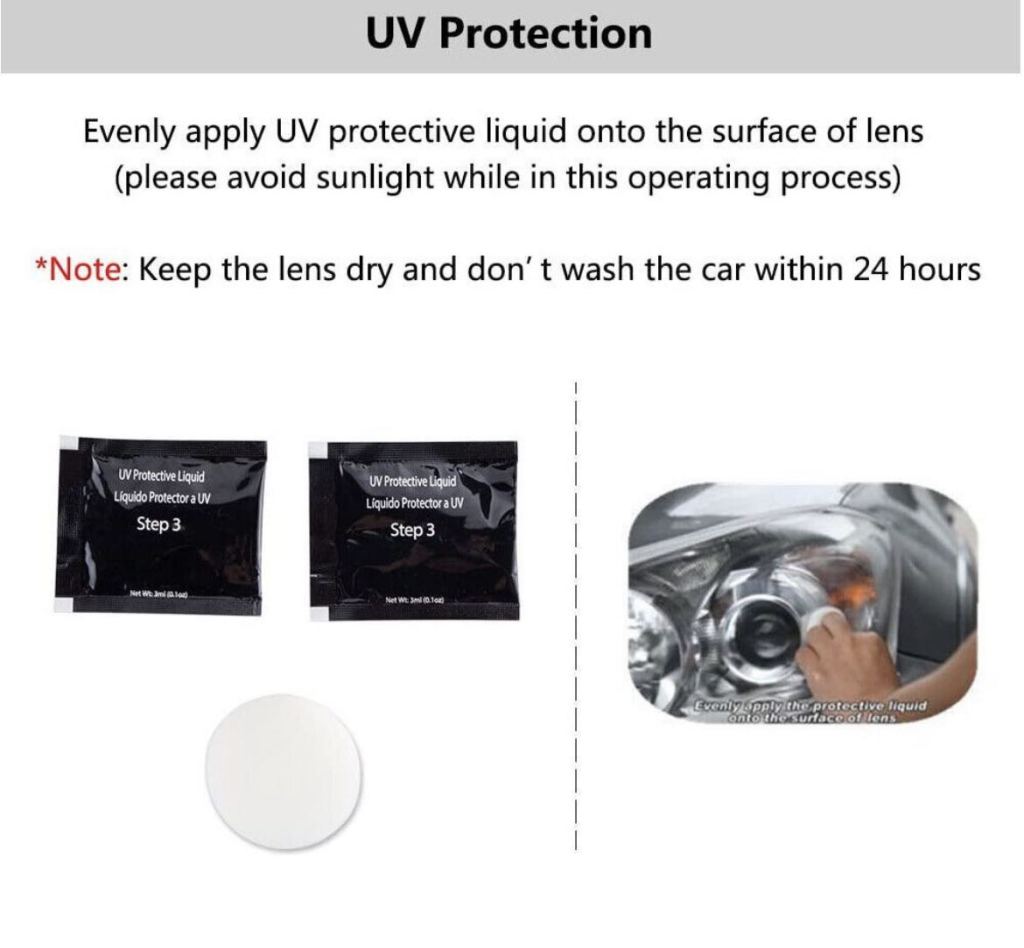
2x UV Protective Paste 3ml
1x Instruction Manual
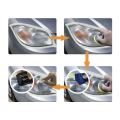
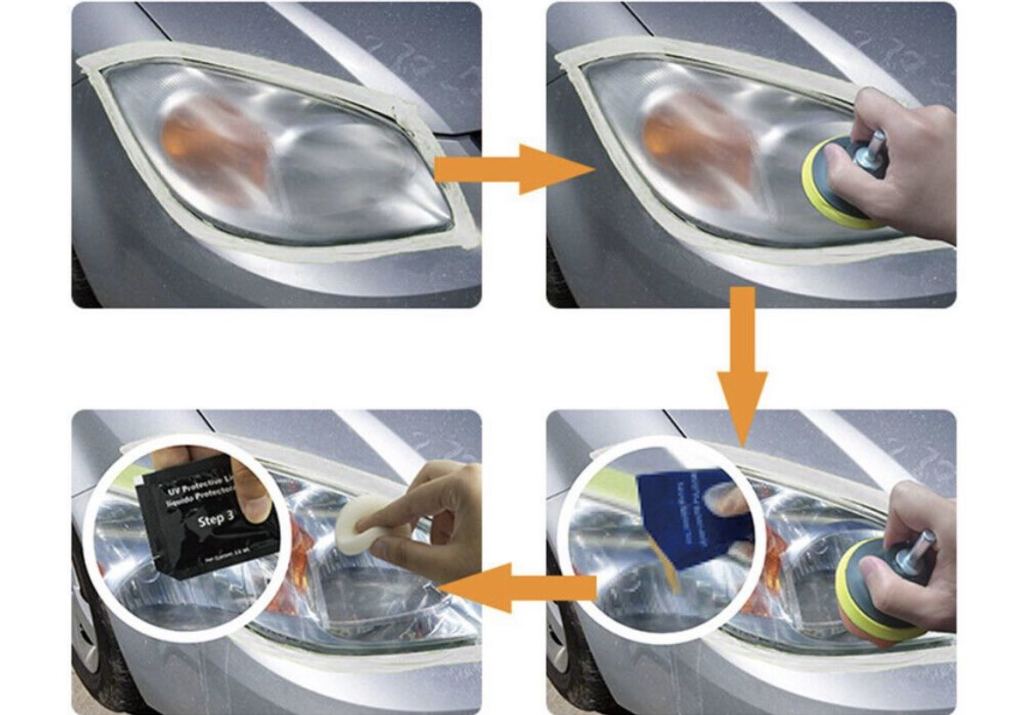
Process:
Mask
After cleaning the lens with water, protect the trim and painted surfaces around the headlight lens with masking tape.
Sand
Use a grinding tool (NOT INCLUDED) to mount the disc. Use the three grits (P800,P1200,P2000) to sand away the yellowing blurred surface defects from lens.
Replace with a new sanding disc if needed and continue sanding until the yellow layer is completely removed.
Spray water on the surface continuously if the headlight becomes dry while sanding.
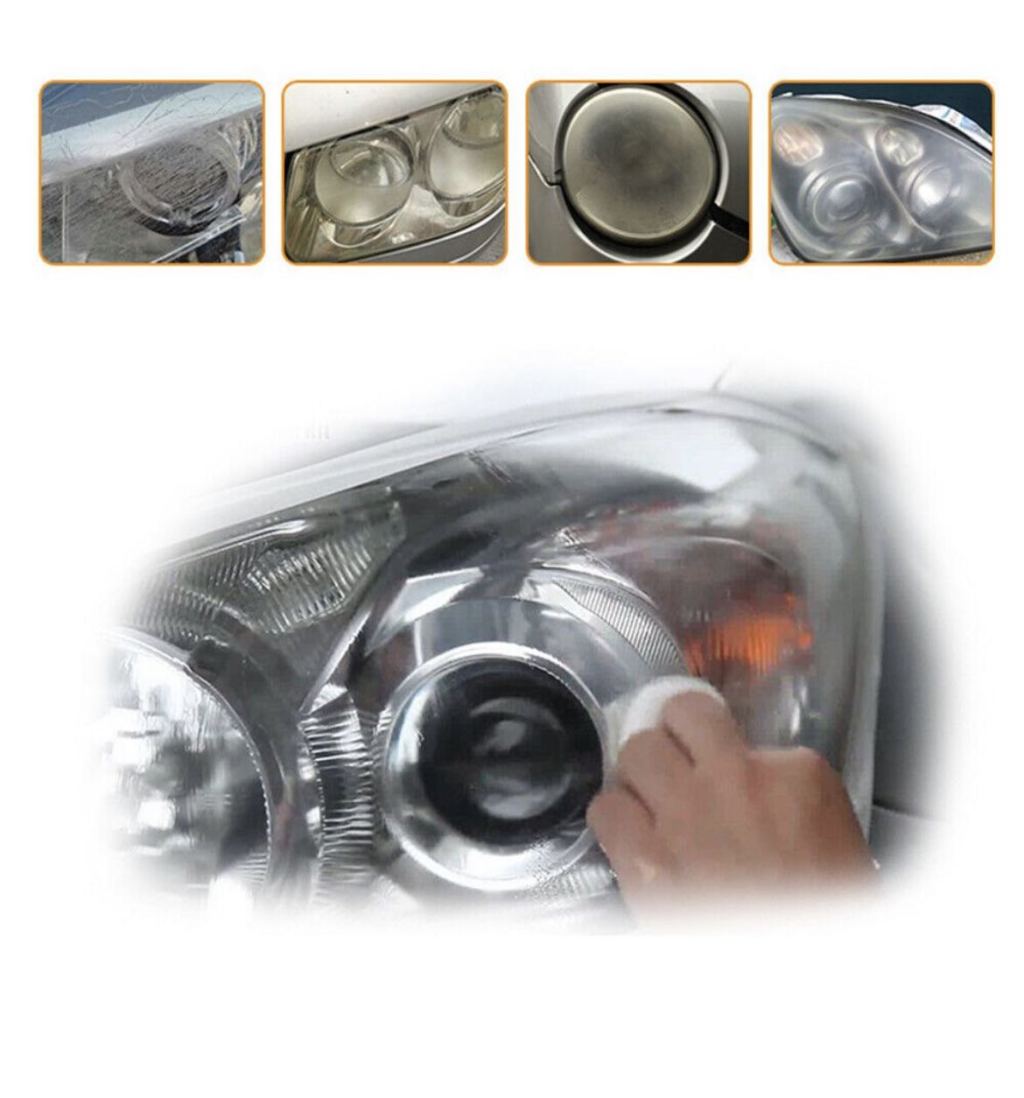
Refine
Dispense some polishing paste (STEP 2) onto the orange sponge to polish out the remaining scratches. When the sponge becomes dry, continue by adding polishing paste until the scratches have been removed and the lens is clear.
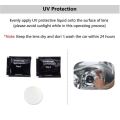
Polish and Protect
Remove the masking tape and wipe the headlight lens using the attached white sponge.
Use the UV Protective Paste (STEP 3) to polish and prevent UV damage.
Product Storage:
Products shall be ideally stored in a cool, dry location in unopened containers at a temperature between 8-28 degree c ( 46 to 82F) unless otherwise labeled.
IMPORTANT NOTICE - This KIT can be used manually by shining by hand. However it is recommended to use a power drill or Dremel type tool to achieve the best results. All power tools are NOT INCLUDED.
What's in the box
1x Backer Pad M10 Thread+Adapter
1x Masking tape
1x Sponge Disc Orange
1x Sponge Disc White
2x Waterproof Premium Sandpaper P800 grit
2x Waterproof Premium Sandpaper P1200 grit
2x Waterproof Premium Sandpaper P2000 grit
2x Polishing Paste 40g
2x UV Protective Paste 3ml
1x Instruction Manual