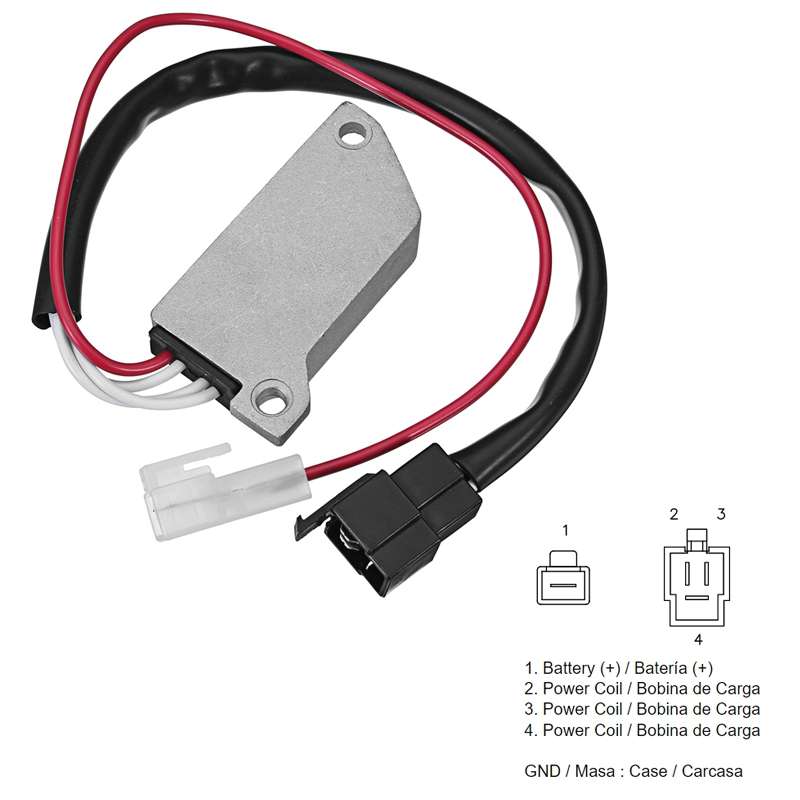
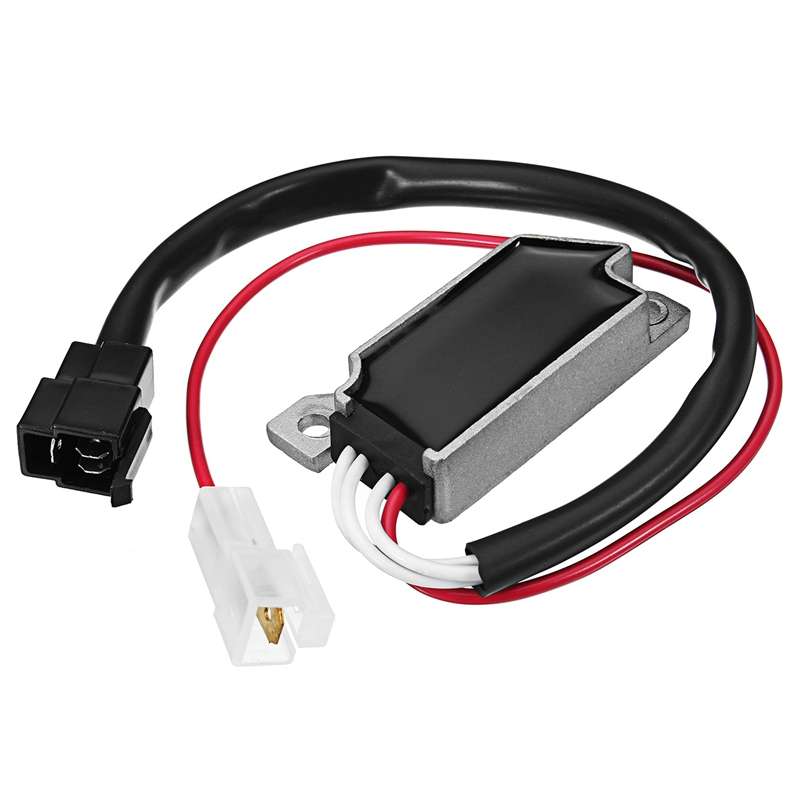
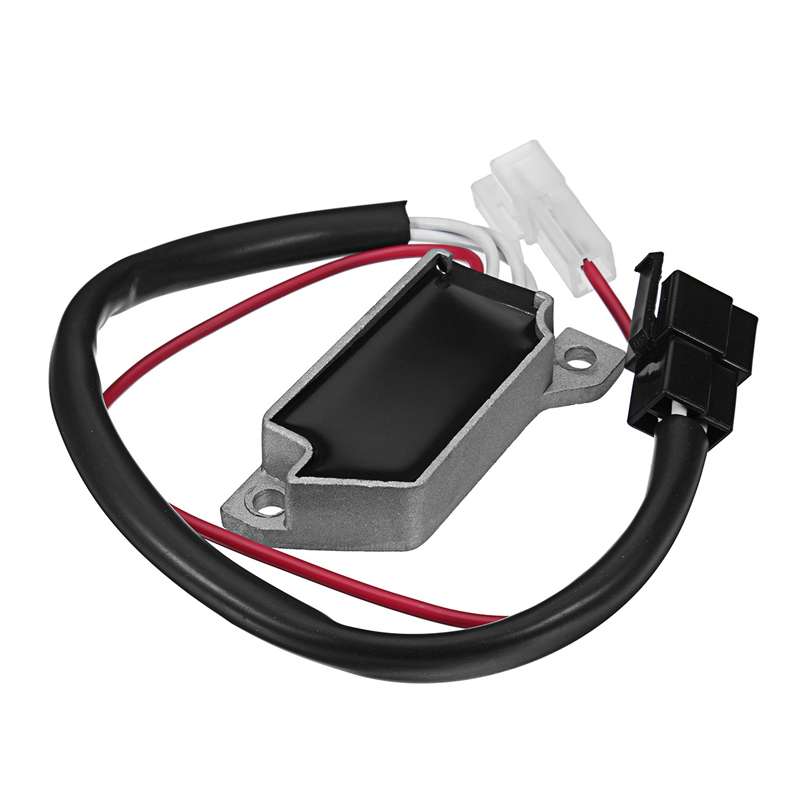
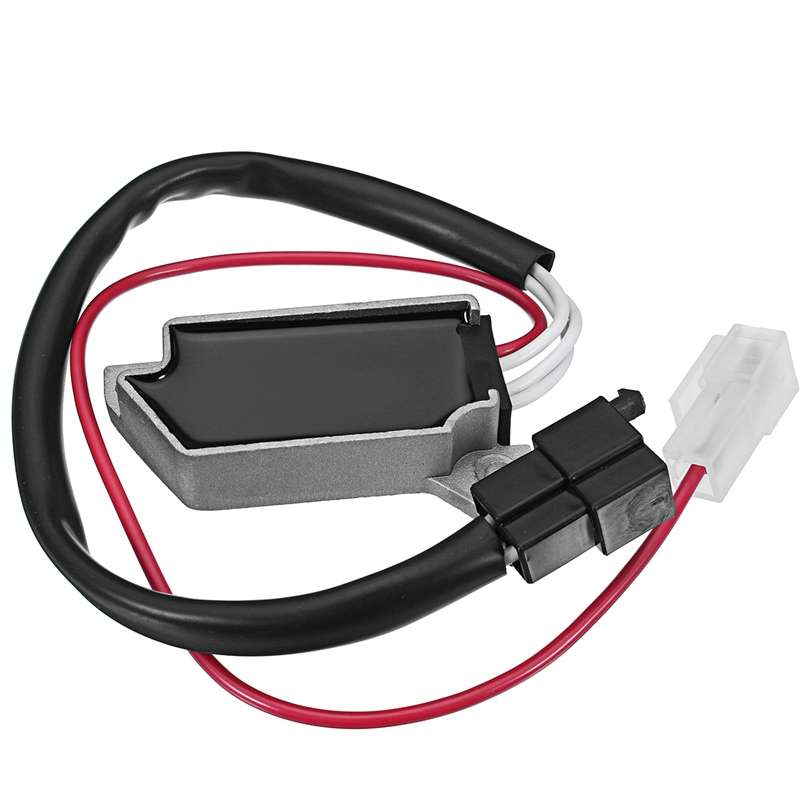
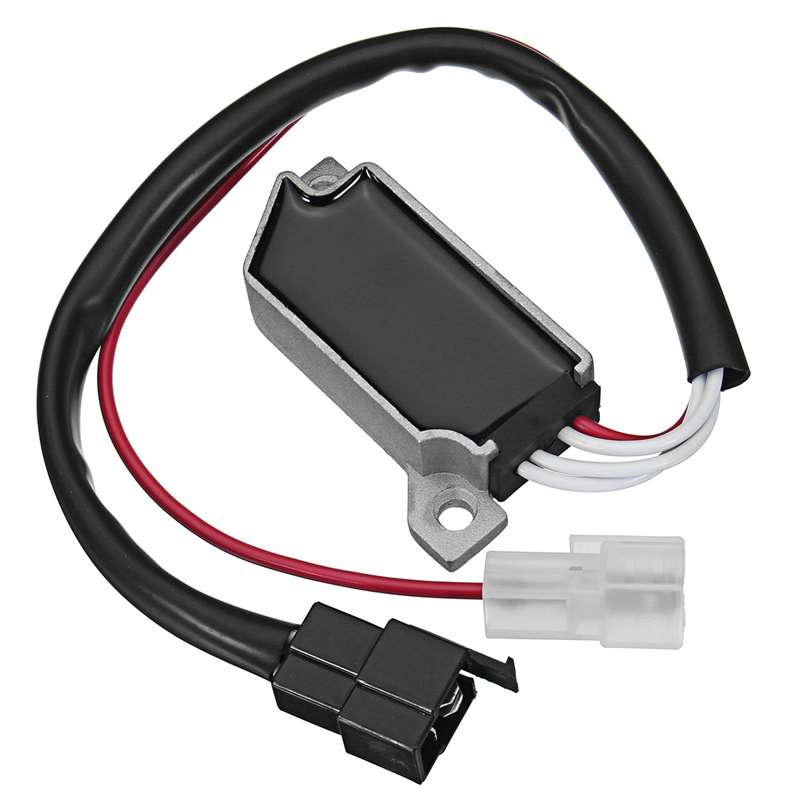
2008.0 Motorcycle Rectifier For Yamaha XV400 VIRAGO 3JB XV1100 2008.0 Motorcycle Rectifier For Yamaha XV400 VIRAGO 3JB XV1100 2008.0 Motorcycle Rectifier For Yamaha XV400 VIRAGO 3JB XV1100 2008.0 Motorcycle Rectifier For Yamaha XV400 VIRAGO 3JB XV1100 2008.0 Motorcycle Rectifier For Yamaha XV400 VIRAGO 3JB XV1100 2008.0 Motorcycle Rectifier For Yamaha XV400 VIRAGO 3JB XV1100
2008.0 Motorcycle Rectifier For Yamaha XV400 VIRAGO 3JB XV1100 2008.0 Motorcycle Rectifier For Yamaha XV400 VIRAGO 3JB XV1100 2008.0 Motorcycle Rectifier For Yamaha XV400 VIRAGO 3JB XV1100 2008.0 Motorcycle Rectifier For Yamaha XV400 VIRAGO 3JB XV1100
2008.0 Motorcycle Rectifier For Yamaha XV400 VIRAGO 3JB XV1100
+2

2008.0 Motorcycle Rectifier For Yamaha XV400 VIRAGO 3JB XV1100

10 available / new
R474.00
Shipping
R35.00 Standard shipping using one of our trusted couriers applies to most areas in South Africa. Some areas may attract a R30.00 surcharge. This will be calculated at checkout if applicable.
Check my rate
The seller has indicated that they will usually have this item ready to ship within 15 business days. Shipping time depends on your delivery address. The most accurate delivery time will be calculated at checkout, but in general, the following shipping times apply:
 
Standard Delivery
Main centres:  1-3 business days
Regional areas: 3-4 business days
Remote areas: 3-5 business days
Seller
Buyer protection
Get it now, pay later

Product details

Condition
New
Location
International
Product code
10355704
Bob Shop ID
642822593

2008.0 Motorcycle Rectifier For Yamaha XV400 VIRAGO 3JB XV1100


TBD05499340

1. Weight: 120G
2. Output voltage: 14.5V
3. Output current: 35A
4. Wire length: 35CM

Applicable models:
For Yamaha VMX V-max 1200 1985 1995 42X-81960-A1-00
For Yamaha XV Virago 750 1988 1996 42X-81960-A1-00
For Yamaha XV Virago 1000 1984 1985 42X-81960-A1-00
For Yamaha XV Virago 1100 1986 1996 42X-81960-A1-00
For Yamaha XV Virago 535 1987 1996 42X-81960-A1-00
For Yamaha XV Virago 700 1984 1987 42X-81960-A1-00

Installation Precautions:
1. The rectifier should be installed in a location with good ventilation and good heat dissipation. High temperature will be generated when the rectifier is working, and poor heat dissipation will damage the rectifier
2. The installation steps of the rectifier are to connect the AC input line, the positive and negative output are not connected, start the locomotive, measure the positive and negative output voltage, and when the voltage range is reasonable, plug in the positive and negative wires, and then test the positive and negative of the battery or rectifier If the voltage range is unreasonable, stop using it and give feedback. The entire installation process should be recorded and saved.
3. Note that the rectifier should be closely attached to the frame when installing it, which is good for heat conduction. You can also add thermally conductive glue between the rectifier and the frame
4. No other wires should be pressed between the rectifier and the frame
5. There should be a fuse fuse between the positive outlet of the rectifier and the battery to prevent the rectifier from being damaged when the voltage is too large and other electrical components will be burned.
Add to cart

Recently viewed

See more
Caravan Park Plug Adaptor - 220 Volt - 16 Amp
R388.00
50% OFF
For Huawei Nova Y91 Original Speaker Ringer Buzzer
R158.00 R316.00
***Fsu 4 80w Fluorescent Starter Qty 2 X Co63 (Re304)
R8.04
Crowded House (CD) Woodface
R55.00

Similar products

Honda VFR750R - 1/12 Scale (Tamiya)(TAM14057)(ON0125)
R475.00
DUCATI DIE CAST SUPERSPORT 900 FINAL EDITION
R125.00
Clementoni Mechanics Yamaha Motorbike 20 Model Kit
R1,012.00
BMW R1100 R DIE CAST
R155.00