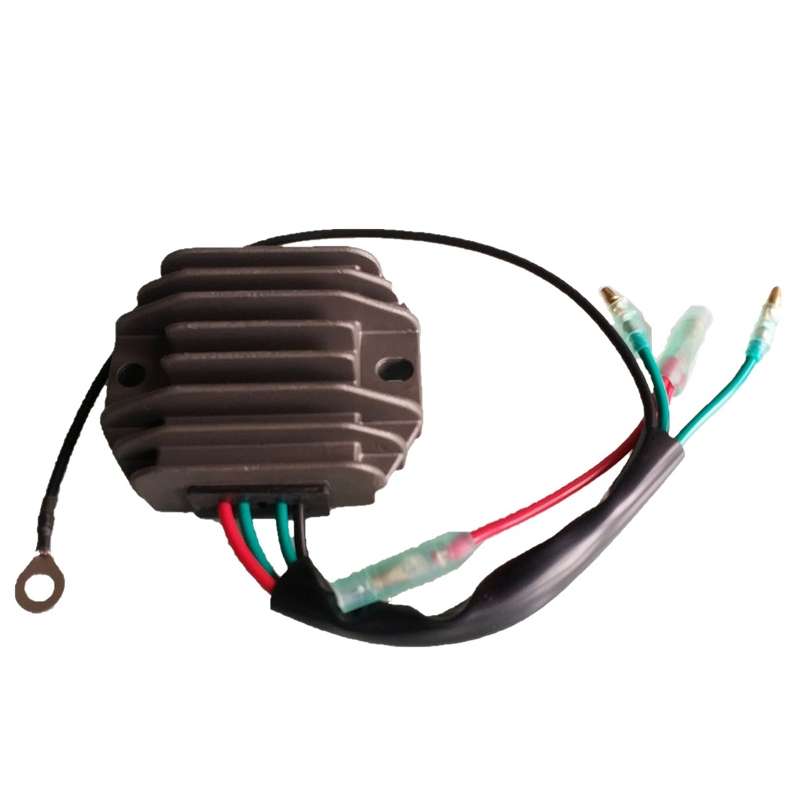
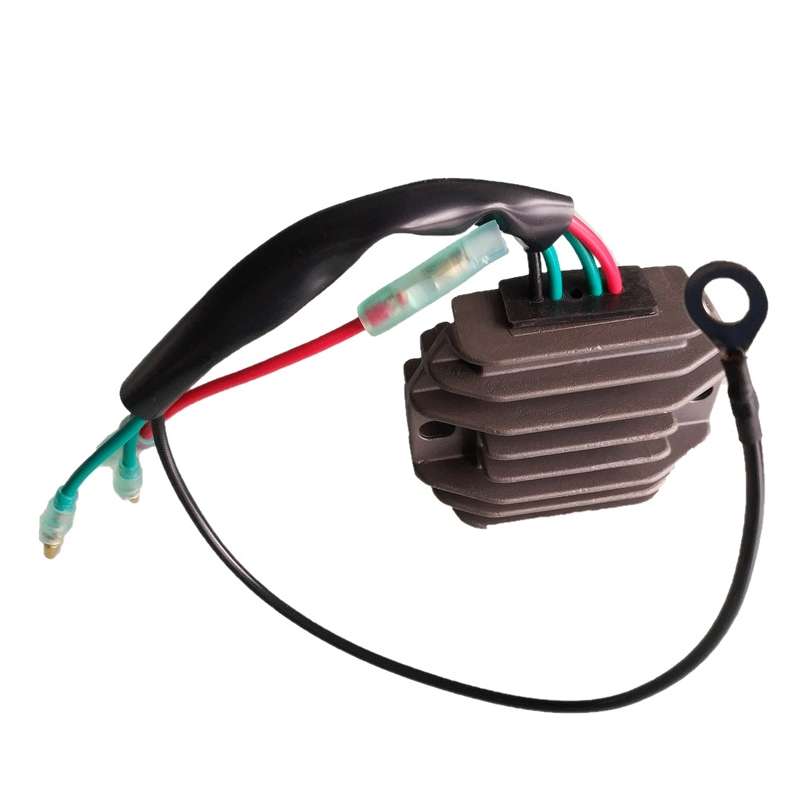
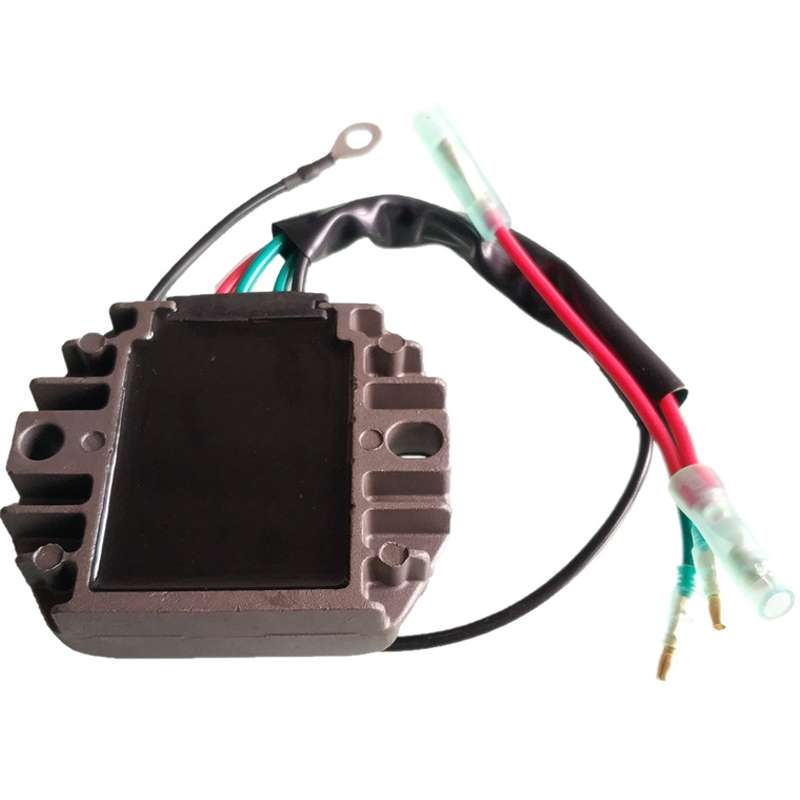
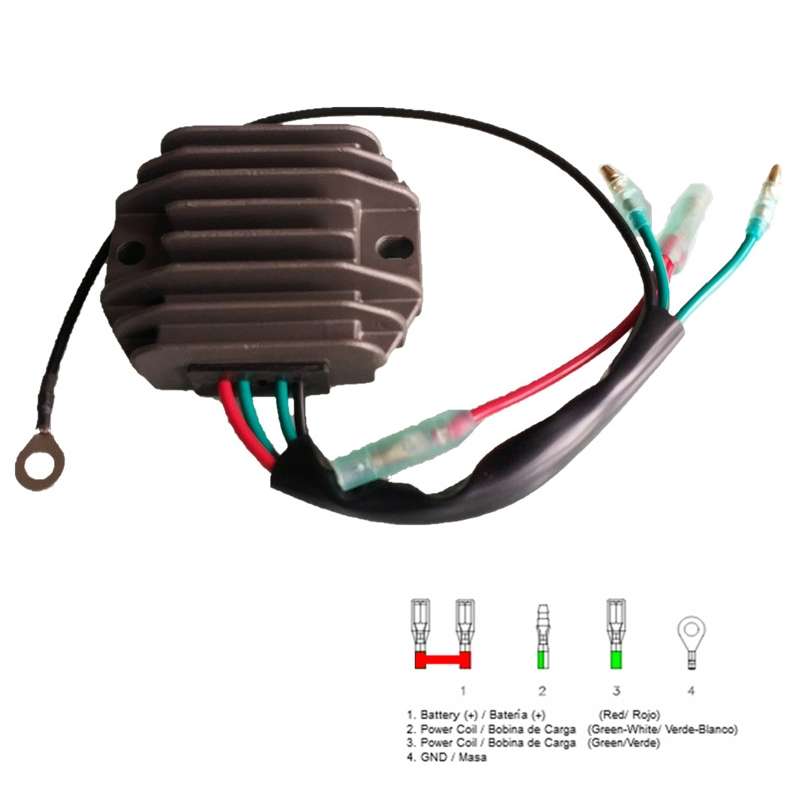
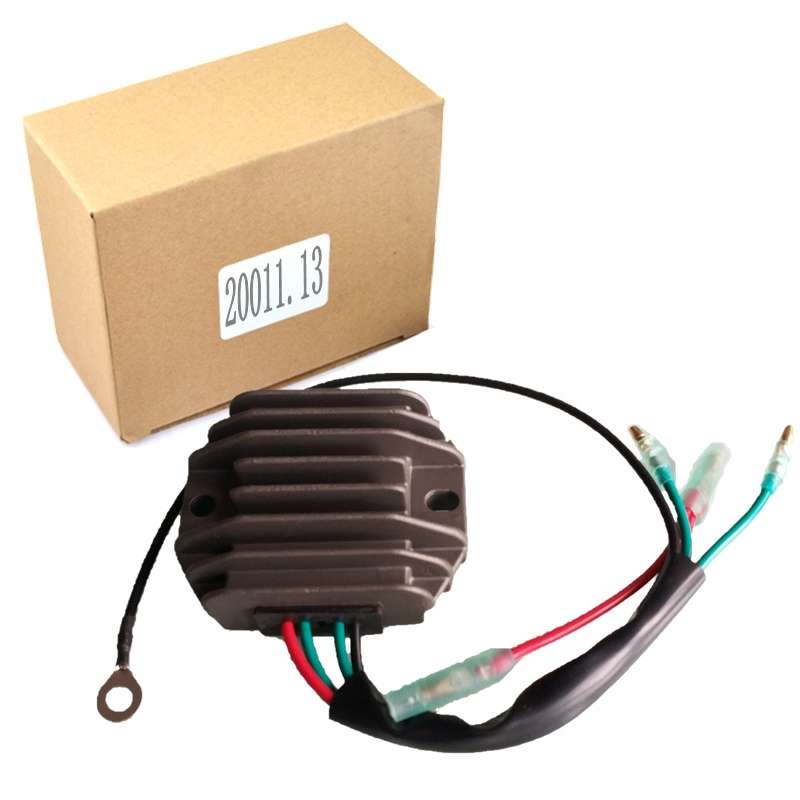
2011.13 Motorcycle Rectifier For YAMAHA 15HP 20HP / SH76314 6ah-81960-00-00 2011.13 Motorcycle Rectifier For YAMAHA 15HP 20HP / SH76314 6ah-81960-00-00 2011.13 Motorcycle Rectifier For YAMAHA 15HP 20HP / SH76314 6ah-81960-00-00 2011.13 Motorcycle Rectifier For YAMAHA 15HP 20HP / SH76314 6ah-81960-00-00 2011.13 Motorcycle Rectifier For YAMAHA 15HP 20HP / SH76314 6ah-81960-00-00

2011.13 Motorcycle Rectifier For YAMAHA 15HP 20HP / SH76314 6ah-81960-00-00

10 available / new
R574.00
Shipping
R35.00 Standard shipping using one of our trusted couriers applies to most areas in South Africa. Some areas may attract a R30.00 surcharge. This will be calculated at checkout if applicable.
Check my rate
The seller has indicated that they will usually have this item ready to ship within 15 business days. Shipping time depends on your delivery address. The most accurate delivery time will be calculated at checkout, but in general, the following shipping times apply:
 
Standard Delivery
Main centres:  1-3 business days
Regional areas: 3-4 business days
Remote areas: 3-5 business days
Seller
Buyer protection
Get it now, pay later

Product details

Condition
New
Location
International
Product code
10339177
Bob Shop ID
642795297

2011.13 Motorcycle Rectifier For YAMAHA 15HP 20HP / SH76314 6ah-81960-00-00


TBD05503510

1. Weight: 150G
2. Output voltage: 14.5V
3. Output current: 20A
4. Heat dissipation material: aluminum heat dissipation shell

Applicable models:
For SH76314 6ah-81960-00-00 6H0-81960-00
For Yamaha 4 Stroke 15HP 20HP F15 F20 Outboard Engine

Installation precautions:
1. The rectifier should be installed in a location with good ventilation and good heat dissipation. High temperature will be generated when the rectifier is working, and poor heat dissipation will damage the rectifier
2. The installation steps of the rectifier are to connect the AC input line, the positive and negative outputs are not connected, start the locomotive, measure the positive and negative output voltages, and when the voltage range is reasonable, plug in the positive and negative wires, and then test the positive and negative of the battery or rectifier Check whether the voltage at the end is within a reasonable range. If the voltage range is unreasonable, stop using it and give feedback. The entire installation process should be recorded and saved.
3. Note that the rectifier should be closely attached to the frame when installing it, which is good for heat conduction. You can also add thermally conductive glue between the rectifier and the frame
4. No other wires should be pressed between the rectifier and the frame
5. There should be a fuse fuse between the positive outlet of the rectifier and the battery to prevent the overvoltage from burning out other electrical devices when the rectifier is damaged.
Add to cart

Recently viewed

See more
Hole saw bi-metal 98mm
R232.90
Sail Blue Side Pockets Frilled Smocked High Waist Wide Leg Jeans
R649.00
Ruwag Chipboard Screw Yellow Passivated 5x25mm (10)
R9.00
18% OFF
Calcite on Matrix, N'Chwaning II, Northern Cape, South Africa
R165.00 R200.00

Similar products

Motorcycle Emergency Throttle Cable Repair Kit for YAMAHA SUZUKI KAWASAKI HONDA
R357.00
Wheel Cylinder Nissanpulsar,Langley E13, E15 1983-87 (Import), Exa E15T 84-85 (Same As Lpr4252) W...
R238.65
PWK36mm Universal Motorcycle Carburetor Carb Motor Carburetor
R1,077.00
Outboard Water Pump Impeller Repair Service Kit for Johnson / Evinrude 20 25 30 35 hp 393630
R869.00