

| Main centres: | 1-3 business days |
| Regional areas: | 3-4 business days |
| Remote areas: | 3-5 business days |
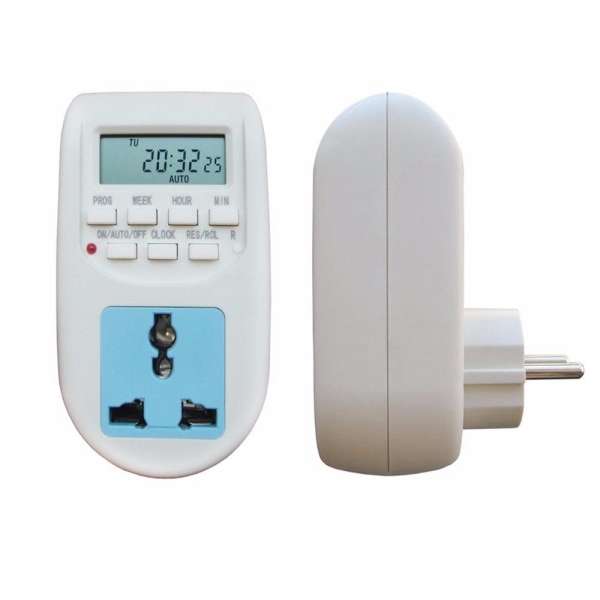
| 1. Plug the timer into a regular 220-240 volt household power point and turn the power on. |
| 2. Leave for appr. 12 hours to charge the memory back up batteries. |
| 3. After charging clear all current information by pressing the "R" button with a sharp object such as a pen or pencil. |
| 4. The timer is now ready to be set up for use. |
| 1. Press the CLOCK button and hold, simultaneously press the week button until the actual day is displayed. Continue by pressing HOUR or MINUTE button until the current hour or minute is displayed. When setting, the buttons week,hour or minute can be held down for rapid forward counting. |
| 2. Release both buttons. The week and time will be set. |
| 3. To reset incorrect time, repeat previous steps. |
| 1. Press the PROG button and release. The first on setting can be made now. |
| 2. Press WEEK button to set the day or blocks of days. Set the time by pressing the HOUR button and then MIN button. |
| 3. Press the PROG button again to finish the first on setting and enter into the first off setting. By repeating 2 to make the first off setting. |
| 4. Press the PROG button again to finish the first off setting and enter into the 2 on setting. Repeat 2 and 3to program remaining settings. |
| 5. After completing settings. Press the CLOCK button and the timer is ready to operate. |