


| Main centres: | 1-3 business days |
| Regional areas: | 3-4 business days |
| Remote areas: | 3-5 business days |


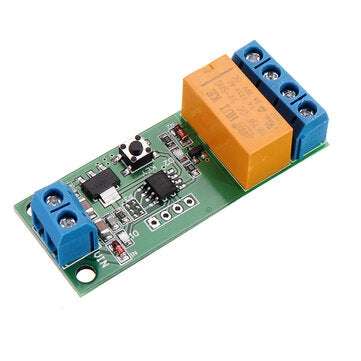
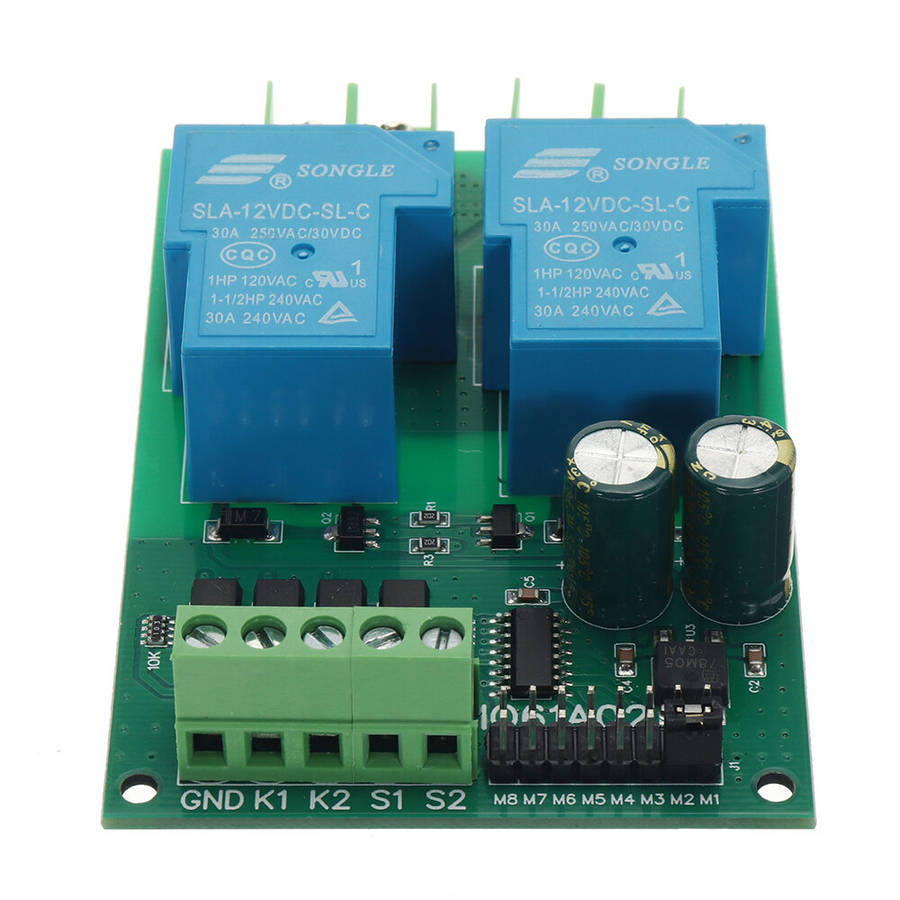
How to Use: VIN connected to the positive of power supply , GND connected to the negative of power supply; P+ connected to the positive of Motor power supply, P- connected to the negative of Motor power supply; M + M- are connected to both ends of the motor After power, D1 flashes 3 times, D2 off, M+ output positive, M- output negative, motor forward; after a time delay T1, D2 on, M+ output negative, M- output positive, motor reversal; after a time delay T2, D2 off, M+ output positive, M- output negativ, motor forward;and so on. T1: indicates motor Forward delay time, default 0.1-5000 seconds adjustable (step 0.1 seconds) T2: indicates motor Reverse delay time, default 0.1-5000 seconds adjustable (step 0.1 seconds)
 1. After power, D1 3 blinks, Enter the work mode D2 on Reversal,D2 Off Forward 2. Press and hold the Key for 2 seconds,D1 on,enter the setup mode D2 off, It`s forward setup mode 3. In forward setup mode, the continuous trigger KEY twice ,D1 off,entry Standby timer mode 4. In the Standby timer mode ,trigger KEY start timing(entry Timing Mode) D1 flashing said it is timing(Timing Mode) Trigger KEY again to stop the clock(exit Timing Mode) D1 flashing time is forward time(T1) 5. Press and hold the Key for 2 seconds,D2 on,enter the Reverse setup mode 6. In Reverse setup mode, the continuous trigger key twice ,D1 off,entry Standby timer mode 7. In the Standby timer mode ,trigger KEY start timing(entry Timing Mode) D1 flashing said it is timing(Timing Mode) Trigger KEY again to stop the clock(exit Timing Mode) D1 flashing time is Reverse time(T2) So far, forward time(T1) and reverse time(T2) is set up Re-power in work mode