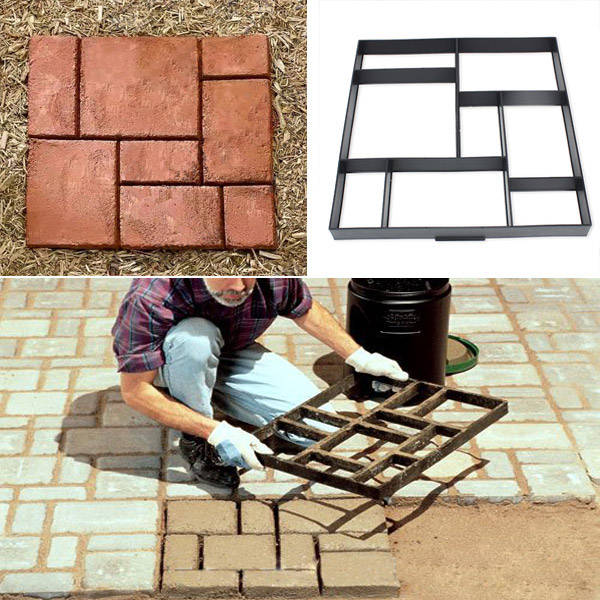
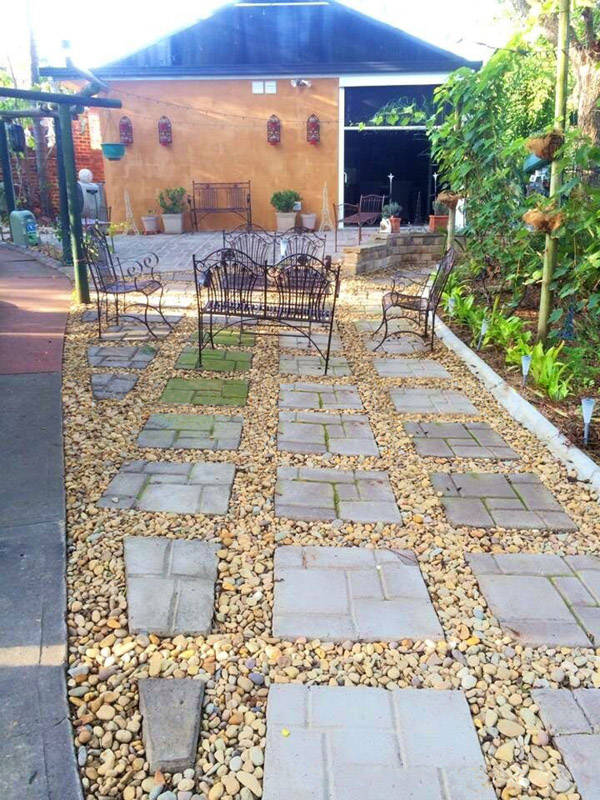
DIY Plastic Path Maker Model Paving Cement MouldDo it yourself with this easy to use Paver Maker that is a mold to use to create your own patios and walkways. Any one can do it too, just fill mold with concrete, smooth surface, and remove mold and you’re done!
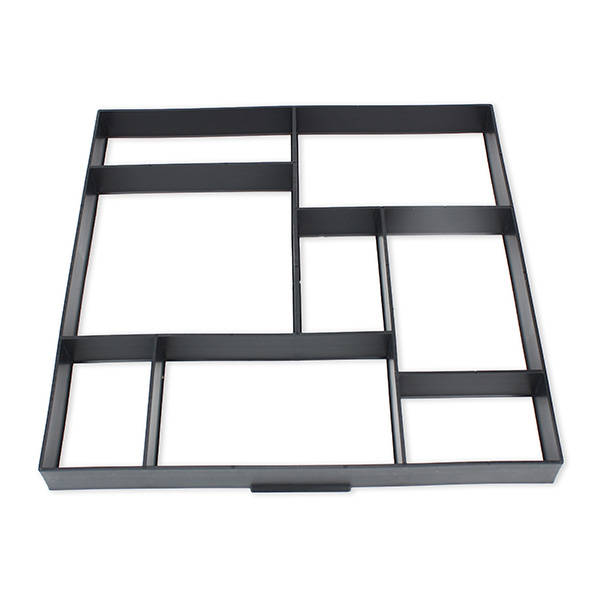
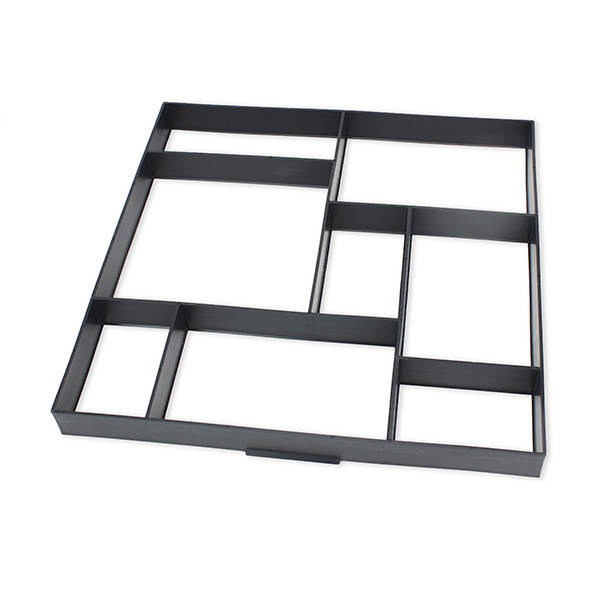
Description:Material:
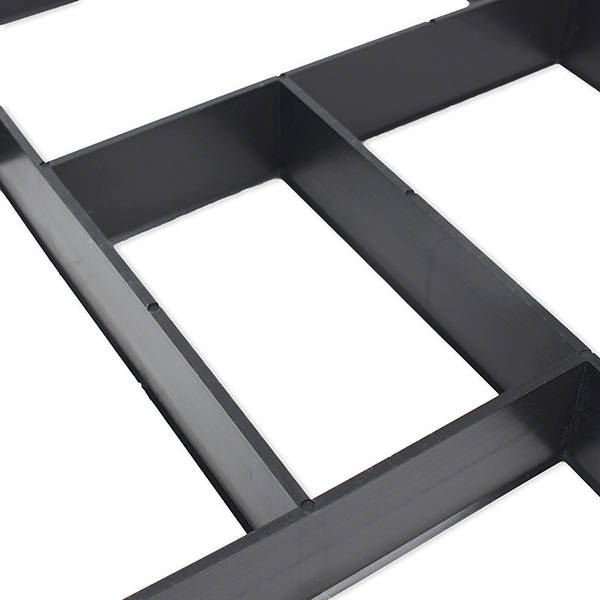
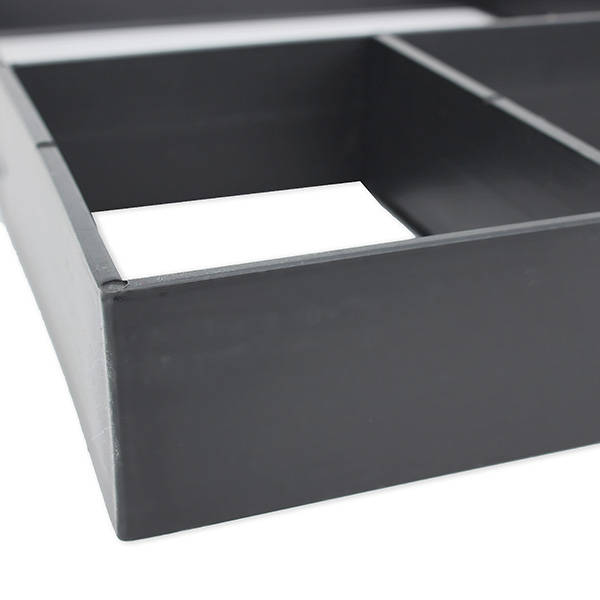
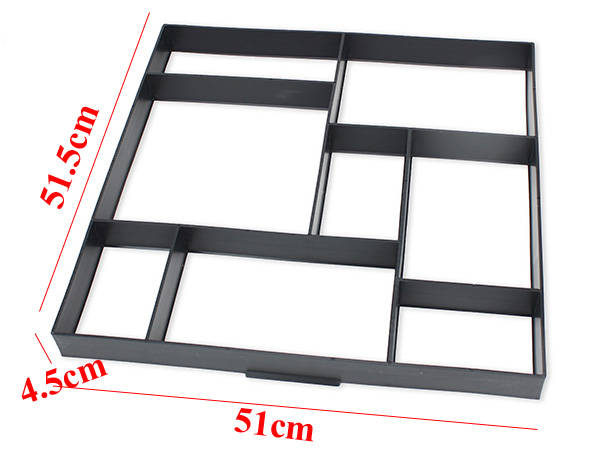
PP resinSize: 51.5x51x4.5cm
Color: black
Pattern: square
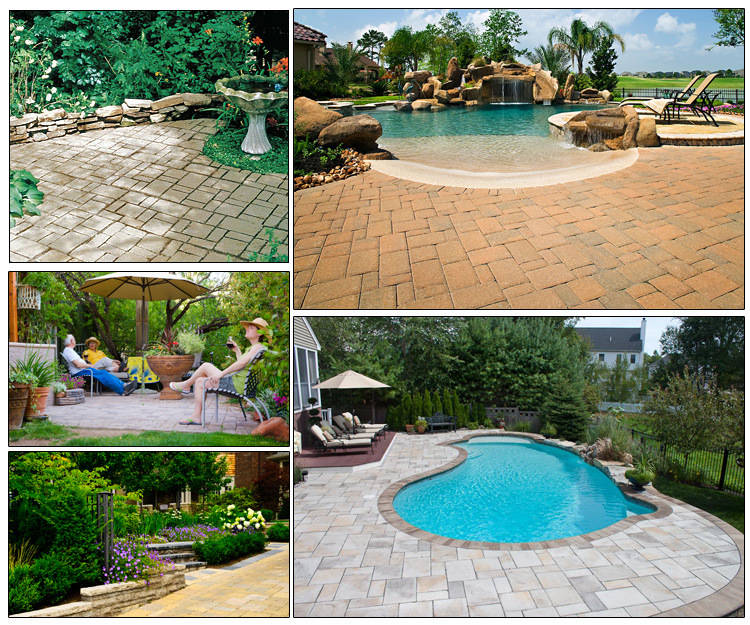
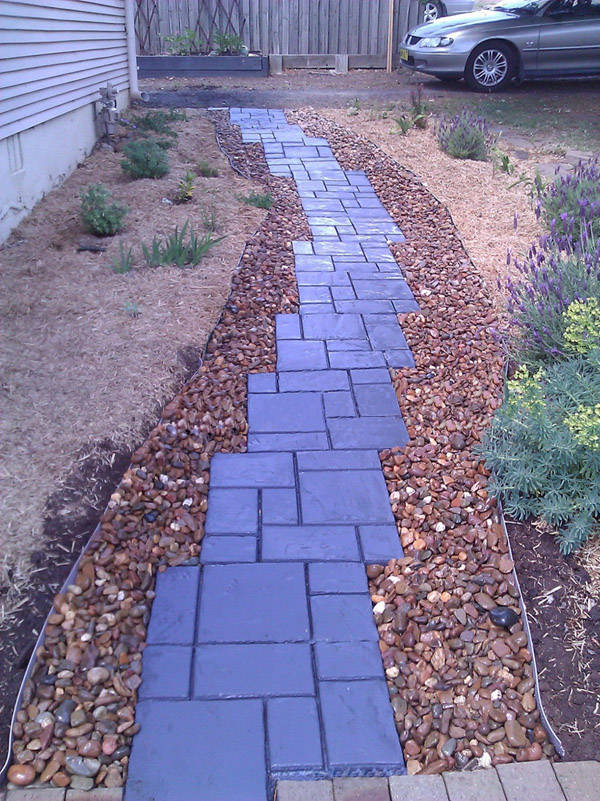
Feature:Help you to decorate your backyard landscaping.
Use heavy-duty plastic mold that turns a little pre-mixed concrete into a concrete garden stepping stones for easiest access way to your garden.
Keep the beauty and health of your plant by using garden steppingstones as your path way.
Warm Note:1. Clean the concrete garden molds for reusing, spray them with garden hose.
2. Garden stone molds can be used again right after you pour the first garden stepping stone so you do not have to wait.
Package included:1 X Garden Paving Mould
1 X English manual

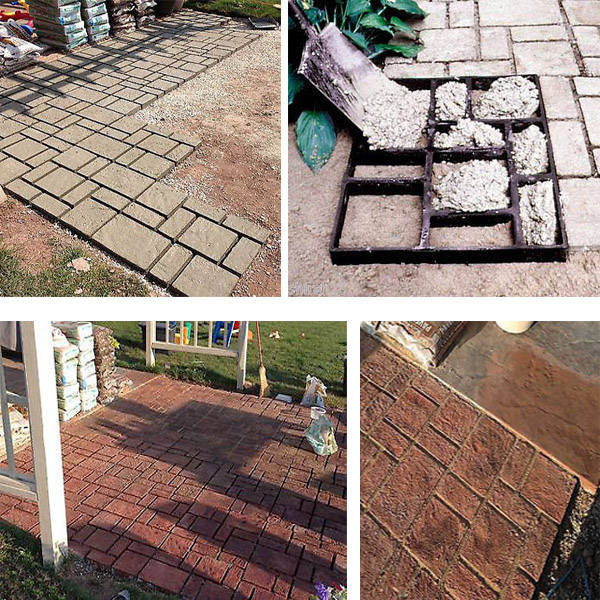
How to Make Pavement:
Step 1: Lay out the perimeter of the walkway and drive wooden stakes into the ground at each corner.
Step 2: For professional results, remove one inch of sod. Save the sod you remove and use it to fill in gaps once the walkway has set. If you plan to use the sod later, set it aside in a cool place and water.
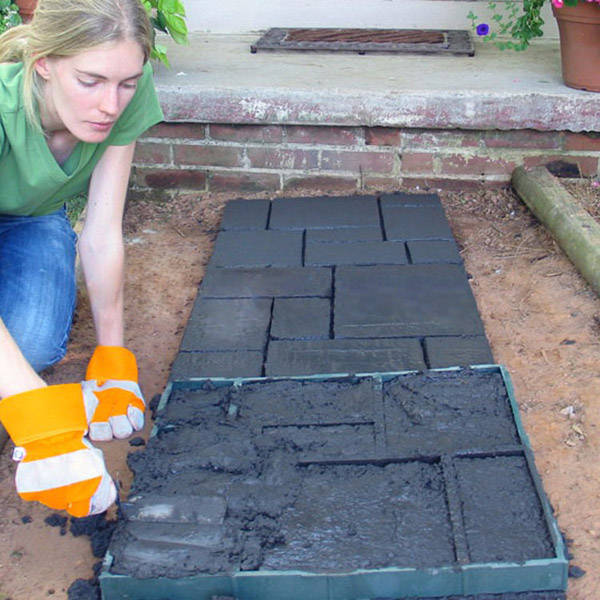
Step 3: The mold comes with directions on how much concrete you need based on the length of walkway you're creating. Mix the concrete, adding color to make the walkway resemble cobblestone or brick.
Step 4: Wet the mold with water before you begin adding concrete.
Step 5: Beginning in one corner of the walkway, lay the mold in place.
Step 6: With a bucket or trowel, fill each cavity of the mold with concrete. The concrete should be level with the top of the mold.
Step 7: Smooth the surface with a trowel.
Step 8: In about five to ten minutes, lift the mold. You're ready to do the next section.
Step 9: Butt the mold against the first section and continue building your walkway. By rotating the mold one-quarter turn each time, you create a variation in the pattern.
Step 10: For curves, butt the outside corner of the mold to the existing walkway. Turn the mold to align with the curve. The mold will overlap the existing concrete on the inside of the curve.
Step 11: Press the mold down, cutting into the existing concrete. Fill the mold with concrete.
Step 12: Remove the mold and blend the combined castings, eliminating cut lines.
Step 13: Position the mold and pour the remaining sections.
Step 14: Sprinkle sand or dry mortar mix on top of your walkway after it is set. Brush it into the joints with a broom.
Step 15: Mist lightly with a garden hose.
Step 16: Place six-mil plastic sheeting over the concrete for two to three days to prevent the surface from drying too quickly and cracking.
Step 17: After your walkway has cured, protect its finish with a concrete sealer. Follow the manufacturer's instructions for application. The sealer forms a tough, water-resistant finish that is virtually unaffected by the elements.