

| Main centres: | 1-3 business days |
| Regional areas: | 3-4 business days |
| Remote areas: | 3-5 business days |

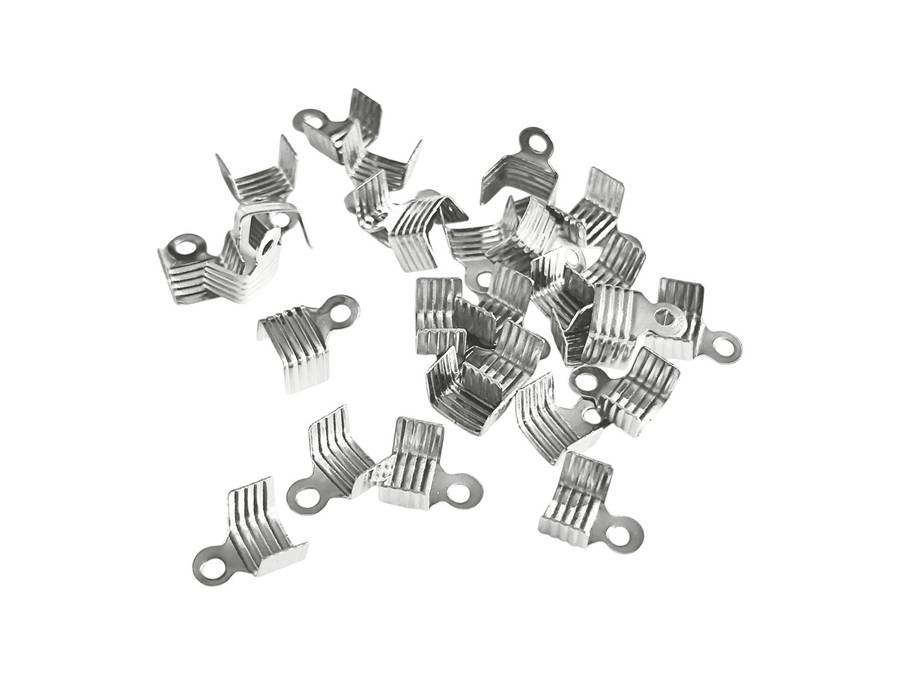
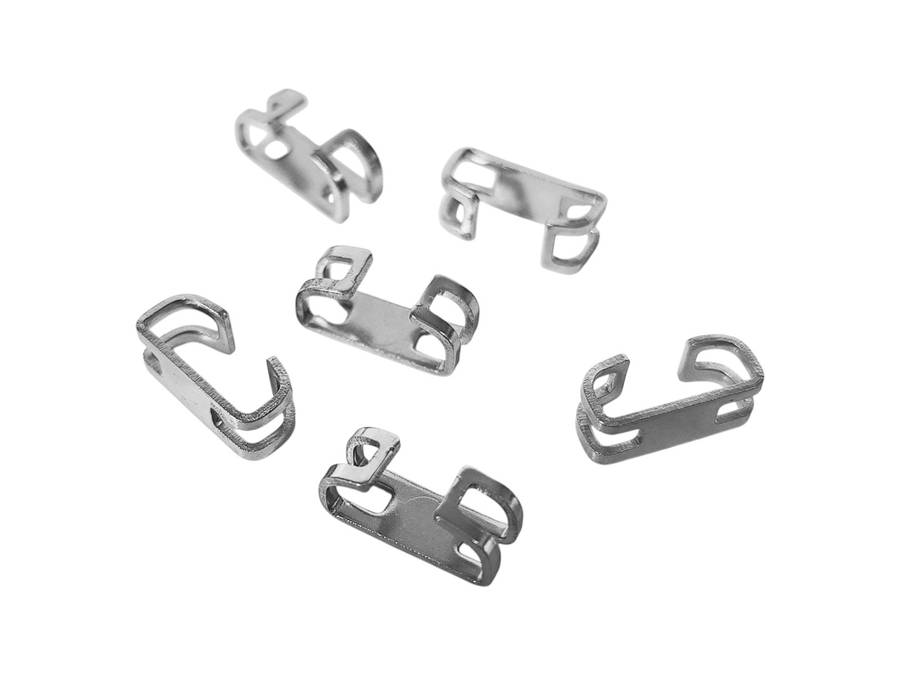
PRICED INDIVIDUALLY WITH A MINIMUM OF 2 (YOU WILL NEED THESE IN PAIRS TO COMPLETE A BRACELET OR NECKLACE)
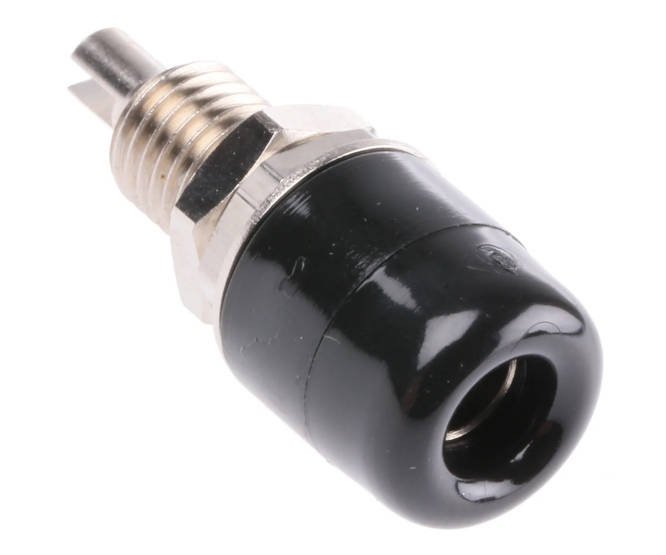
HOW I ATTACH THESE (my DIY method, but it seems to work well) 

The pin is inserted through the glued end, I use a small hand drill to make a hole first as the glued end is quite hard (and I'm just plain lazy) then it is twisted around itself. As you twist, push the pin circles down against each other, nice and tight, about 2 to 3 twists should do the trick. Insert the BRAID END over the end of the wire and onto the braid/s, a bit of wiggling and pulling might be necessary, and Voila! you have the end of the pin left to bend or however you intend to place further attachments. This is a slightly flexible braid end with "petal" cuts - making it easier to gently crimp the "petals" tightly over the end of the braid.
Examples of Braided Jewellery 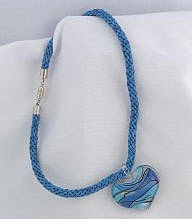
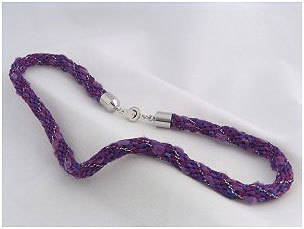
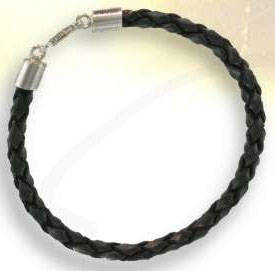
Note the Braid Ends used on these.
and if you WANT TO MAKE YOUR OWN BRAIDS - Try out this simple method - "TOLLETJIE BREI" - remember it? also called French Knitting, The "tolletjie is also called a Knitting Nancy and comes in a wide variety of shapes and sizes. 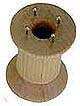
 They are not so easy to find, so here is a quick and simple solution using a toilet roll inner, some ice-cream sticks, and elastic bands, and trust me, it works even better than most out there on the market. If you feel you would like a sturdier one, what I did was to cut open another roll lengthwise then fit it over the one shown and tape it all together with some duct tape, and Voila! - not so pretty, but it does the trick, its cheap and you can experiment with different amount of sticks.
The thick pink wool is just to show it off clearly and not something I would actually use 
Another easy & quick way is to use finger knitting to make your braids. A lot of colourful strings knotted together can form some interesting designs. Here are a few more ideas. Remember to play around with medium a bit - wool, string, wire, leather thong and whatever else you can come up with.
AND THIS IS MY ABSOLUTE FAVOURITE IDEA: Cage your braids with wire or tigertail - here's an example pic. 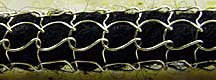 it's really EASY PEASY and here's how:
Step One, make a normal braid with a soft material such as wool.
Step Two, start a wire/tigertail braid (this is for the "Tolletjie" method. Once you have made the first few loops of the wire/tigertail, insert the first (softer) braid into the middle where you are pulling the braid through the tolletjie. and then just leave it there and carry on with the wire/tigetail braid - you will see that as you progress with the wire braid, it will automatically "feed" the first braid and encase it in a CAGE- like effect. It's really gorgeous.
Remember, you can decorate these to your hearts desire, take a look at my ring beads, pendant bails, etc that can be added to make a really fun & funky design. Click on the Gem below to go have a look and HAVE FUN!!!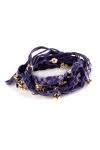

Click on the gem to view all my Listings