

Arduino Nano Clone LGT8F328P | Electronics Component
Check my rate
| Main centres: | 1-3 business days |
| Regional areas: | 3-4 business days |
| Remote areas: | 3-5 business days |


| Main centres: | 1-3 business days |
| Regional areas: | 3-4 business days |
| Remote areas: | 3-5 business days |
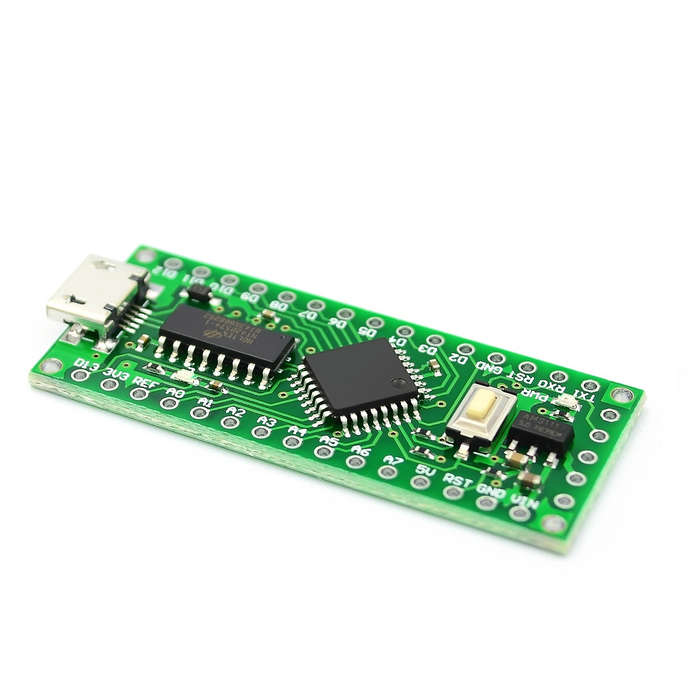
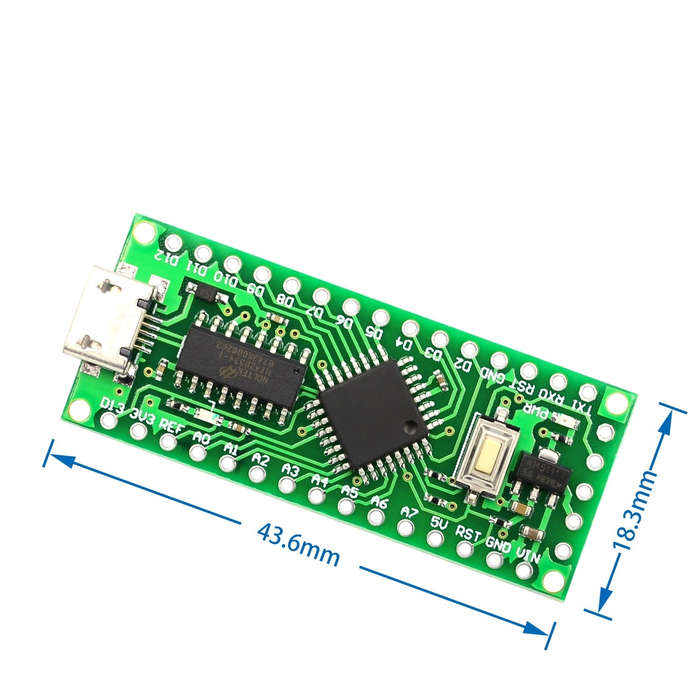
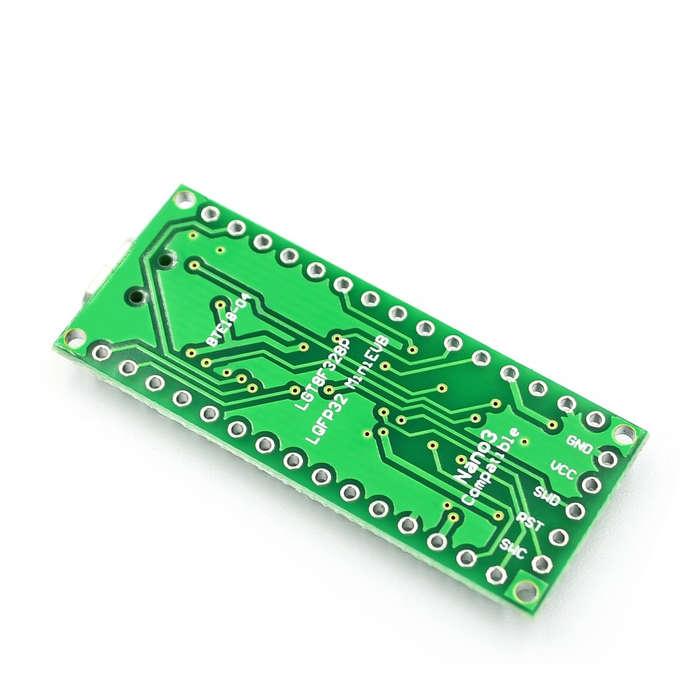
Why do would you want a clone like this? OK first of all did you see the price? Secondly this clone actually packs more punch than the standard Arduino Nano. So how do you program this beast; here is your instructions https://github.com/LGTMCU/Larduino_HSP. If you're still not convinced that you should give this a go then take a look at this video; https://www.youtube.com/watch?v=Myfeqrl3QP0. If you like playing with devices that is not "run of the mill" then this one is for you!
ALL OUR ITEMS ARE LOCALLY STOCKED AND SHIPS IMMEDIATELY!
To get the blinking app running follow the following steps;
1. Download - https://github.com/LGTMCU/Larduino_HSP/archive/master.zip
2. Extract the zip file and copy the file into your Arduino folder, the folder should look as follow when done;
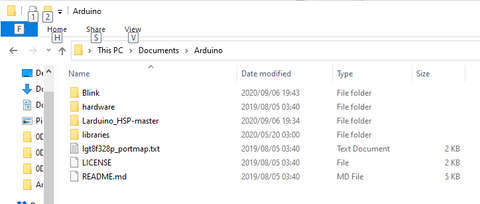
3. Close your Arduino IDE and reopen it.
4. Select the newly loaded board;
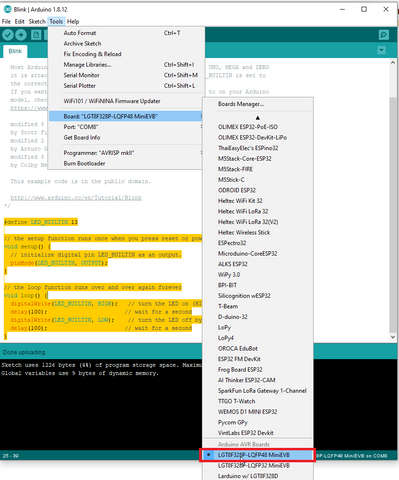
5. Load the following script;
#define LED_BUILTIN 13
// the setup function runs once when you press reset or power the board
void setup() {
// initialize digital pin LED_BUILTIN as an output.
pinMode(LED_BUILTIN, OUTPUT);
}
// the loop function runs over and over again forever
void loop() {
digitalWrite(LED_BUILTIN, HIGH); // turn the LED on (HIGH is the voltage level)
delay(100); // wait for a second
digitalWrite(LED_BUILTIN, LOW); // turn the LED off by making the voltage LOW
delay(100); // wait for a second
}
and you will have a fast blinking LED.
To run at maximum speed do take a look at the following video: https://www.youtube.com/watch?v=Myfeqrl3QP0
Github: https://github.com/RalphBacon/LGT8F328P-Arduino-Clone-Chip-ATMega328P
Comparison:
| LGT8F328P | ATMEGA328P | |
| ADC | 12 | 10 |
| DAC | 1 | 0 |
| Speed | 32mHZ | 16MHz |
| Voltate | 1,8 - 5.5V | 1,8 - 5.5V |
| High Power Pins | 3 | 0 |