Easy Crafts to Keep you Entertained this Easter
With Easter just around the corner, what is the first thing that comes to mind? Well, Easter eggs of course! If you are looking for table decoration ideas or are searching for crafts to keep your children entertained, then this article is perfect for you. Dyeing Easter eggs is such a fun thing to do and a great way to get in the spirit. Here is an easy DIY guide just for you.
Step 1: Boil the Eggs
I am aware that eggs in South Africa are generally brown in colour. However in this case we recommend that you buy white eggs to make the dyeing process more effective. First, you need to clean the eggs.Sometimes, they are packed with feathers or mud around them so give them a good wash, but be gentle. Add the eggs to a pot and completely cover with cold water. Once the water starts to boil, set the timer for two minutes. Now take them off the heat and leave them to rest for 10 minutes. Allow it to cool in a bowl of cold water for a few minutes. Tip! Keep the hot water you used to boil the eggs aside for the dye.
Step 2: Prepare your Dye
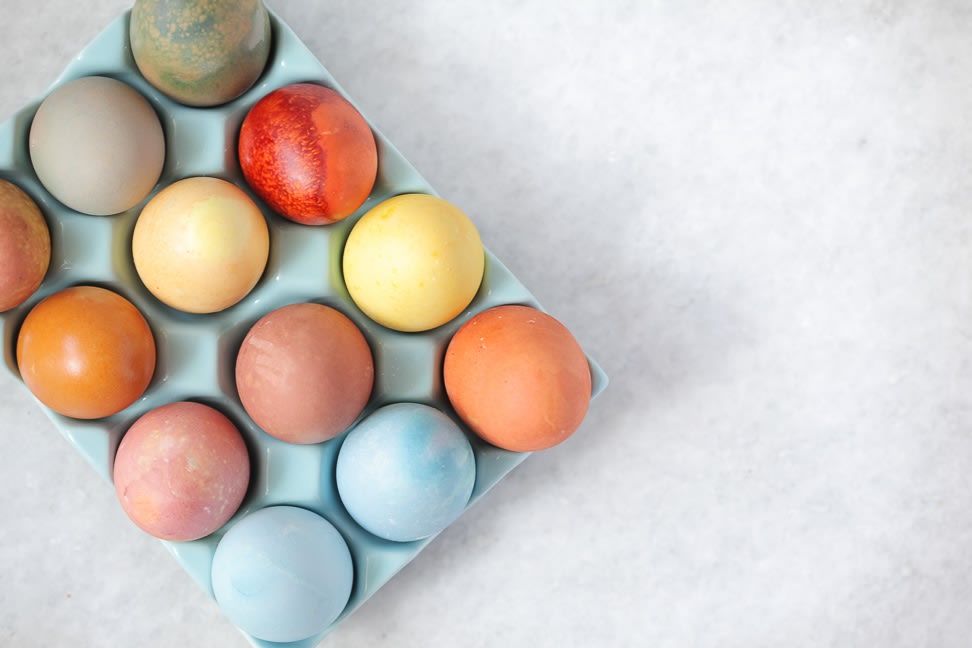
Decide on the various colours you would like to use; dye or food colouring can be used. Here are some recommendations: red, orange, yellow, green, blue and purple. If you can’t find a particular colour, you can mix colours together to create new ones. To make green, you can mix yellow and blue. To make purple, mix blue and red, and so on.
Once you have decided on your colours, put the water you used to boil your eggs back on the heat. Grab a few glasses or bowls and assign them to a specific colour. Add one tablespoon of vinegar to each bowl or glass and then add the hot water you just boiled. Now add the dye.If you want a potent colour, add between eight to ten drops. If you plan on mixing colours, only use five drops of dye.
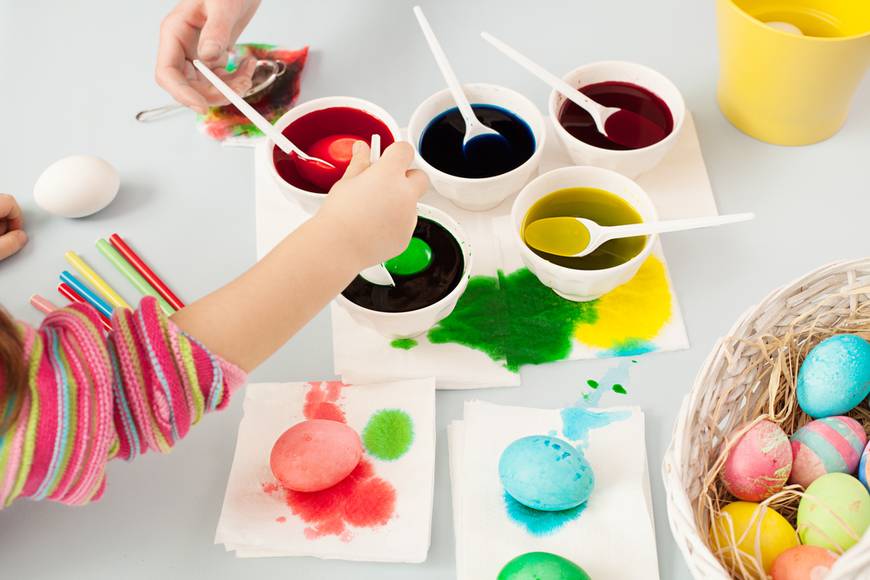
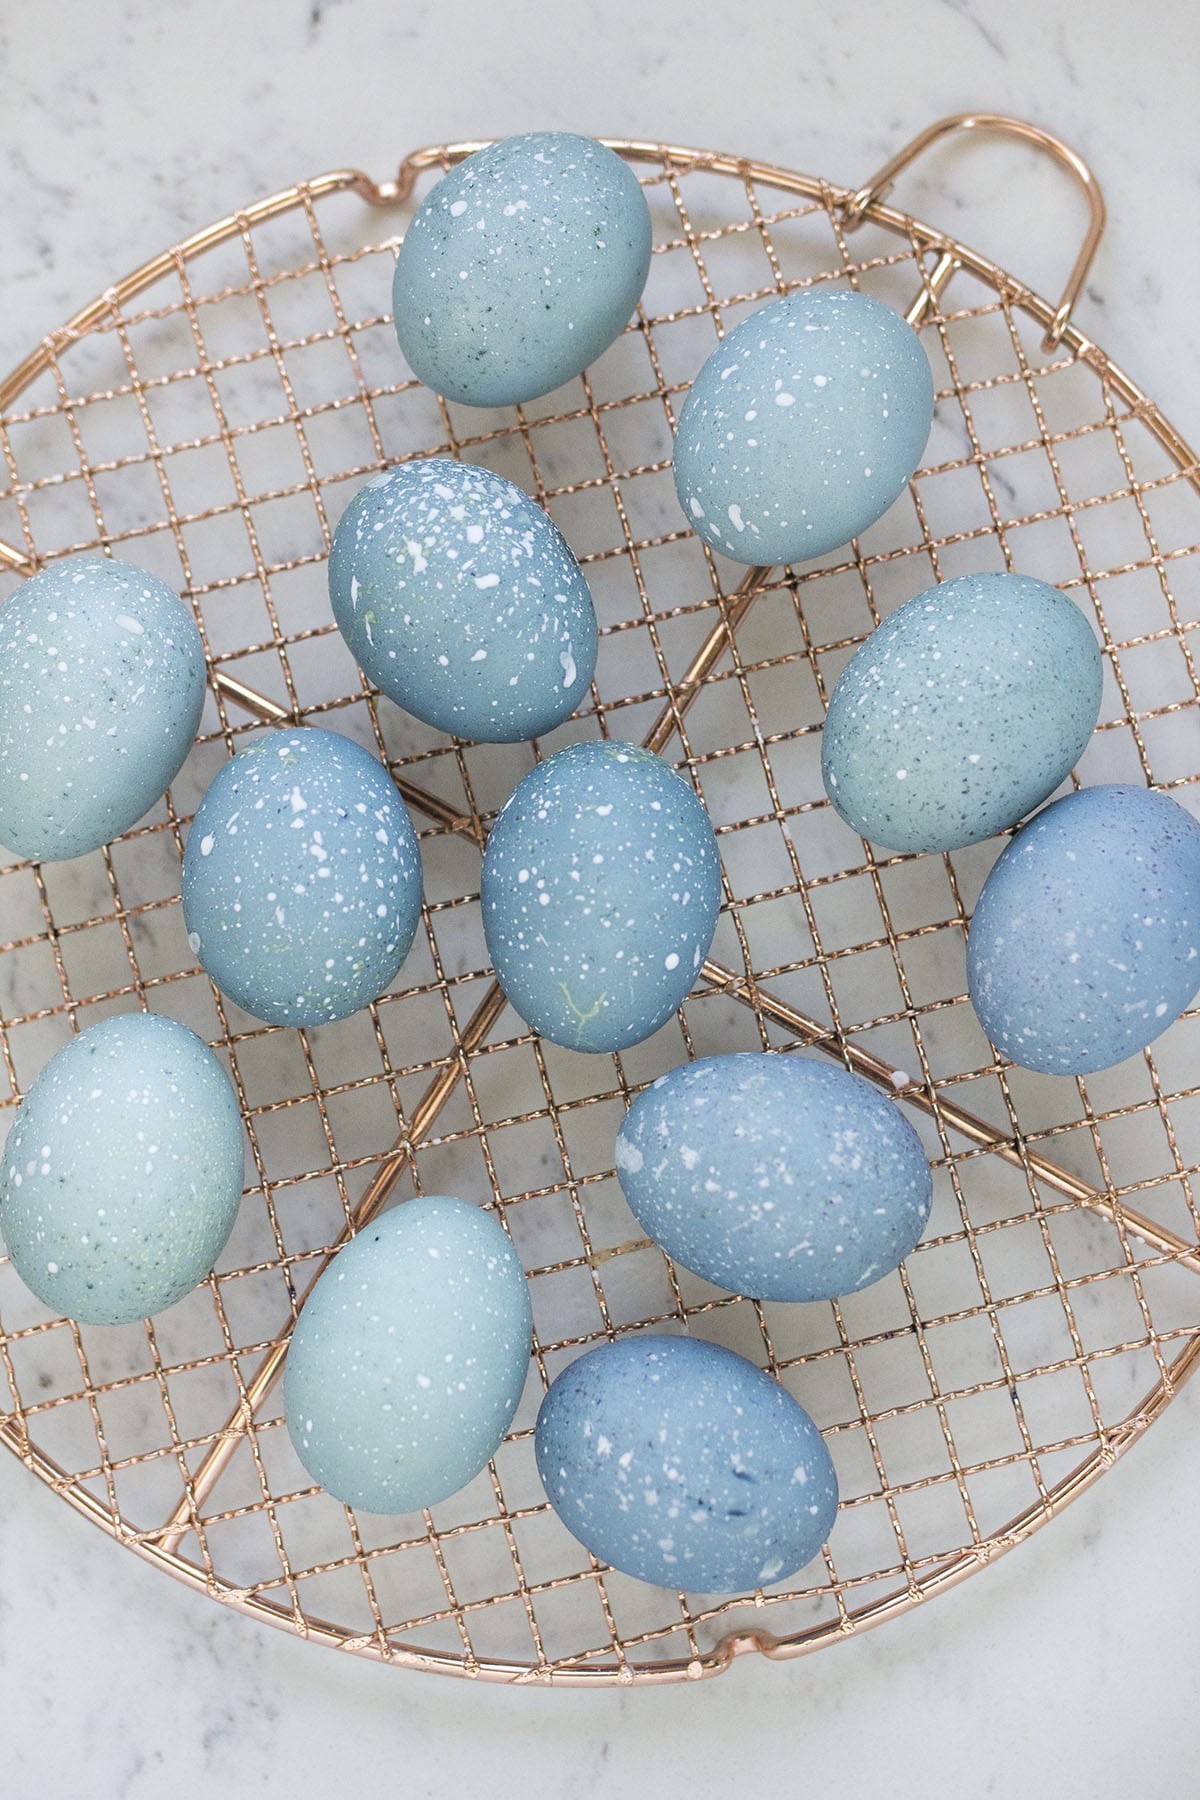
Step 3: Dye or Die Trying
Using a tablespoon, gently place the egg in the dye. The darker you want the colour, the longer you will need to leave the egg in the dye. Remove from the cup and leave it to dry on a cooling rack. Be sure to put some wax paper beneath the cooling tray to catch any dripping dye.
Step 4: Let your Creative Juices Flow
If you though the previous steps were fun, you ain't seen nothing yet! Now it's time to decorate your eggs. Feel free to be as creative as possible. Here are some ideas:
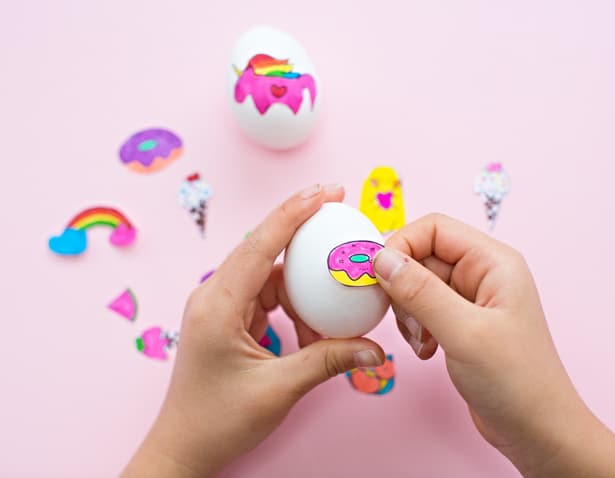
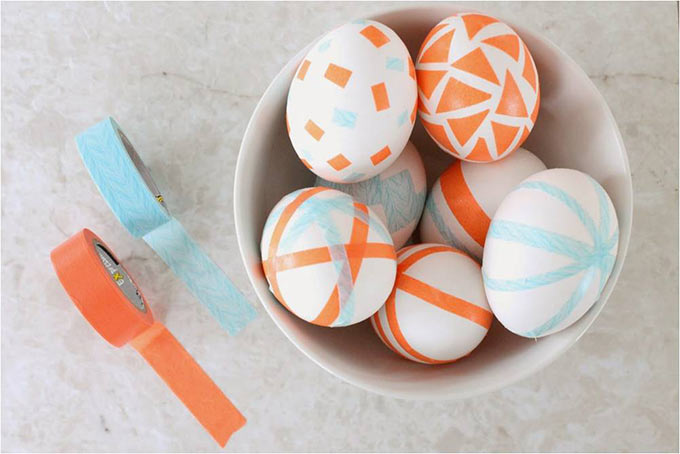
The options are endless, have fun and let your creativity flow.