A Seven Step Guide to Repotting Your Plant
You might be wondering why repotting a plant would be in any way useful. Well, it is, for a number of reasons. Perhaps your plant is growing too fast and needs a bigger pot, or if the soil has dried out and you need to add fresh soil. Other signs that call for repotting are the roots growing out of the drainage holes and water sitting at the top of the soil and not getting absorbed.And lastly, it may be a long time since you last repotted and you feel like it is time to do so. Read on to find out exactly how you can go about repotting your plant in an easy and efficient way.
What You Need
A pot that is bigger than the old one and has drainage holes at the bottom.
Fresh potting soil which will provide nutrients to help the plant grow.
Some porous material (any material that will allow water to pass through) to cover the drainage holes at the bottom of the pot. This can include a paper towel or coffee filter.
A trowel or mini shovel for removing the plant from its original pot and repotting it.
A pair of scissors to cut or remove any excess or large roots that need to be trimmed.
A knife, which will be used to ease the plant from the old pot.
Gardening gloves are optional, if you prefer keeping your hands and nails free from dirt while repotting.
How to Repot a Plant
Step 1: Choose a new, bigger pot - and by bigger I mean both wider and deeper. The whole reason for repotting is normally due to the plant being too big, so ensure your new pot is large enough for the plant to thrive in. Also make sure that the pot has drainage holes that are big enough for excess water to seep out. Otherwise your plant will be sitting in a pool of water and will likely rot.
Step 2: Clean and disinfect the pot to ensure that there is no debris or bacteria that can be detrimental to the plant’s growth. To disinfect your pot, soak it in a mixture of one part bleach and nine parts water. Now rinse it in water to remove all chemicals and leave it to soak in water until you are ready to repot.
Step 3: Now we need to focus on the drainage holes of your new pot. You need a pot with holes big enough for water to seep through, but also not so big that soil passes through - that would not do! To prevent this, place a piece of porous material, something like a paper towel or a coffee filter, over the drainage holes. Essentially, the purpose of this is to ensure that the water does not seep out quickly, allowing the soil to absorb the water. The porous material will also prevent chunks of soil from seeping out with the water.

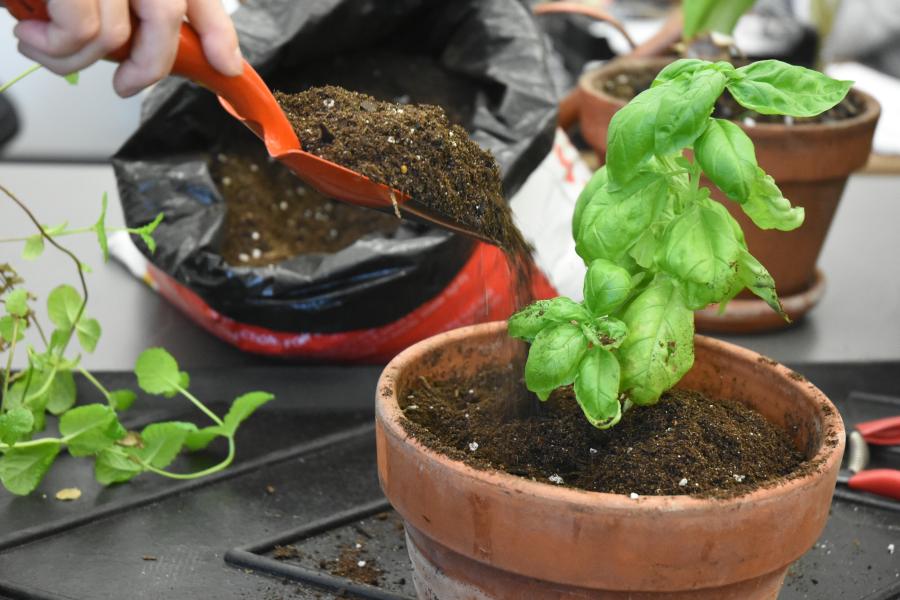
Step 4: Place a thick layer of soil at the bottom of the new pot so that the roots of the plant have something to grow into. Let’s go back to the old pot - water it thoroughly so that it keeps the roots of the plant together during the repotting process.
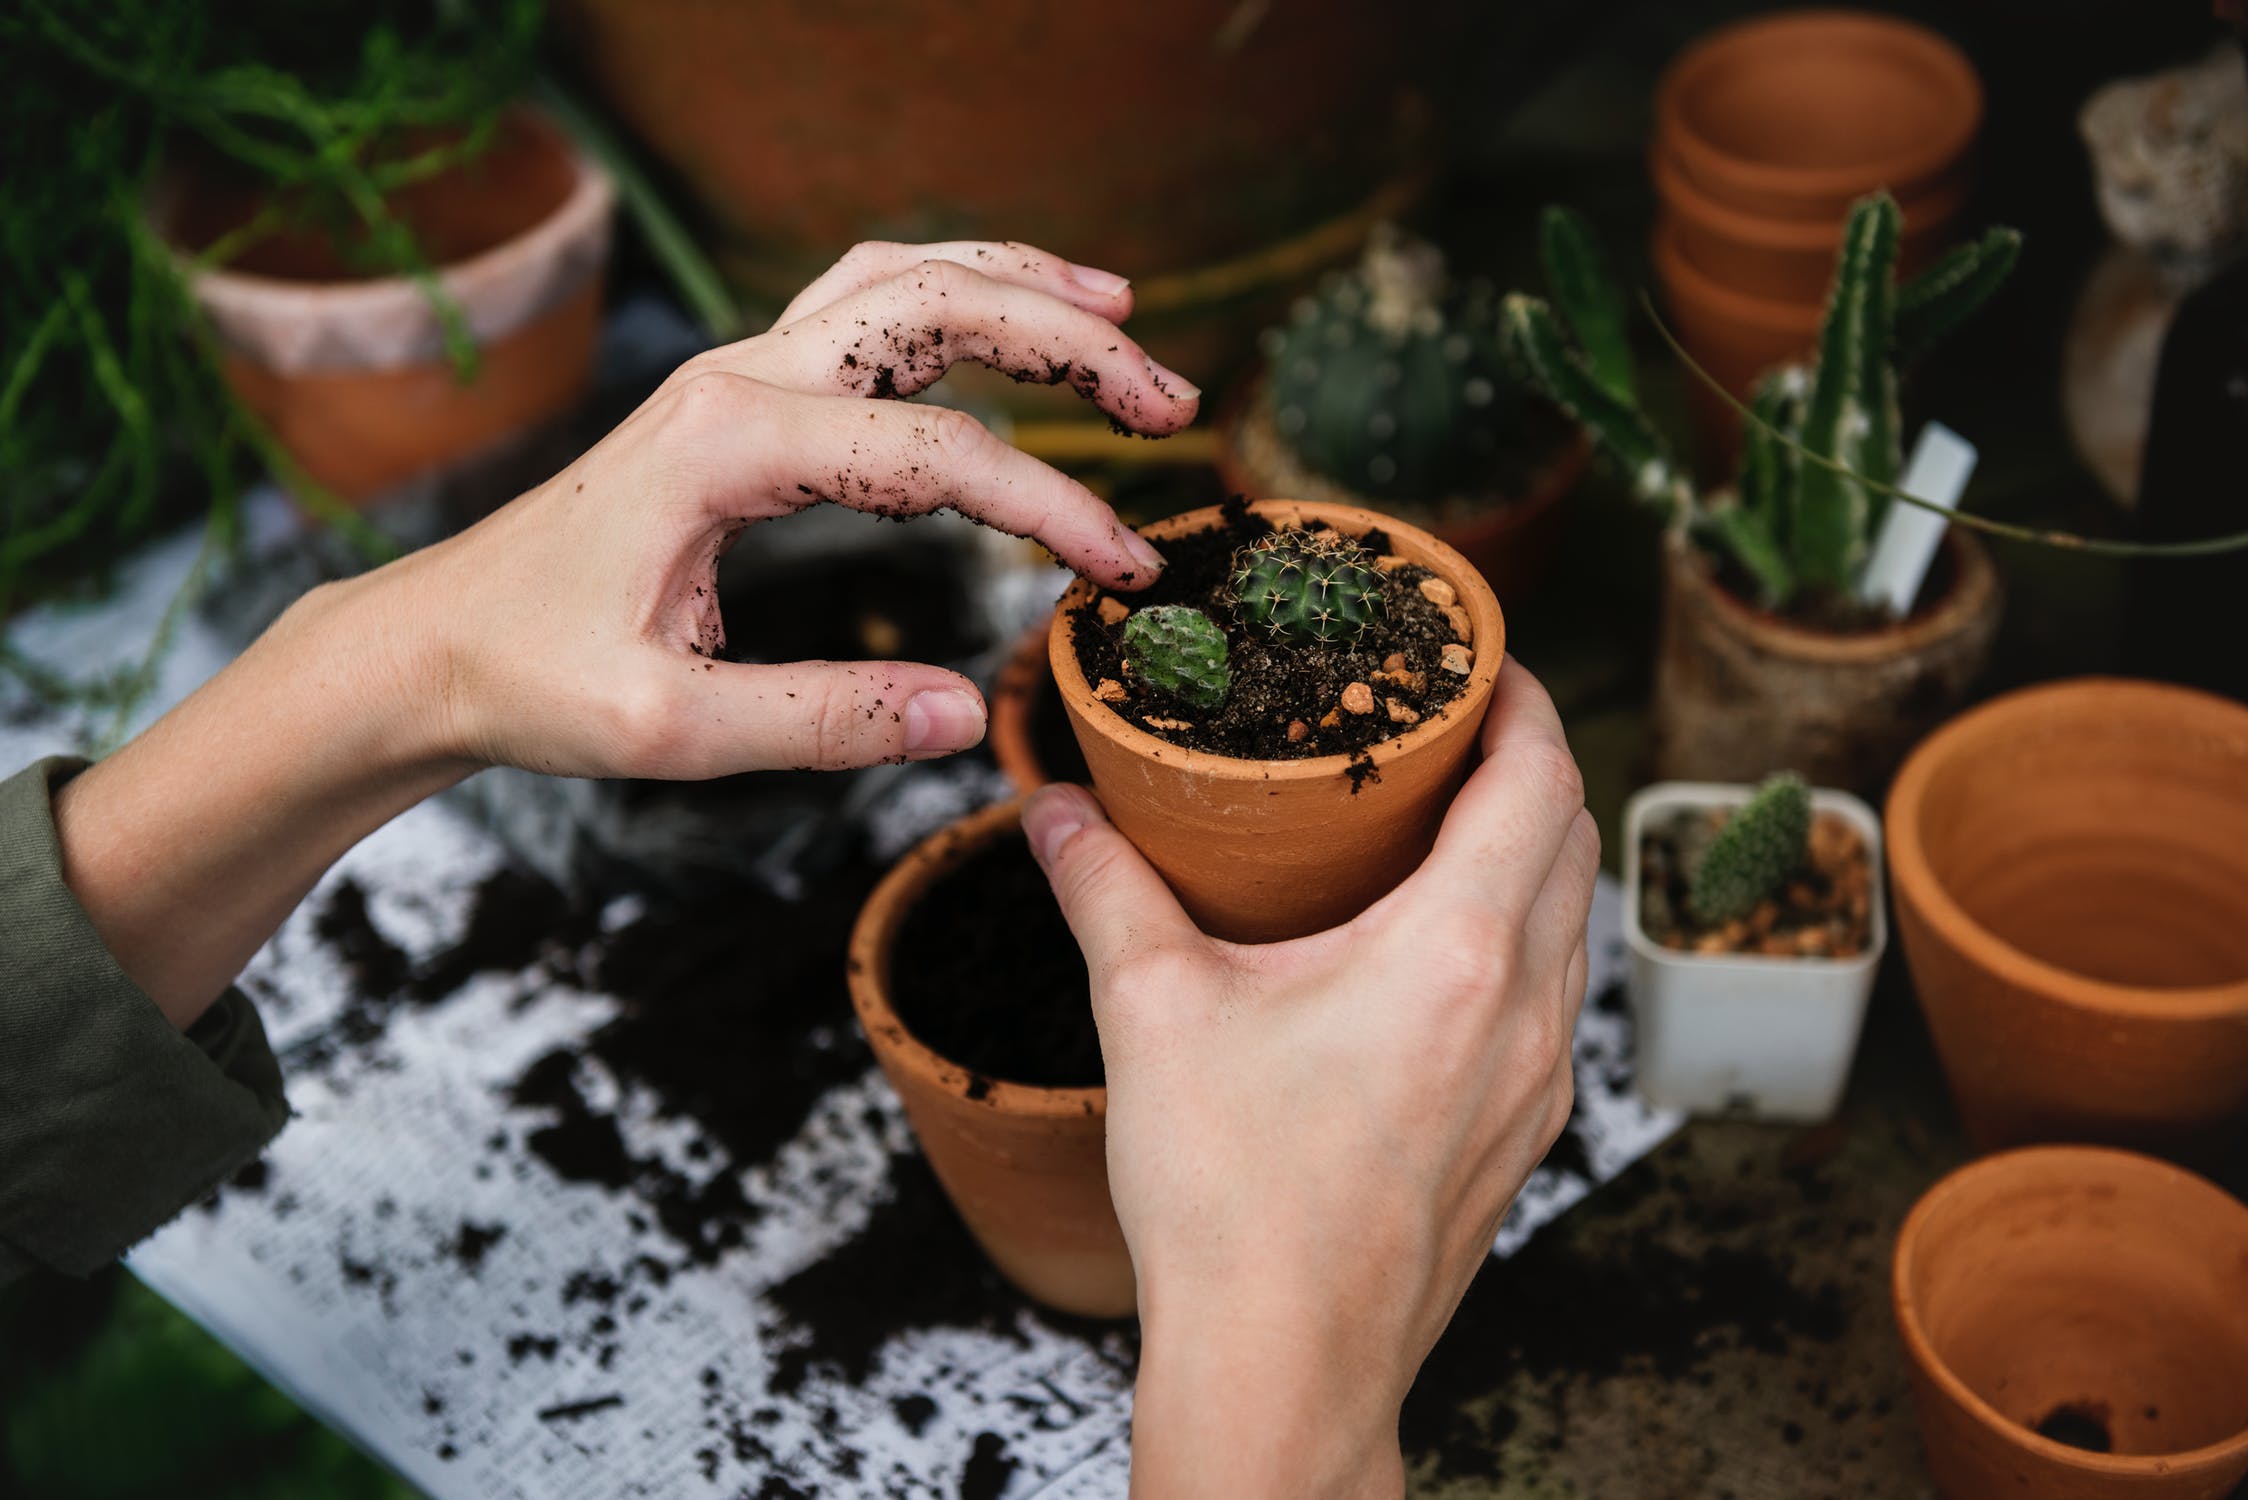
Step 5: Using a knife, loosen the soil around the old pot. Now turn the pot upside down and remove the plant from it. Prune the rootball, removing any excess roots that are growing out or around the rootball. Now, with only new, healthy roots remaining, untangle the roots to allow them to grow outwards.
Step 6: Place the plant into the new pot, in the centre and in an upright position. Add extra soil and then pat it down to keep it firm and in place. Water the plant.
Step 7: Now you can take some time to decorate your pot if you wish. Care for your pot properly, especially in the beginning. Avoid fertilising the plant for the first month. Water often, because your roots will need extra moisture in the beginning in order to grow. Keep the plant away from direct sunlight as it will be more sensitive in the beginning. Thereafter, you can care for your plant normally.