 The Craze That Has Taken over the World
What Are Loom Bands?
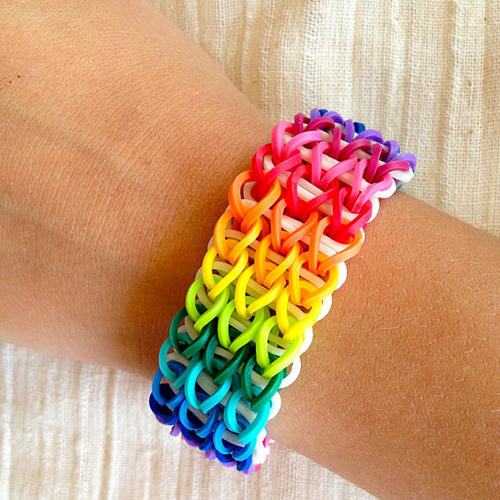
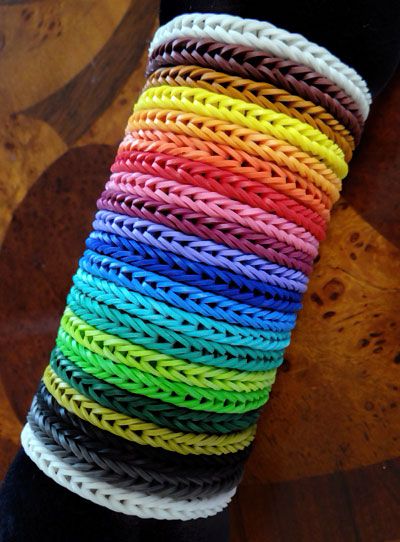
Loom Bands are small colourful rubber or silicon bands, similar to normal rubber bands. In this case, they are woven or linked together with the help of a special plastic loom and a crotchet hook to create any number of different bracelets, necklaces or even figurines. Learning how to make a Loom Band bracelet is easy, you are limited only by your imagination.
Who Came up with Loom Bands?
Loom Bands were developed and patented by Cheong Choon Ng. The engineer used his savings to fund the manufacturing of the looms and Loom Bands in China in 2011. Since then the Loom Bands have spread across the world. They literally went "viral" from one playground to the next. It's safe to say that Loom Bands are the biggest thing since marbles, probably bigger in fact.
What Is the Point of Loom Bands?
The Loom Band craze has not only reinvented the friendship bracelet but also grown to become one of the biggest selling toys on the market, simply because they are so much fun to use. There are even tutorials for all sorts of different bracelet patterns littered across the internet.
What's Really Great about Loom Bands Is:
They help draw kids away from TV's and PlayStations
They allow for social interaction between kids
They improve fine motor skills
They improve visual motor skills
They improve gross motor skills
They improve the attention span of children
Loom Bands even help teach kids how to follow instructions
The 'Single' Loom Band Bracelet Tutorial
With so many benefits to the Loom Band hobby, why not get started now? We recommend the 'Single' as the best bracelet to start with.
You will need:
26 Loom Bands
a mini loom tool
plastic looming hook
Step 1
Put the first Loom Band onto the end of your mini loom tool. As you are doing this, twist the Loom Band into a figure 8 shape. This is the first band of your single bracelet.
Step 2
Put the next rubber band onto the end of your mini loom tool without twisting the Loom Band.
Step 3
Using the looming hook pull the bottom Loom Band over the end of the mini loom tool and into the open centre of the mini loom.
*At this point the first Loom Band is no longer attached to the mini loom tool; it is twisted around the second Loom Band
Step 4
Repeat step 2 with a new Loom Band and follow with step 3.
That's all there is to it. Repeat these steps until you have used up all 26 of the Loom Bands.
Step 5
Attach an s-clip or a c-clip (either clip is fine) to the last Loom Band on the bracelet.
Step 6
Remove the bracelet from the mini loom tool carefully and hook the other end of your bracelet into the s-clip or a c-clip. Viola! You have your very first Loom Band bracelet!
Now you know how to make a Loom Band bracelet, you can start your own Loom Band bracelet collection.