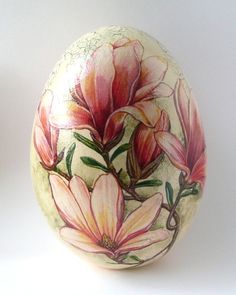
Create Your Own Egg Art
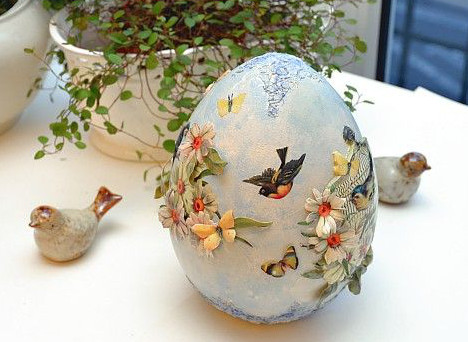
Have you ever noticed those beautifully decorated ostrich eggs in the store, the ones that sell for a hefty penny? Making your own egg art piece isn’t as tough as you might think. The process of placing images onto the ostrich egg (or any surface for that matter), then sealing it with a lacquer solution is called decoupaging. This article aims to prove how easy it is to make your very own ostrich egg art, and at a fraction of the price. The best part - it’s your very own creation and done to your liking and taste.
There are a number of techniques you can use to decorate an ostrich egg, these include hand painting, hand carving and decoupaging. Painting and carving images and patterns require a bit more skill, but if you feel you can
do it, why not give it a bash?
Before we get into the details of how to create your own ostrich egg masterpiece, let’s go back in time to explore the history and origins of egg art. The oldest decorated egg shells were actually found in South Africa about 60 000 years ago at Diepkloof Rock Shelter. However, many years before the birth of Christ,
Persians and Egyptians were colouring eggs. Eastern European cultures also have a prevalent tradition of egg decorating in their history. Eggs symbolize rebirth, this is why in earlier years decorated eggs were hung as home decorations and later became a collectors item.
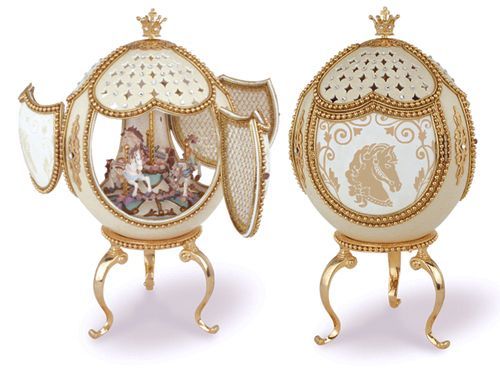
Have you ever heard of the term: Faberge egg? This very iconic piece of art was created way back in 1885. Peter Carl Faberge was a Russian jeweler andcreator of the famous Faberge eggs. These eggs are made of precious metals and gemstones, giving them more value and status. With time, Faberge eggs became more elaborate, included more jewels and even have a hidden surprise!
Before you start getting crafty, you will need to remove the contents of the egg, this means the egg needs to be ‘blown’. To do this, make a hole in the egg and blow the contents out so that it is empty. If you don’t want the hassle of doing all that extra work, you can buy ostrich eggs that are already empty and clean. Fun fact: One ostrich egg has the equivalent of two dozen chicken eggs!
So here is what you will need to get crafty:
Instructions:
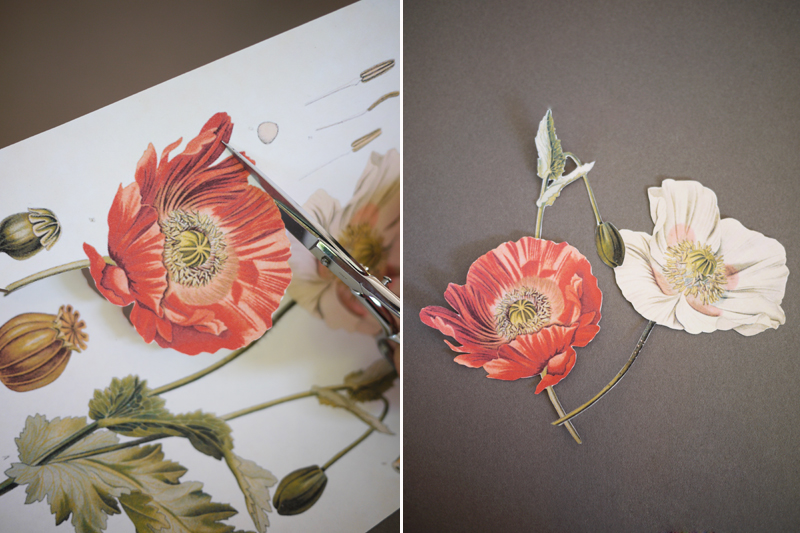
Step 1: Grab your wrapping paper and start cutting out the images you wish to use. When purchasing the wrapping paper try to make sure that the paper is quite thick and not limp. Use a pair of sharp scissors to ensure you are able to cut small, fine details. If a small scissors makes it easier for you to cut around small edges and grooves, by all means, use that. Place all your cut-outs in the correct layout so that you can visually arrange the cut-outs as you would like to see them on the ostrich egg.
Step 2: If want a natural look and wish to keep the egg in its original colour, you can skip this step and continue to step 3. If you want to paint your ostrich egg, choose your colour and evenly paint the entire egg. Apply two layers and allow it to dry properly.
Step 3: Now you need a paint brush and a tub of mod podge. Using the brush, apply the mod podge onto the egg in the spot you wish to place your cut-out. The reason why you place it on the egg rather than the cut-out is because the mod podge can often soak through the paper, ultimately ruining the image completely. Another reason for using thicker paper! Now place the paper cut-out onto the portion of the egg with mod podge.
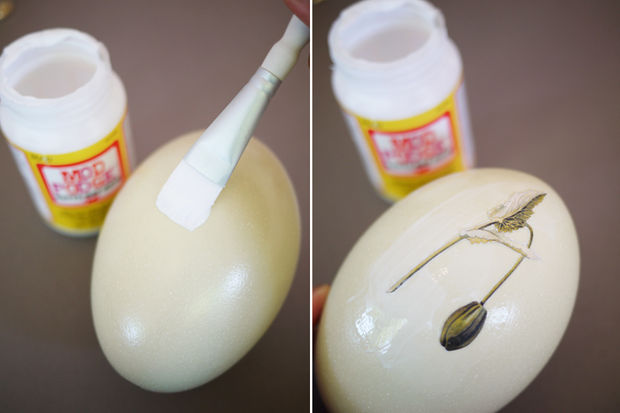
Step 3: Using the end bit of the brush, smooth out any bubbles or creases in the cut-outs. Now apply a layer of mod podge over the image, let it dry for about 10-15 minutes. Do the same for all your cut-outs until you have completed your design. Remember to do each cut-out at a time and let each one dry before adding the next cut-out. Using an egg stand or alternatively a funnel, let your cut-outs dry. If you decide to use a funnel, ensure the thin part is facing upwards, then slide the egg through until it is in a sturdy position.
Step 4: Now apply a single coat of mod podge around the entire egg. Let it dry and there you have it! How easy was that?
If you want to go the extra mile, continue to step 5. This additional step is not necessary, it is only to add a glossy finish to your egg and also acts as an extra layer of protection.
Step 5: Apply the Pratley Kraftex Pratliglo, it is very easy to use...simply combine the two solutions (instructions are also included in the box). Using a paint brush (use an old one as you won’t be able to use this brush again), apply the pratliglo around the entire egg, ensuring it is evenly spread out. Allow your egg to cure and dry for 72 hours. Now repeat the process another two times to get the full effect.