The Art of Candle Making
The beauty of wax candles is unmatchable. Read on to know more about the many uses of wax and how to make your own candles!
Origin and History
Worker bees secrete wax from their abdominal glands to create the honeycomb structures in hives. Among honey bee species, the wax produced by the European and Oriental honey bee is prized for its low acid value. Ancient Egyptians used beeswax as cold cream 4,000 years ago. Over time, it has found wide use in medicines and cosmetics.
Wax appears in Greek mythology, remember the tale of Icarus whose wax wings melted when he flew too close to the sun? Wax statues were made to honour valiant Roman warriors, a precursor to today's 'waxed' celebrities! Medieval Europeans often paid taxes with wax; ancient Persians once embalmed their dead with it.
Waxes and moulds
Paraffin wax from petroleum is inexpensive and easily available. Beeswax is pricier, but has a pleasant, natural aroma. Wax is also processed from plant sources like soy, bayberry and palm.
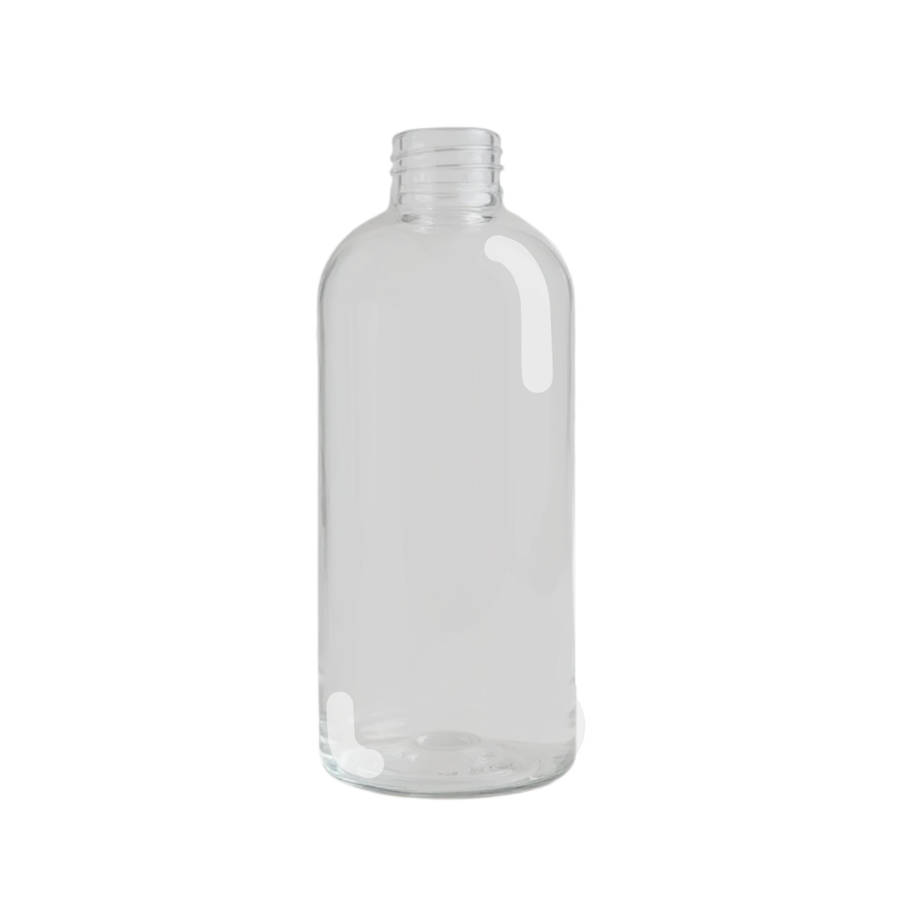
Seamless, one-piece aluminium moulds have a convenient hole that keeps a wick in place while the wax cools. Tealight moulds come in handy, flexible polyurethane with 12 or more cavities. Grubby moulds give an interestingly uneven finish to the candle. Make your own moulds from glass vases, soup cans, bowls, milk cartons or strong cardboard (remember, the container's neck should not be narrower than its base).
What you need to know
Each type of wax melts at a different temperature. For container candles (poured into a container), use soy or paraffin wax that melts between 130 - 140 degree Fahrenheit. Free-standing, moulded candles need wax that melts at a higher point. With paraffin and soy wax, you can incorporate your own fragrance.
Making a candle
You will need:
Wax, wicks, a mould or container, food colour/fragrance (optional).
Method:
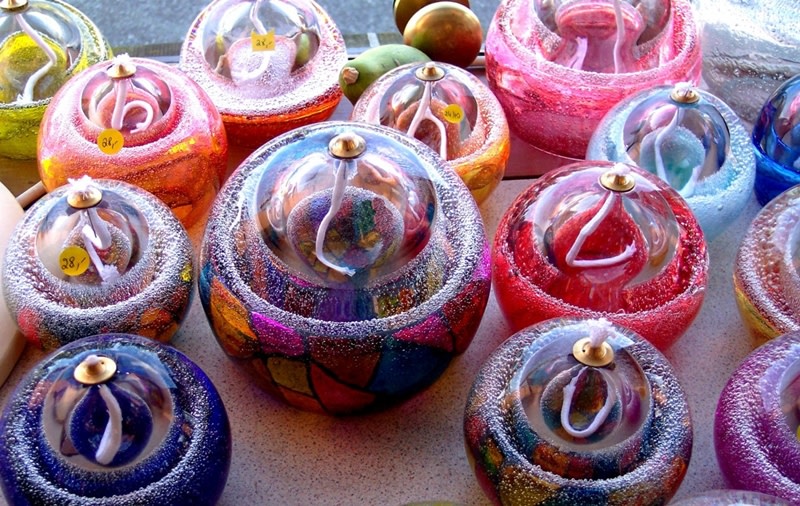
In a double boiler, heat wax over a stove until melting temperature is reached. Place the wick in the mould to centre the wick, wind one end around a skewer and place this on the rim of the mould. Pour in wax, leaving about two inches of space at the top of the mould. Tap the mould lightly to release any air bubbles. When the candle shrinks, top up with the remaining wax. Allow about 4 to 6 hours for it to cool ad then refrigerate for about 10 minutes. Invert the mould over a newspaper and slide the candle out. Trim the wick. To ensure easy removal, spray non-stick cooking spray inside the mould before pouring the wax.
The craft of candle making is an increasingly popular hobby and can even be turned into a lucrative small business. Take a look at the craft category for candle making supplies.