Soap making is catching on as quite the DIY fad. Those who make their very own soap will tell you that homemade soap feels better, smells better and in general has more character to it, compared to commercially manufactured soap. So here's a handy guide to making your own soap.
Soap Making Supplies
1 kg vegetable shortening
0.7 litres coconut oil
0.7 litres olive oil |  |
 |
340 gm caustic soda (AKA lye)
0.9 litres distilled water
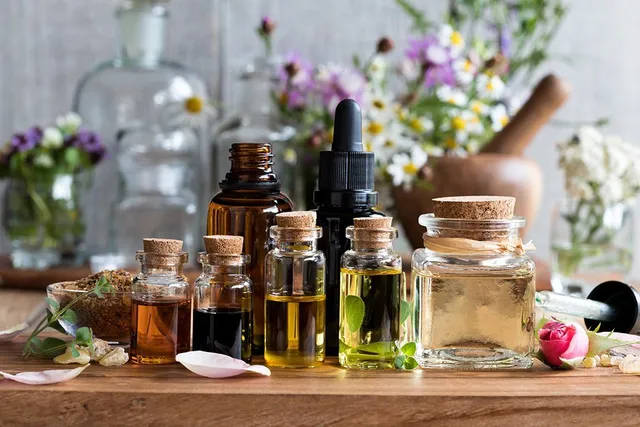
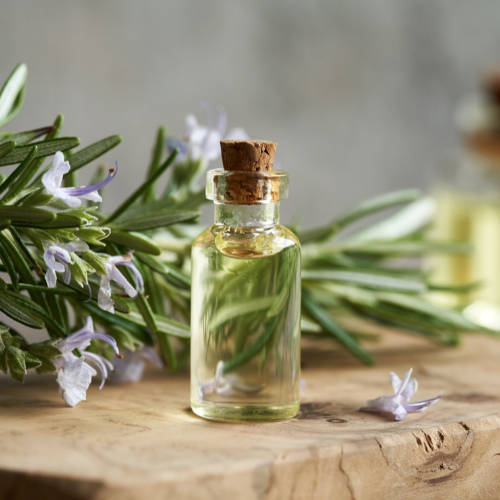
100 ml essential oil of your choice (rose, eucalyptus, and lemon are favourites)
Note: Ensure that all ingredients are precise.
Soap Making Equipment
You need heavy duty gloves and goggles for protection. You also need a weighing scale, a stainless steel pot, large glass container, measuring cups, wooden spoons, two thermometers, plastic soap moulds, and cleaning supplies like paper or cloth towels.
|
Making Home Made Soap, Step-by-Step - Add caustic soda to the water slowly. Ensure that lye does not touch your skin and that you're mixing the caustic soda and water in a well-ventilated area. The water will slowly heat and release fumes, avoid breathing them in. Stir until the caustic soda is dissolved in the water. Set the mixture aside and let it cool.
- Combine coconut oil and shortening in the steel pot. Set it on medium-low heat. After a few minutes, add olive oil. Stir well to combine.
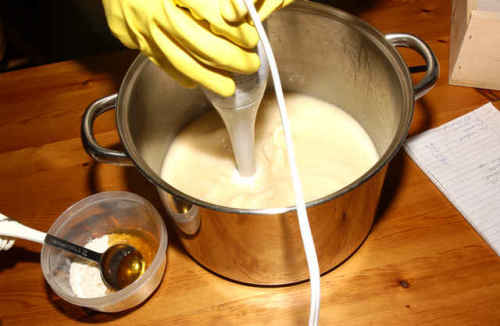
- Use two thermometers to check the temperatures of both mixtures. Water-caustic soda should be at about 96 degrees Fahrenheit (35 degrees Celsius) and the oil mixture should be at the same temp or a little lower. At this temperature, pour the water-caustic soda mix into the oil mixture slowly. Stir with a wooden spoon for about 15 minutes.
- Add your favourite essential oil.
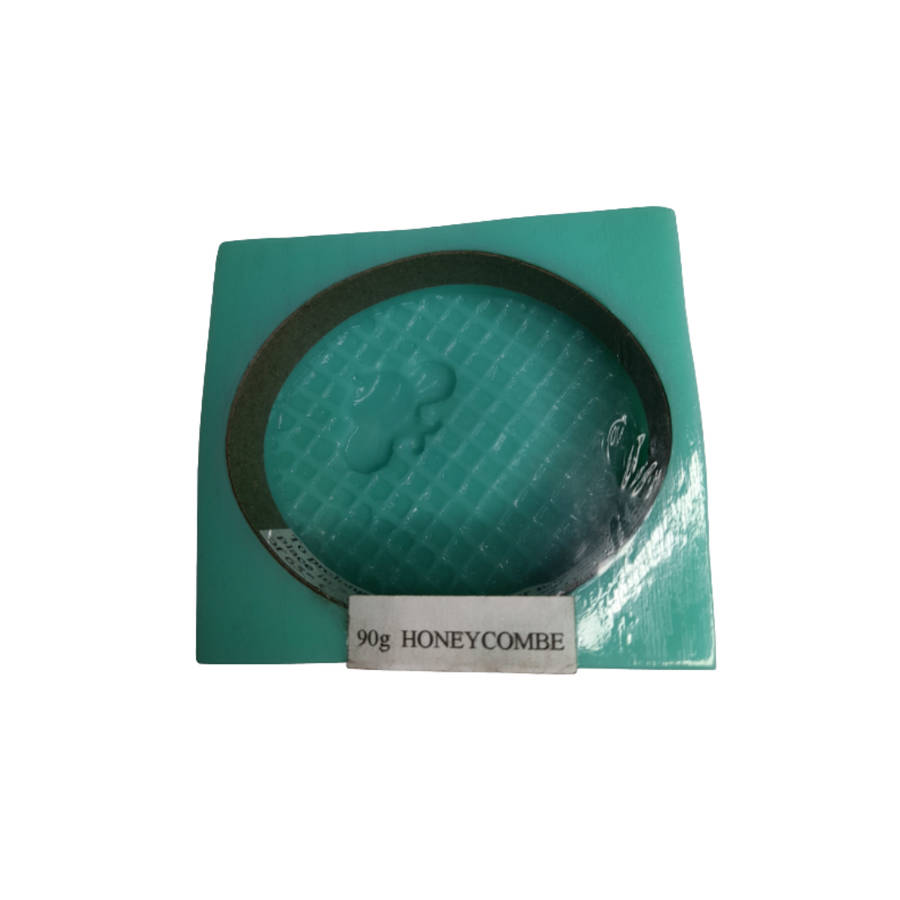
- Pour this mixture into soap moulds immediately, avoiding bubbles. Cover the mould with cardboard and place some towels on top. Set aside for 24 hours.
- After 24 hours, check your soap. A thin, ash-like layer on top is good. A thick layer of oil on top is bad; it means you cannot use the soap. If the soap has not set at all, it also cannot be used because it is still caustic.
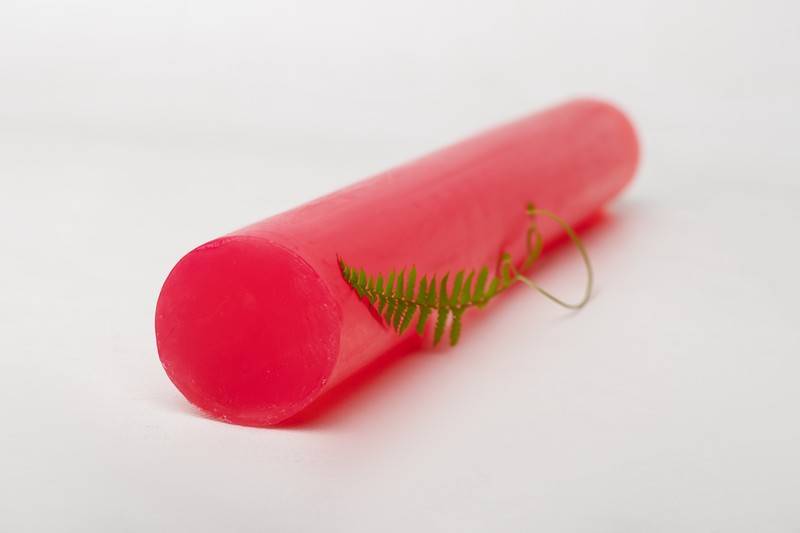
- If the soap sets well, it is now time to cure it. Unmould the soap, cut it into bars (big or small), and let it sit on a drying rack for two weeks to complete the curing process. Your soap is now ready for use.
|
| Making soap at home can be a fun activity. Not only do you save a fair amount of money over time, you know your soap has gentle ingredients, unlike the ones you buy from the store that are chockfull of harsh chemicals. |