


| Main centres: | 1-3 business days |
| Regional areas: | 3-4 business days |
| Remote areas: | 3-5 business days |
Preparation:
-A clear, clean, well lit work area. (An environment with higher humidity like a bathroom where you've run hot water in the shower can help eliminate static that can attract dust).
-Adjustable height chair to get comfortably close to the phone/tablet without straining (I recommend roughly chest height, so that you can easily rest your arms on the work surface).
-Sheet of paper or cloth to prevent scratches to phone/tablet and to present a clean work area.
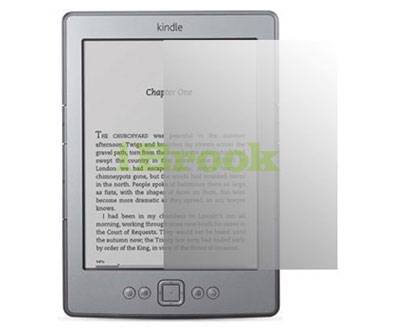
-Screen protector of your choice.
-Cleaning cloth included in our screen protector.
-Screen squeeger included in our products or credit card.
-Tape. Try not to use tape with very strong adhesive such as clear packing tape, as it will be harder to remove at the end of the procedure.
-Cleaning solution such as Windex, or better yet, anything suitable for optics or eyeglasses. What you want is something that won't leave a residue.
-Reading glasses, for those of us over 40.

Step 1:
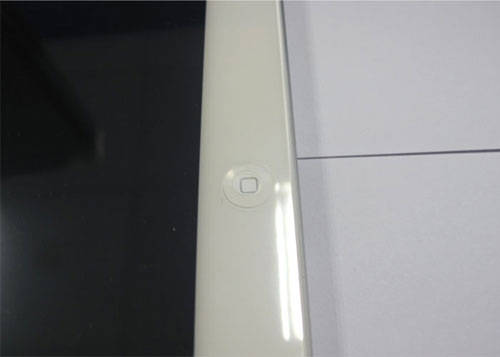
Also, make a note of the cuts and shapes. Note what happens in these two shots when I flip the protector in the opposite direction:
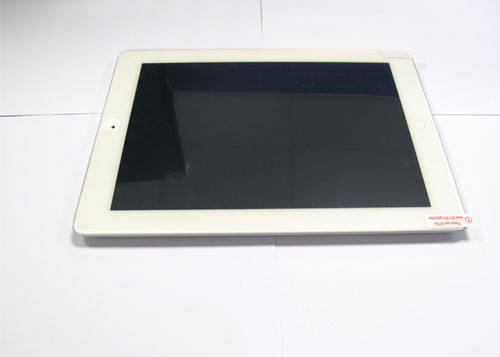
Step 2:
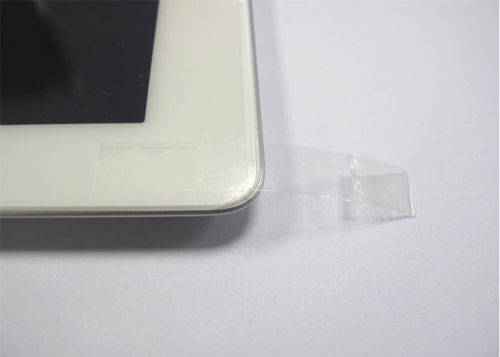
-Once you've sized up your screen protector layout against the target, prepare two strips of clear adhesive tape about 1"-2" long each, folding both sides side over to stick it to itself as a 'flap' or 'tabs', which will give you an easy way to grab the tape for removal after the screen protector is deposited onto the phone/tablet.
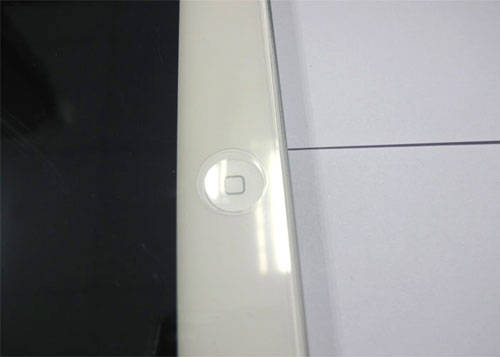
-Note: On some larger devices such as tablets, and in certain cases even on smaller phones, using more than 2 tabs can be an aid. Use your judgment. The beauty of this is that you can experiment with the feel of handling the protector prior to application to get some practice, and see how many 'tabs' you'll need.
-Lay one on the edge from where you will be removing the film backing. What you are doing here is to create scotch tape 'handles' which you use to steer the protector onto the phone/tablet, instead of handling the protector itself and risk getting fingerprints on the adhesive.
Step 3:
Clean the phone/tablet thoroughly. This is where the lint-free cloth and cleaning solution come into play. Be sure that you've removed all the fingerprints and dust specks. Use the condensation from your breath to see any flaws or residue left on the screen. Often it helps to buff the area when dry. It all depends on whether the residue you're cleaning is greasy, sticky, or whatever. Some smudges respond better to one method than the other.
Step 4:
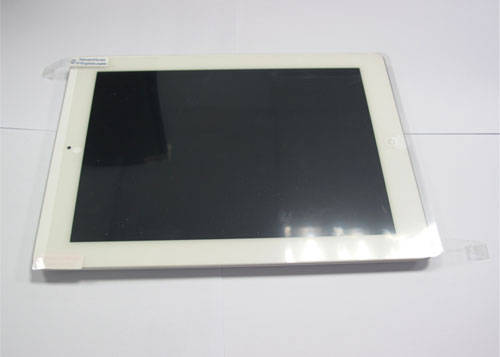
-Lay phone/tablet on flat even surface and get your screen protector with its 'handles'.
-Holding the one tape 'handle' that you created near the tab, remove the backing from the protector. You're going to get static electricity from this. And do your best to keep the protector far enough away from other objects in the area it might come into contact with.
-Once you've successfully removed the backing, grab the second 'handle' and SLOWLY approach the phone/tablet with the protector, recalling the spacing you saw when you first laid the sheet on top to size it up.
-HINT: Rest your forearms or wrists on your work surface to steady your hands, and roll your wrists or move your fingers back and forth for position. Don't try to hover over the screen suspending the protector with your entire upper arms, as this will introduce shake and sway. Bigger distances introduce bigger errors. Smaller distances require smaller corrections. A lesson I learned while taking watch repair classes.
-Hold the protector over the display (remembering the spacing you observed earlier) and lay it down starting on one corner or one edge (depending on its shape), and slowly let it fall into place. Do this by starting at the corner or edge, rather than just plopping it down flat. This way, it helps prevent air bubbles from forming in the middle which can occur.
Step 5:
If you've been lucky enough to be in a dust-free environment, and slowly applied the protector from one edge to the other, you should now have a perfectly installed screen film. However, most of us are not that fortunate. This is again where the scotch tape 'handles' come into play.
-Create a 3rd length of scotch tape, but this time, only fold it over on one edge, which is where you'll be handling it, and hold it with one hand adhesive side up. This segment of tape will be the 'mop' used to remove any residue.
-Find the spot that has the dust specks on it. Because any dust particles will have almost certainly stuck to the backing of the protector, as you pull up on one of the remaining 'handles' that are still attached to the phone/tablet, the dust specks will adhere to the protector, rather than the screen.
-Note: Some very fine dust particles or fibers can lift the protector from the screen surface just enough so that they'll appear as though they're air bubbles. If you're concerned, follow this procedure and be prepared with a 'mop' to address it.
-Slide the strip with your other hand to the spot where the dust speck is, and let the film fall down again so that the tape comes into contact with the adhesive, and LIGHTLY apply pressure.
-Lift the protector up, peel the 'mop' away and it should take the dust speck with it. Repeat as necessary.
Final step:
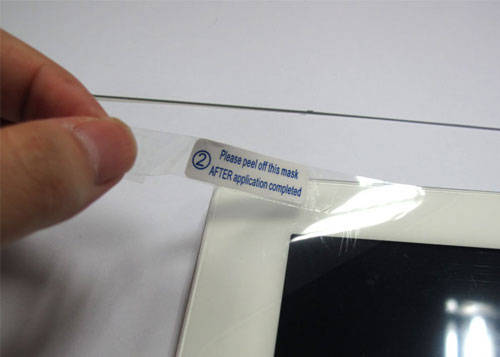
-Presuming all went well, you have no dust under your screen at this point. Remove the tape flap you made starting from the center of the screen and peeling back to the edges, rather than from the edges inward which would risk lifting the protector off the display.
-HINT: Do not lift the tape at a 90-degree angle to the surface of the screen. See if you can pull it off as parallel to the surface as possible, which again will reduce the risk you'll pull the protector off the surface of the display.
-If there are any air bubbles, they should be close to the edges, easy enough to push out using your finger or a credit card covered with your cleaning cloth to prevent any grit from the card from scratching the protector.

