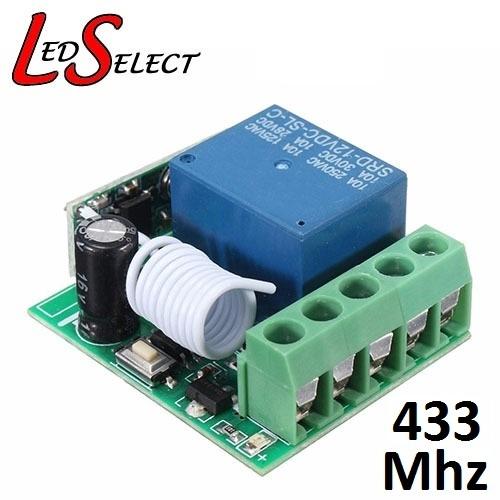
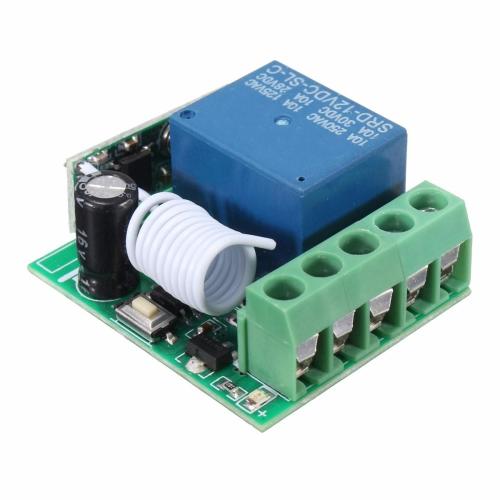
Controller Relay 12V 1 Channel 433Mhz Board Only (No Remote) **LOCAL STOCK**
Check my rate
| Main centres: | 1-3 business days |
| Regional areas: | 3-4 business days |
| Remote areas: | 3-5 business days |
Product details
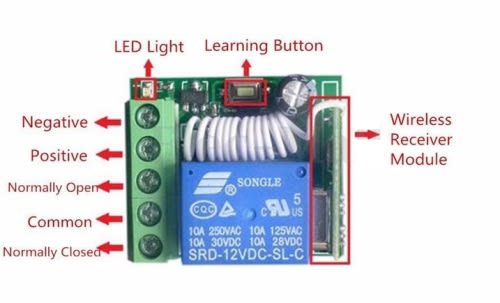
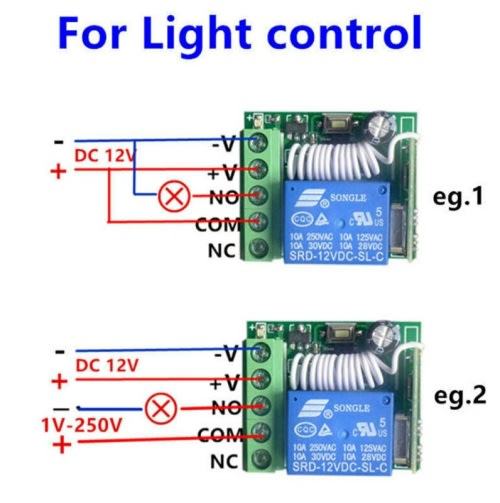
Controller Relay 12V 1 Channel 433Mhz Board:
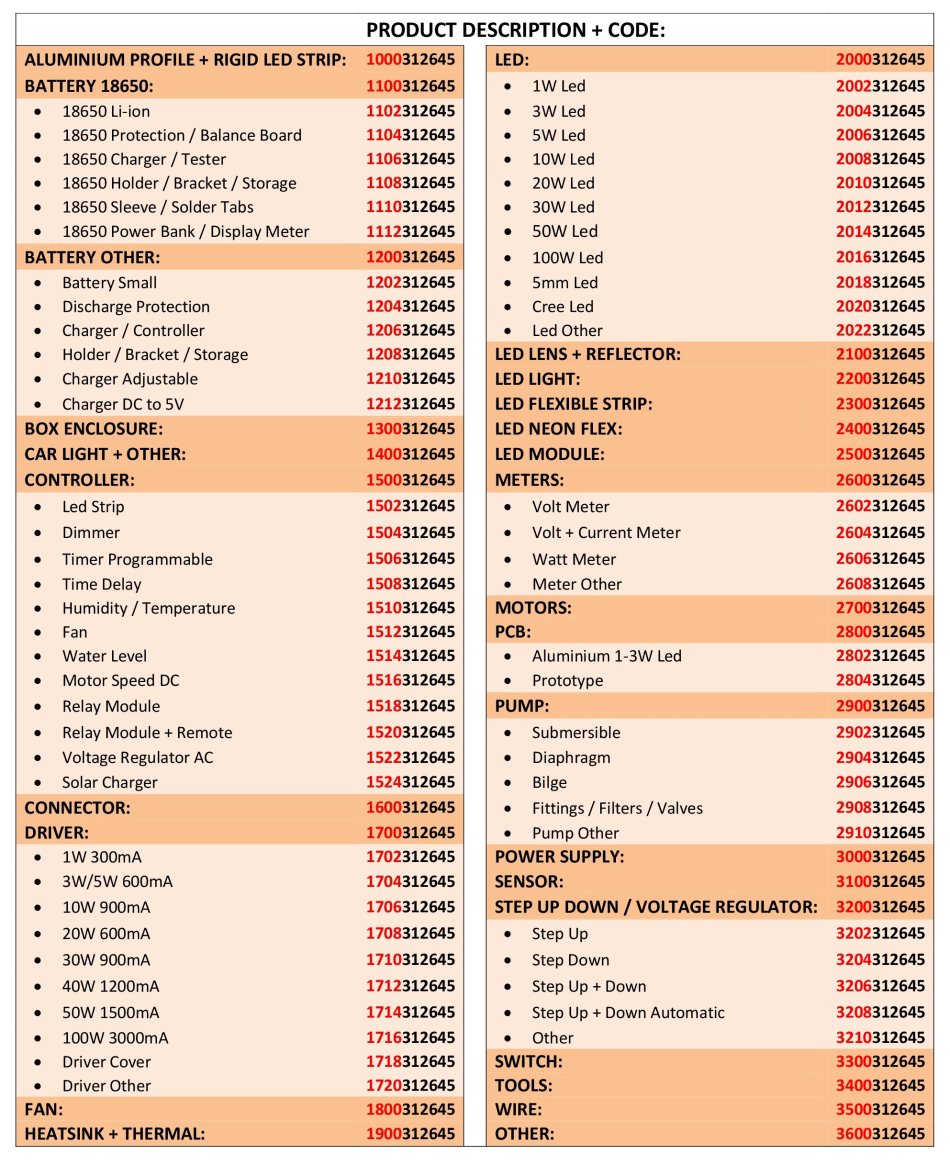
Category Code: 1500312645 / 1520312645 - Controller Relay Module + Remote
Specifications:
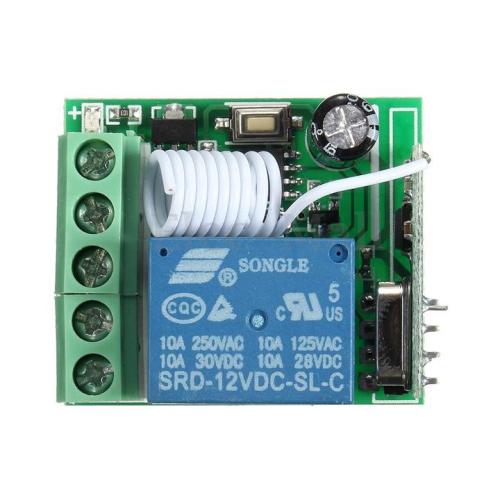
Input Voltage: DC 12V
Output Current: 10A
Rated Load: 10A 250VAC / 10A 30VDC
RF Frequency: 433MHZ
RF Working Mode: Super heterodyne receiver
Receiver Sensitivity: >90dBm
Remote Control Distance: >100 meter (In open environment)
Decoding Way: MCU Software decoding
Can store the number of remote control: 50
Support remote control type: Fixed code, learning code
Multiple working Modes: (Jog/Non-Latched ,inter-lock/Latched ,self-lock /Self-Latched,Delay off)
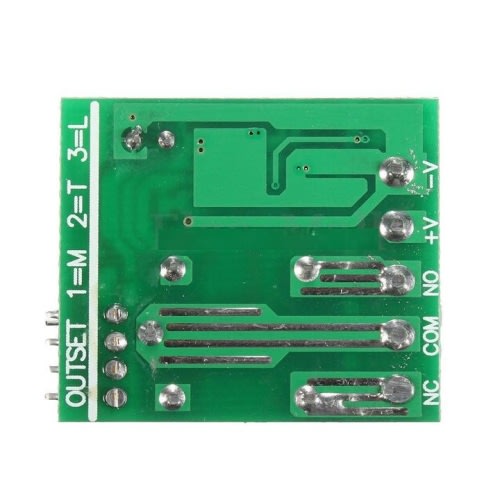
Wiring Method: Fixed wiring terminal
10A 30VDC / 10A 28VDC
Output: Normally open, Common, Normally closed
Size: 35 x 30 x 16mm
Working/output Way:
1. Jog/Non-Latched: Press one button is Working /ON. Loosen your finger on the same button is Stop/OFF. One channel switch need one buttons remote control.
2. Self -lock/Self-Latched: Press one button for one time is working/ON. Press the same button again is stop/OFF. One channel switch need one buttons remote control.
3. Inter-lock /Latched: Press one button is working/ON, press another button is stop/OFF. One channel switch need 2 buttons remote control.
4. Delay: Press remote control 's one button,relay is working,release the remote control and begin timekeeping,after 5s,10s,15s will automatically close the relay
Learn:
1. press the learning code .the indicator flash ,loosen your finger ,press any button of the remote control (press 1 times to learn Momentary;2times-Toggle;3times-Latched;4times-5s delay;5times-10s delay;6times-15s delay)
the indicator flash 2 times and off .it mean you learn it successfully .
2. it can learn 2272 2262 or 1527 chip with the different code wireless 315MHz remote control
Reset new operating mode:
1. Jogging
Press the white learning button on the top of the control panel, LED lights, and then press any button on the remote control set to ‘Jog’ button, the control panel LED lights flashing, indicating that the setup is complete
2. Self-locking
Press the white learning button on the top of the control panel, LED lights, and then press any button on the remote control to set to ‘self-locking’ button, the control panel LED lights flashing,
3. Interlock
Press the white learning button on the control panel, the LED lights, and then press any button on the remote control set to ‘start’ button, the control panel LED lights flashing, press another button to set to ‘stop’ button LED Blinking means the setting is complete
Remove/clean:
press the learning button about 8 seconds , the indicator turn on to off, it means the information that you keep have been removed successfully
* Please Note: We sell remotes separately

Insert the category code in the 'BidOrBuy' main search bar to find what you're looking for in our store
Please see all our listings here:
www.bidorbuy.co.za/seller/434337/Led_Select