| Main centres: | 1-3 business days |
| Regional areas: | 3-4 business days |
| Remote areas: | 3-5 business days |
When it first starts to rain, water slowly builds up in the roof gutter system before it exits through the downpipe. Gutter mesh and baskets (leaf catchers) will help with leaves and larger debris but cant stop small bits like dust and bacteria. That is why it is recommended that you install a First Flush Diverter. We all know that prevention is better than cure and so it makes sense to stop the pollutants from entering your tank.
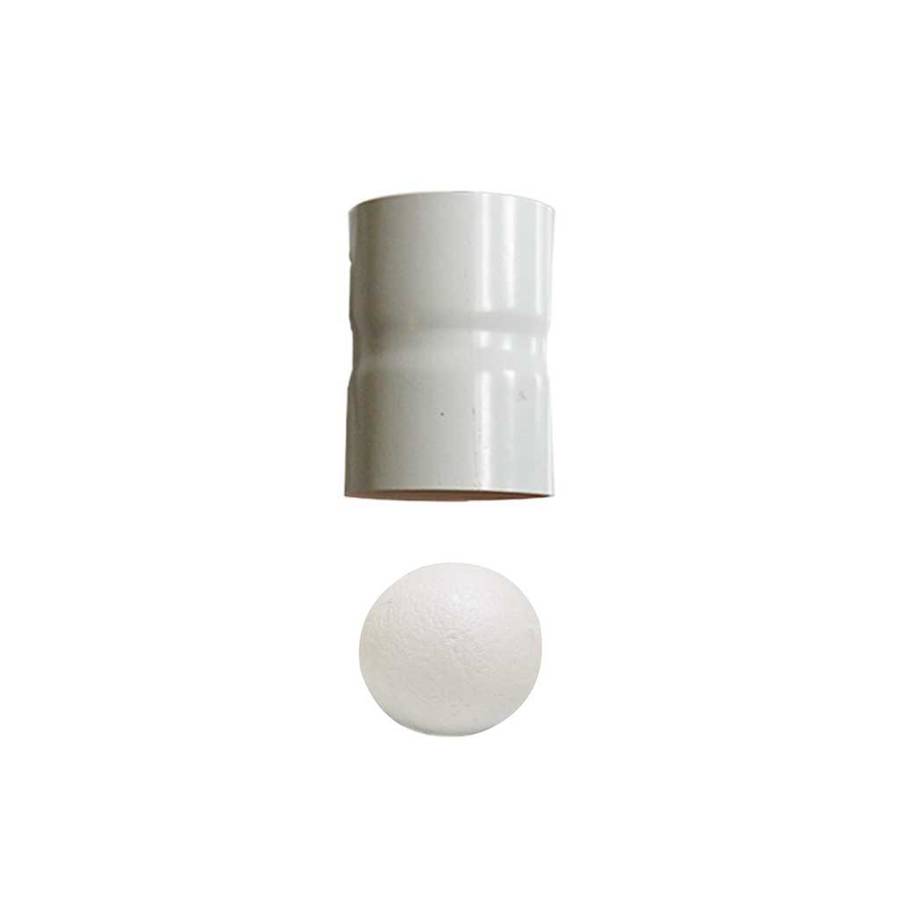
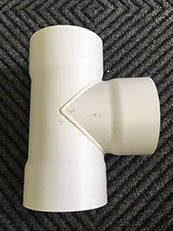
The first flush device is installed along the gutter downpipe that will feed into your water tank. As the water level in the first flush diverter chamber (110mm pipe) rises, the ball floats and rises. Once the chamber is full, the ball rests on a seat inside the chamber preventing any further water entering the diverter. The subsequent flow of clean water is then automatically directed along the pipe system through the T piece into the rainwater tank.
It is best to have one first flush diverter on each downpipe however a single unit can be placed close to the tank and perform the first flush for several downpipes. This will really depend on how big your roof catchment is and how clean you need the water to be.
The amount of water flushed is determined by the length of the 110mm PVC (flush) pipe attached to the First Flush kit. The average is 1m of 110mm PVC pipe will flush 50sqm of roof catchment area.
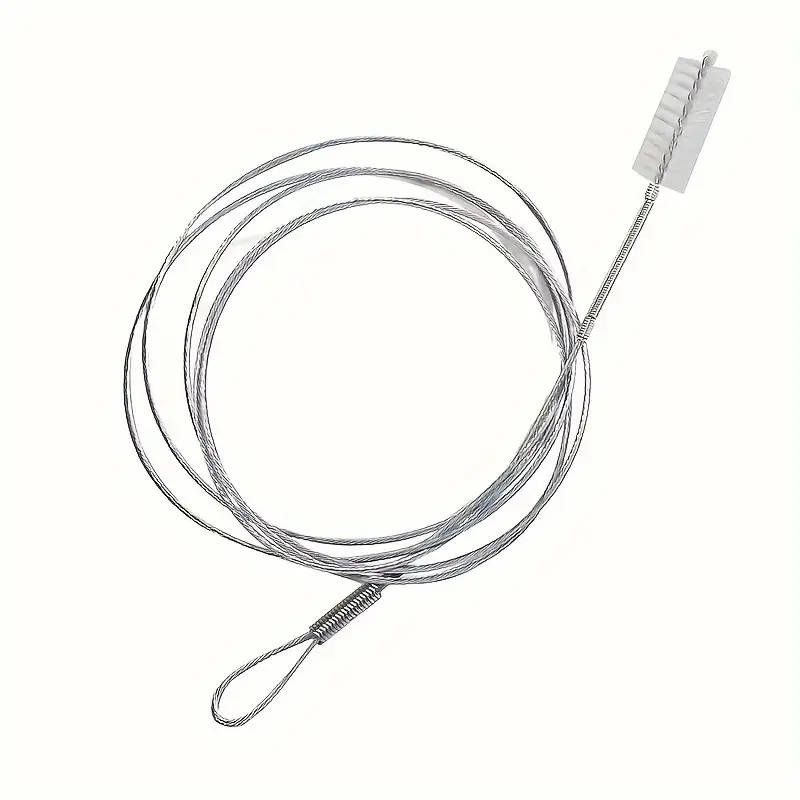
The first flush system is a simple and effective device. After the rain, just drain the system through the valve, ready for the next rain. The bottom of the unit (end cap) can be screwed off to fully clean the unit occasionally. During periods of frequent rain, it may not be necessary to drain the first flush device every time it starts raining as the roof and gutters may already be clean.
First Flush systems work best when a leaf catcher box is installed at the start of the downpipe. The leaf catcher box (available from us and sold separately) is fitted at the start of the downpipe either directly on the underside of the roof gutter at the facia board, or to the wall. The device deflects leaves and debris away from the flow of rainwater.
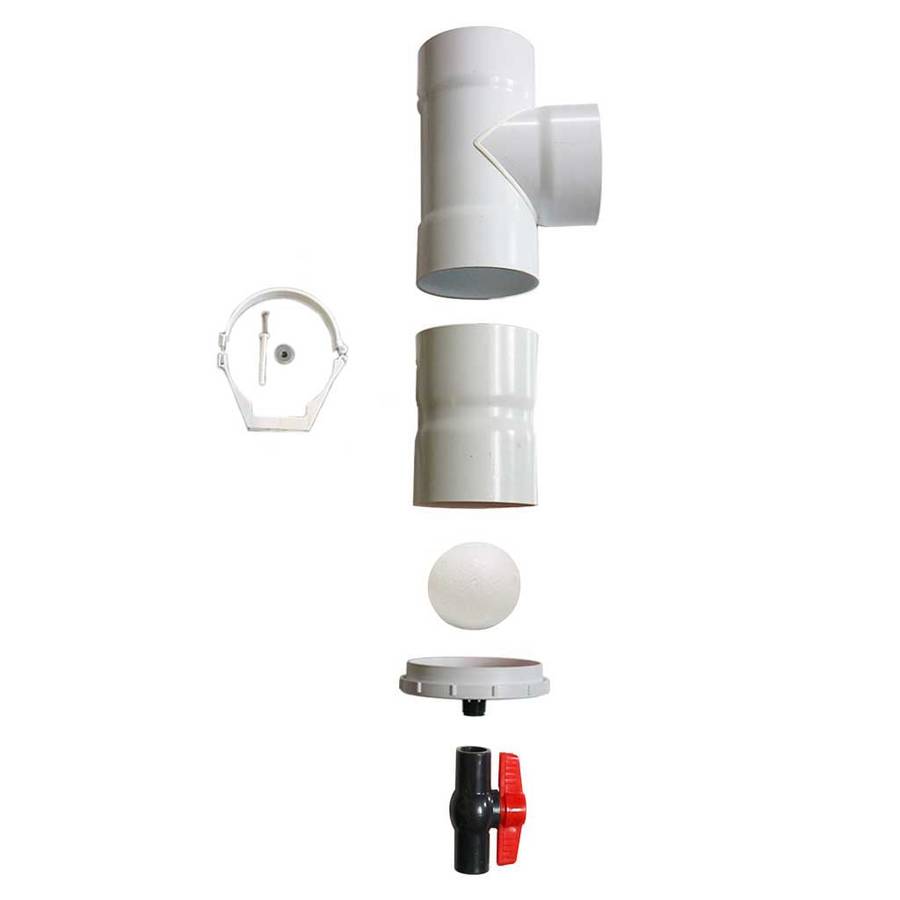
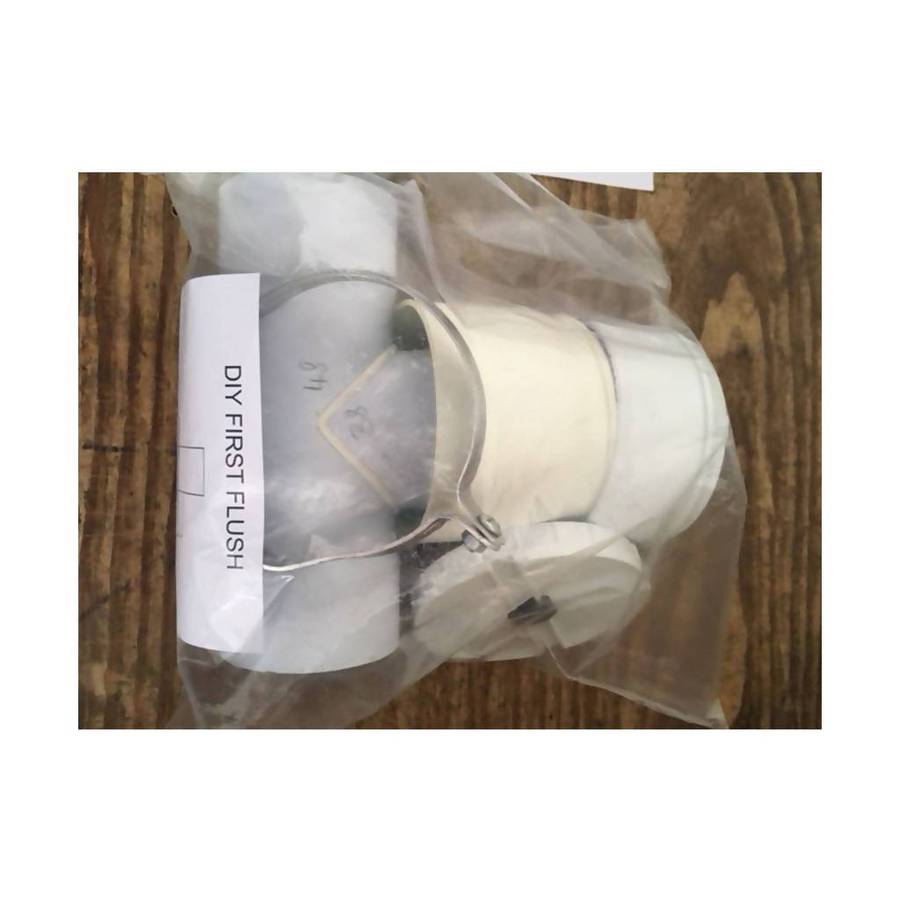
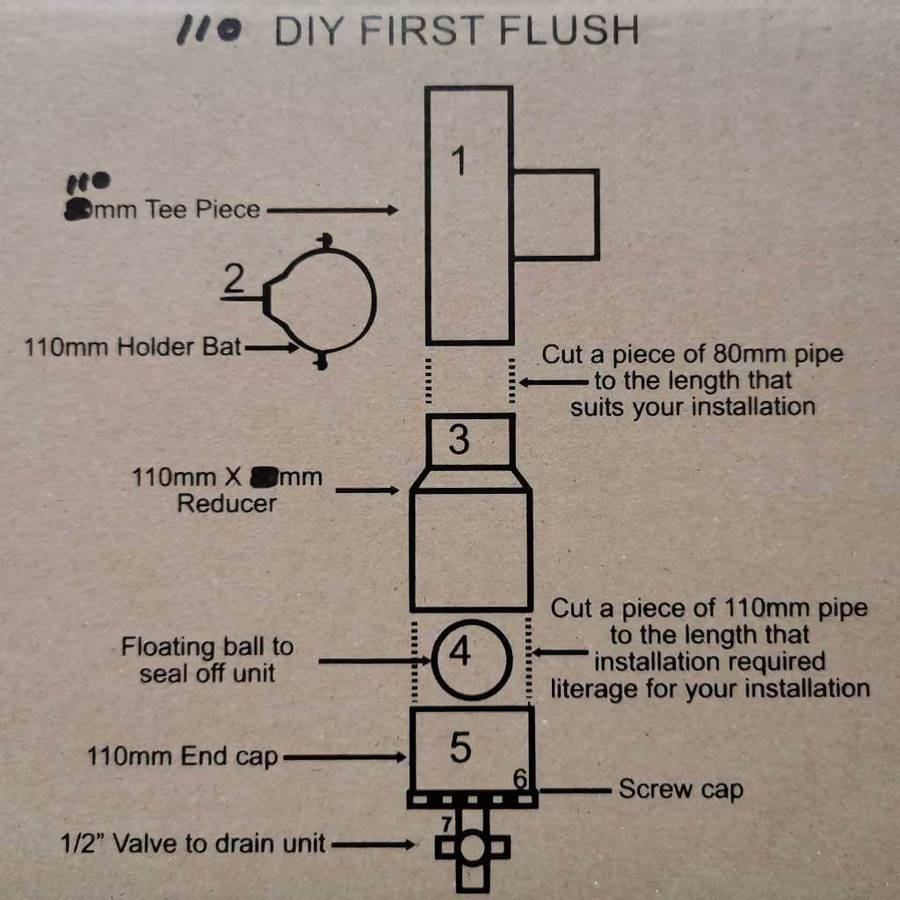
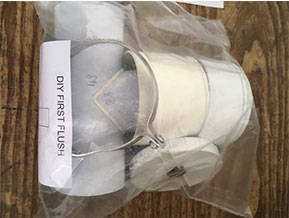
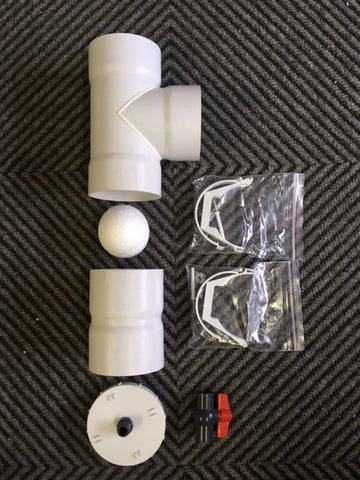
First Flush DIY kit includes (supplied in a small box with instructions).
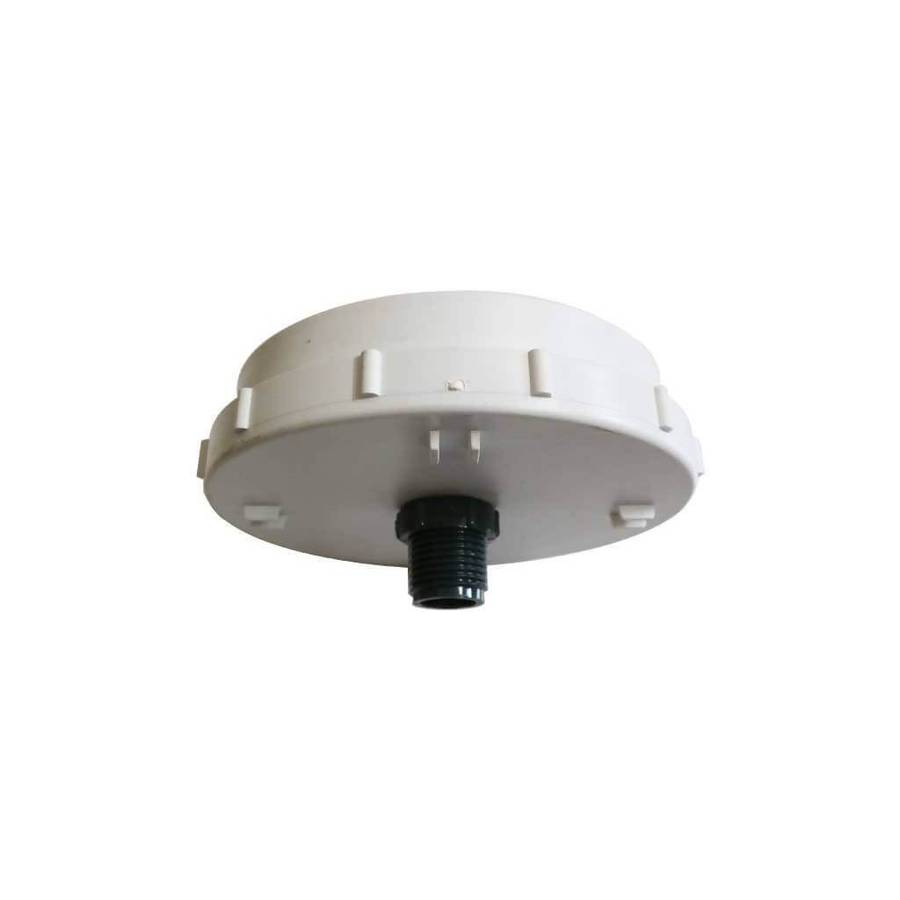
Top intake cap/adapter (Intake to insert standard 110mm round gutter downpipes),

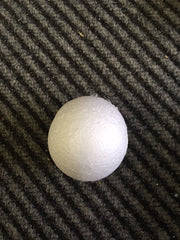
110mm float ball,
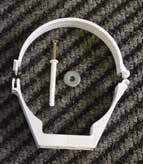
110mm plastic bracket for mounting the unit to the wall,
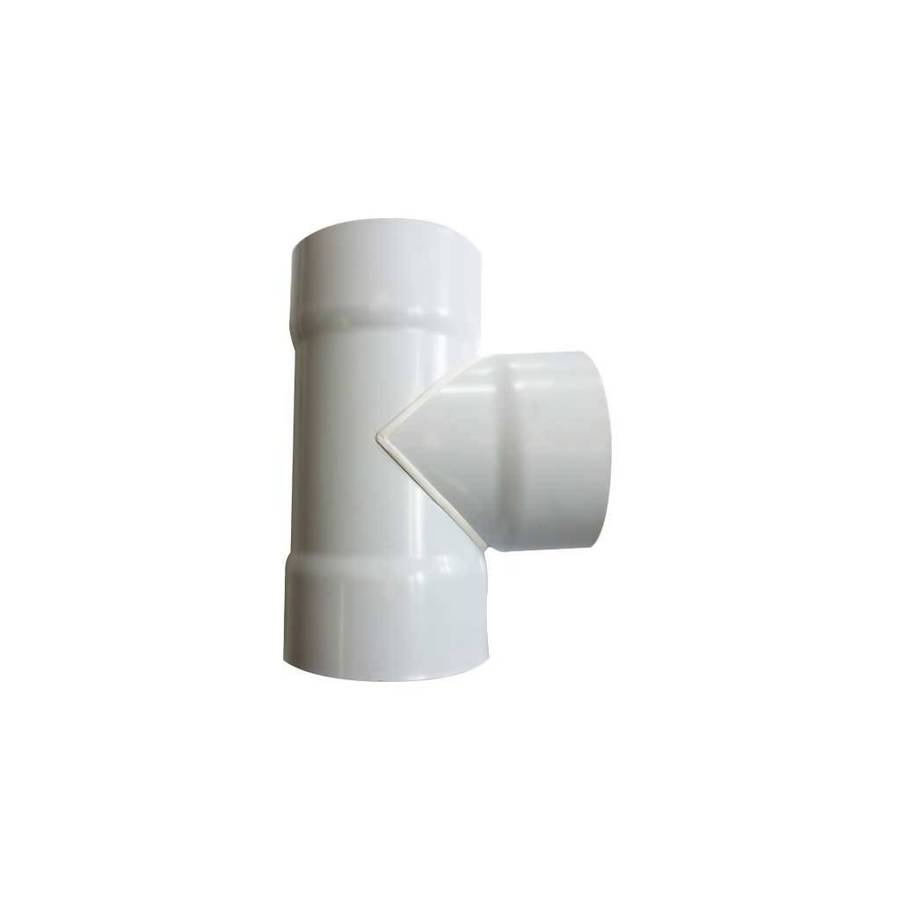
110mm round T piece,
Bottom base cap with screw off lid for cleaning,

Valve for draining the water

You will need to secure the First Flush and pipes to a wall or other structure. This should only be done after you have assembled the First Flush kit in full as follows:
1) Cut your required length of 110mm PVC pipe to use as the chamber pipe. The length you require should leave enough area at the bottom of the device to the ground as space is required for the end cap to be screwed off for occasional cleaning and space for the valve for draining the water. Enough space to insert a bucket to drain into is a good idea or attach a hose to the valve. Take into consideration that the 110mm round T piece is installed at a height above the tank so there is a slight fall (water flow) towards the tank filling inlet.
2) Attach the bottom end base cap assembly to the 110mm pipe you have cut using PVC plumbing glue or a good plumbing silicone.
HINT: Only screw the valve into the end base cap once the installation is complete. This will minimise the chance of snapping the valve off in the end cap housing if you drop the pipe while installing!
3) Insert the ball into the chamber.
4) Insert the top end cap onto the 110mm pipe and secure using PVC glue. (The top cap has a belled 110mm inlet).
5) Once the unit is assembled and the PVC glue is dry, remove or cut the existing downpipe at the required height.
6) To affix the First Flush unit to the wall, 1 x 110mm mounting bracket is included in the DIY kit. (If more mounting brackets are required they can be bought at your local hardware store or plumbing supplier)
7) Your existing 110mm downpipe can then be easily and simply inserted into the top cap of the first flush device.