Hiland UN0 DIY Kit Build Your Own Un0 Board Compatible with Arduino Un0 Motherboard

Hiland UN0 DIY Kit Build Your Own Un0 Board Compatible with Arduino Un0 Motherboard

20 available / new
R332.00
Shipping
R35.00 Standard shipping using one of our trusted couriers applies to most areas in South Africa. Some areas may attract a R30.00 surcharge. This will be calculated at checkout if applicable.
Check my rate
The seller has indicated that they will usually have this item ready to ship within 12 business days. Shipping time depends on your delivery address. The most accurate delivery time will be calculated at checkout, but in general, the following shipping times apply:
 
Standard Delivery
Main centres:  1-3 business days
Regional areas: 3-4 business days
Remote areas: 3-5 business days
Seller
Buyer protection
Returns
Replacement Guarantee: 7 Days: We stand by this guarantee
Get it now, pay later

Product details

Condition
New
Location
International
Bob Shop ID
641125832
Description:
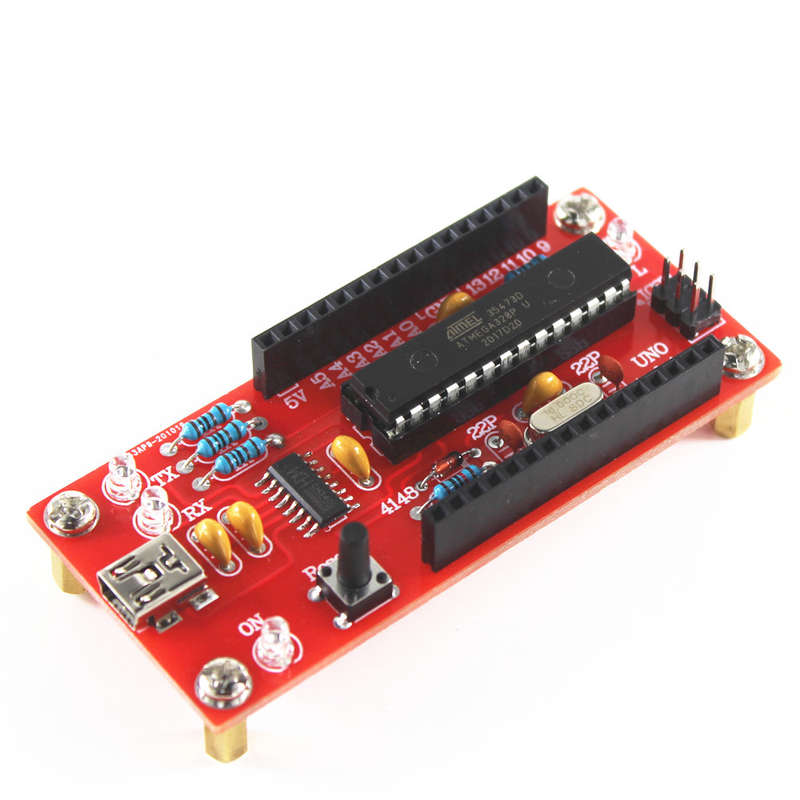
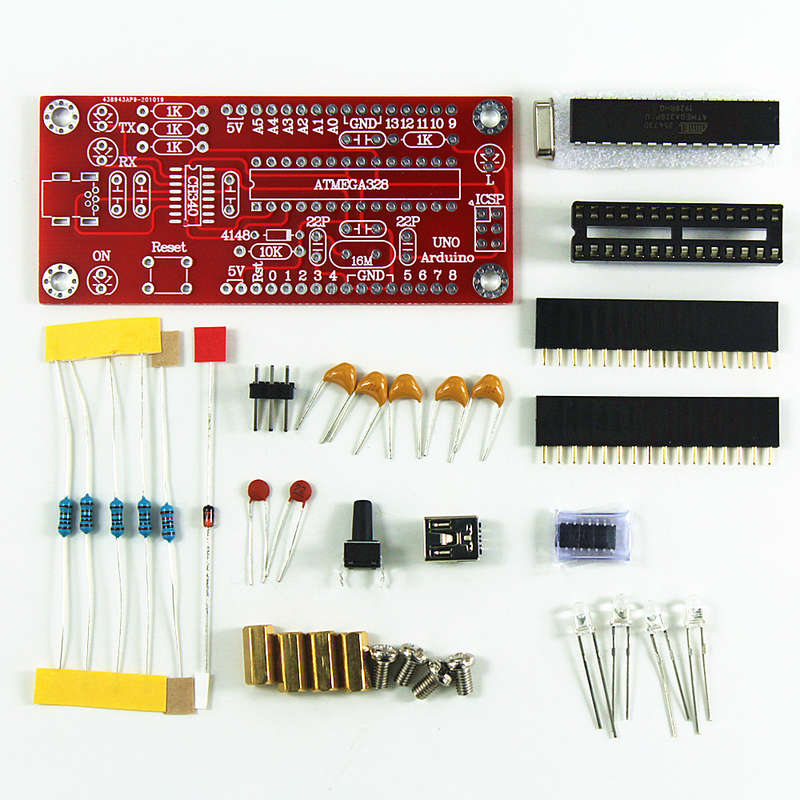
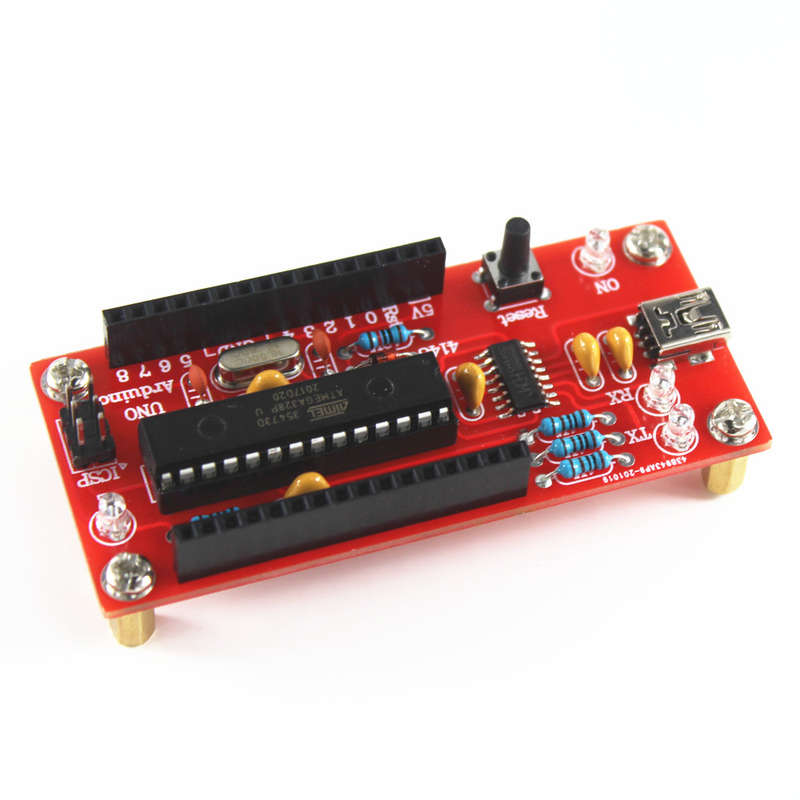
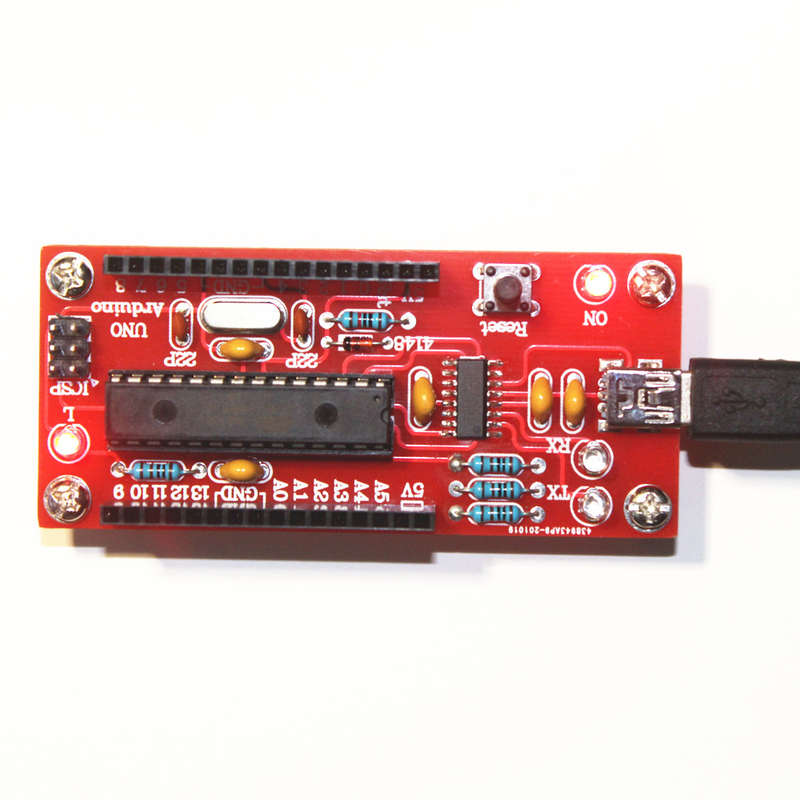
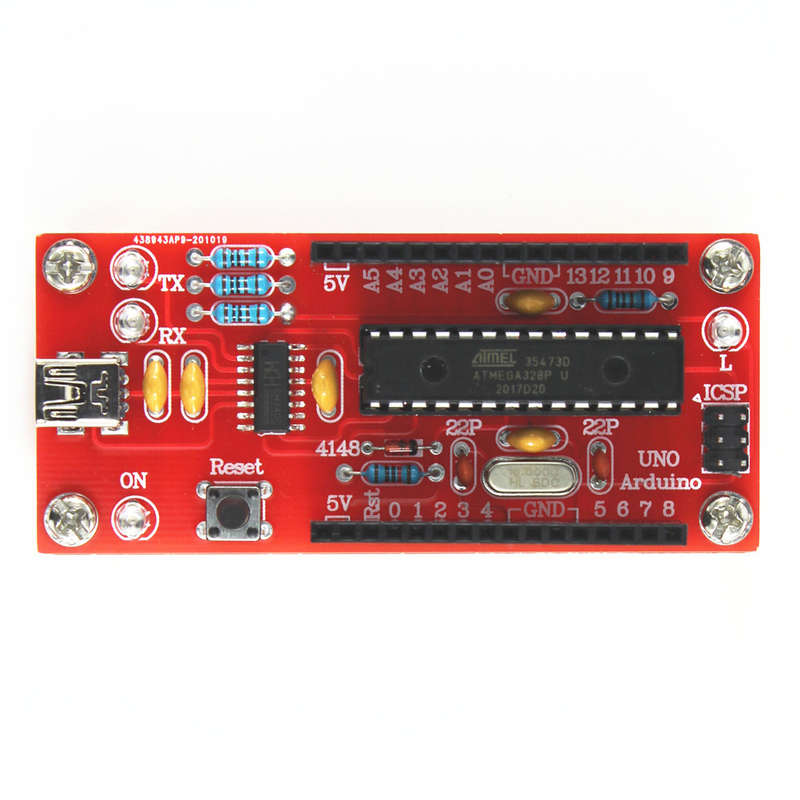
Now, you can build your own UN0 development board through a simple production process! Compatible with ArduinoUN0motherboard, using the original ATMEGA328P-U as the main control chip, and the original CH340C as the USB to TTL driver chip. It is very stable under WINXP, WIN7, WIN8, and WIN10 systems! The win10 system can automatically install the driver. WinXP, win7, win8 need to manually install the driver (CH341SER.EXE file in the attachment), or use the driver wizard to install it automatically. The kit has already burned theUN0bootloader program and the Blink test program. You only need to solder and assemble it correctly. After the soldering is completed, power on, and the LED marked L will turn on and off at one-second intervals, and you can start exploring the magic with ArduinoUN0board. Use a MINI USB cable for power supply and communication. After the production is completed, connect the motherboard to the computer, install the CH340 driver, open the IDE (you can download it on the website), select the corresponding port (COM), and select the type of development boardUN0, you can upload programs through the USB interface, and the TX and RX indicator lights will flash during upload. Driver:
Production suggestion:
1. It is recommended to use a pointed soldering iron for soldering, because the package contains chip IC, and certain soldering experience is required. 2. Operate as short as possible when soldering the LED to avoid high temperature damage to the LED. 3. Soldering the CH340C first, and then solder other components. Development board size: 80*36mm Installation hole distance: 72.6*27.9mm Interface form: MINI-USB (communication and power supply), IC SP
Package included:
1 xUN0DIY Kit


Add to cart

Recently viewed

See more
K1000C SD Card Controller RGB Controller WS2801 WS2811 WS2812B LPD6803 LED 2048 Pixels Program Contr
R859.00
K1000C SD Card Controller RGB Controller WS2801 WS2811 WS2812B LPD6803 LED 2048 Pixels Program Cont
R939.00
Introducing Logic: A Graphic Guide
R100.00
Mini db box 2way 131x50x61mm no breakers db-hg2p
R58.19

Similar products

Original Hiland DIY 0-30V 0-1A LM317 Adjustable Voltage Current Power Supply Kit
R437.00
9% OFF
328 ProtoShield Prototype Expansion Board Compatible Arduino
R52.28 R57.51
SAMD21 M0-Mini Module 32-bit ARM Cortex M0 Core Development Board For Zero M0 Geekcreit for Arduino
R613.00
RGBDuino UN0 V1.1 Geek Duck Development Board ATmega328P CH340C Micro USB Vs UN0 R3 for Raspberry Pi
R523.00