


| Main centres: | 1-3 business days |
| Regional areas: | 3-4 business days |
| Remote areas: | 3-5 business days |
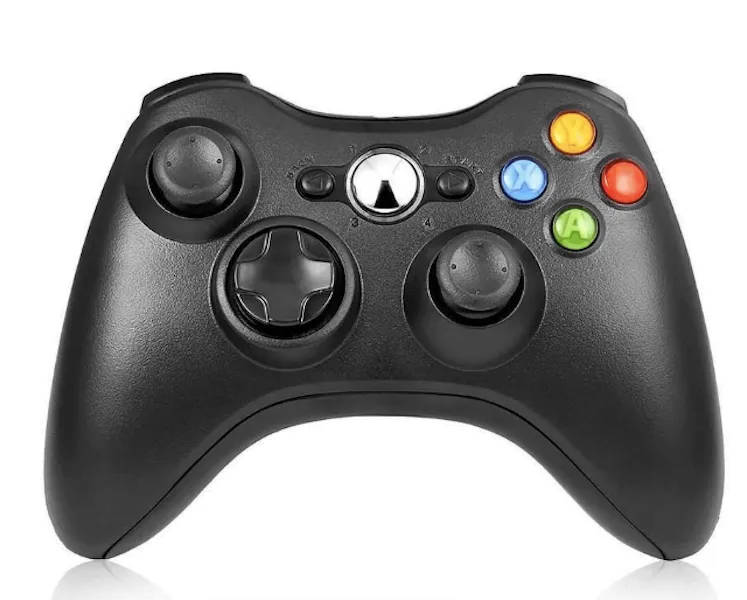
Official Genuine Microsoft Xbox 360 Wireless Receiver for Windows Black Pre-Owned
How to set up the Xbox 360 Wireless receiver for Windows
Step 1. Plug in the USB receiver and press and hold the power button on the Xbox 360 wireless controller (the one with the Xbox logo, Microsoft calls it the Guide button).
Step 2. The controller and receiver should pair automatically, but if not, press the button on the receiver. When paired, a green light will show on the controller and the receiver. The controller auto powers off if you don't use it for a while.
Step 3. If you're running Windows 7, the drivers should install automatically but if not, install them from the included CD or download them from Microsoft's website for all versions of Windows back to XP. Note that the drivers on the CD (or Microsoft's website) add a feature so you can check the battery level by pressing the Guide button. Plus, you'll need the drivers to manage extra hardware such as the optional Xbox 360 headset which plugs into the controller.
Step 4. Load a game, and locate the controller options, and select the Xbox 360 Wireless controller instead of the keyboard. You may find that you have to manually assign buttons to game functions if there's no native support for the controller. Games which do support it should tell you what each button does in the manual.
If you find that your game doesn't support the controller, you can use a third-party utility such as Xpadder to remap keys to the controller's buttons.

