| Main centres: | 1-3 business days |
| Regional areas: | 3-4 business days |
| Remote areas: | 3-5 business days |
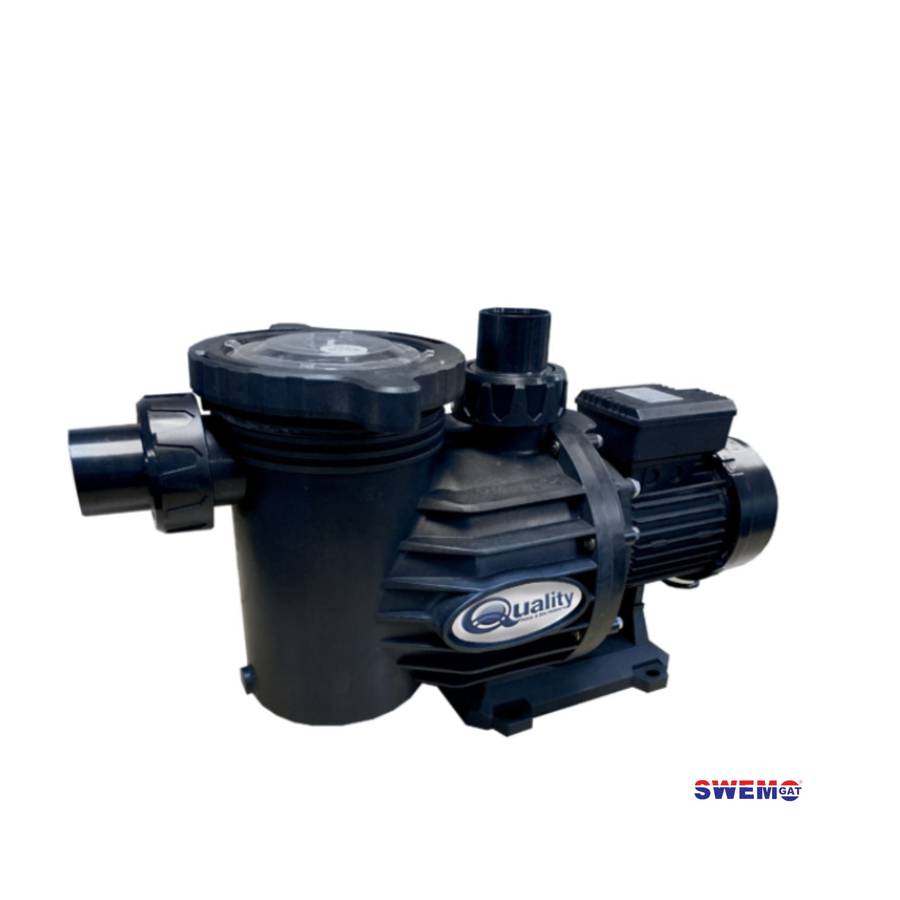
The Quality Swimflo 2 1.1kW Pool Pump and Motor is part of the Quality Swimflo 2 swimming pool pump range and is designed for larger pool filtration systems up to 90,000 litres. It is a practical choice for pool owners who need stronger circulation than a 0.75kW pump, but do not require a 1.5kW setup.
A pool pump is the main circulation point of a swimming pool system. It draws water from the pool through the weir or skimmer, passes it through the pump leaf basket, pushes it through the sand filter and returns filtered water back to the pool. When the pump, filter and pipework are correctly matched, the pool water is easier to manage and filtration can work more effectively.
The Quality Swimflo 2 1.1kW model is recommended for use with a 4 bag sand filter. This makes it suitable for larger residential pools where a strong water turnover rate is needed. The supplied product information also references the SFP11 sizing context, which is commonly used when matching this power class with the correct filter system.
This pump includes a composite stainless steel shaft and a 3/4 inch ceramic shaft seal, both listed in the supplied product information. It also includes a low profile twist and lock lid, designed to make leaf basket access easier while helping create a secure seal when closed correctly.
The pump is self priming and can be installed above or below water level when correctly installed. If the pump is installed below water level, a control valve should be fitted on the suction pipe between the pool weir or skimmer and the pump. This helps prevent flooding when the lid is opened for cleaning the pump leaf basket.
Correct pipe sizing is important. The supplied installation instructions state that the suction and discharge pipes must not be smaller than the pump connection. The suction pipe diameter should be 50mm minimum, with 63mm recommended where suitable. The suction line should be kept as short as possible and should enter the pump straight and horizontally for at least four times the pipe diameter.
Pump positioning, ventilation and drainage are also important. The pump should be placed on a flat, level surface that is protected from rain and flooding. The motor is fan cooled and needs proper airflow during operation. A minimum clearance of 150mm behind the motor fan cowling should be allowed for ventilation and service access.
Electrical connection must be completed by a suitably qualified person. The supplied cable length is for testing only and should be replaced with suitably rated cable. The supplied installation guidance also states that the correct rotation is clockwise when viewed from the motor end, and that 220 volt single phase motors are wired by the manufacturer for correct rotation.
Routine maintenance helps protect the pump and motor. Clean the pump leaf trap and pool weir basket regularly, keep the motor free from dust, replace the lid O ring yearly and backwash the filter weekly or when pressure rises by 50 percent above the starting operating pressure. Only silicone paste should be used on O rings and seals. Do not use Vaseline or petroleum based lubricants.
The Quality Swimflo 2 1.1kW Pool Pump is used to circulate swimming pool water through the filtration system. It moves water from the pool through the filter and returns filtered water back to the pool.
The supplied product information states that this pump is suitable for pools up to 90,000 litres.
The supplied information recommends pairing this pump with a 4 bag sand filter. It may also be matched with a suitable 4 bag filter option where the system design allows.
It can be used only where the pool system is correctly sized, but for smaller pools a lower powered pump may be more suitable. Always match the pump to the pool volume, filter size and pipework.
This specific 1.1kW model is listed for pools up to 90,000 litres. Pools above that may require a larger pump and filter combination.
Yes. The supplied installation guidance states that the pump is self priming and can be installed above or below water level when correctly installed.
Yes, but if installed below water level, a control valve should be fitted on the suction pipe between the pool weir or skimmer and the pump. This helps prevent flooding when the pump lid is opened.
The supplied installation guide states that suction and outlet pipe diameters should be 50mm minimum, with 63mm recommended where suitable.
The motor is fan cooled. Poor ventilation can cause overheating, premature bearing failure or motor burnout. A minimum clearance of 150mm behind the motor fan cowling should be allowed.
No. The motor is not waterproof. The pump must be protected from rain and flooding, and the pump house or box must have adequate drainage.
Clean the pump leaf trap and pool weir basket regularly, keep the motor dust free, replace the lid O ring yearly, backwash the filter weekly or when pressure rises, and use silicone paste only on O rings and seals.
The supplied troubleshooting information states that water leaking from the drain seal plate flange usually means the mechanical seal needs to be replaced.
The supplied product information states a 3 year warranty, subject to normal operating conditions.