


| Main centres: | 1-3 business days |
| Regional areas: | 3-4 business days |
| Remote areas: | 3-5 business days |

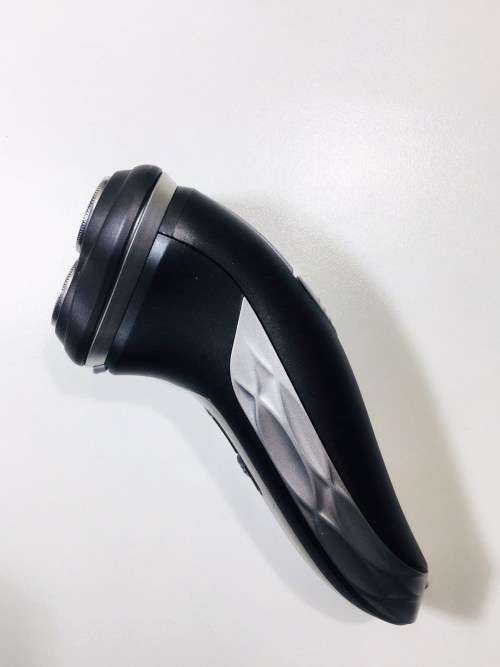
Important Presentation
Please read this booklet carefully before using the shaver.
wash the shaver b
wnter (id
Keep dry of the shaver and power cord
Please take good care of the instruction for future reference,
charging
The switch must be turned off when charger
Shaver should be charged under the circumstance of termperature
botn6-36 Pleasodor'charoei inthe snorter eawarmerfg2
To guarantee a long lie for appliance, please take off it from the wall
it is empty. Do not connect it with power continuously after finishing
Insert the end of power cord into the socket of shaver and then putthe
the charging
pug into power socket, the indication tamp be iftatthe sametime(34)
The shaver should be charged for 8 hours normally Normal shaving
time is 50 minutes after fully charged
Please do not charge the shaver in a closed pouch
Please take good care of the power cord for spare use after charging
Once the power cord is damaged, it must be replaced from the
manufacturer or ROZIA after service center.
Shaving
Press the switch lock key and push ON/OFF switch upward and
the shaver can be used. (fig. 5)The switch lock key is to avoid starting
he shaver accidentally.
Rapidly move the shaver back and forth against the growing direction
of beard(fig. 6)
The shaving is best when the face is dry so please shave before or
some time after washing the face. It will take some time for your skin
to get used to the ROZIA shaving device
Hair on the neck can also be shaved in this way.
Turn off the shaver, put on the dustproof cover to avoid shaving heads
damage(fig. 7)
Dontuse it in case that shaving heads is damaged, as it may hurt your skin.
Trin
Use to trim beard on the temple and other long beard
Slide the trimmer upwards to push it out (fig 8)
Turn on the shaver to trim the beard (fig 9)
Lubricate the trimmer teeth every two months with
a drop of sewing machine oil(fig. 10)
cleaning
Turn off the shaver when start cleaning
Regular cleaning guarantee shaving performance
Cleaning for the shaving unit
1/Clean the shaving unit every week
2/ Clean the top of the appliance with the supplied brush
3/ Press the release button and take off the unit(fig. 11)
4/ Brush the hair chamber(fig. 12)
5/ Put the shaving unit back onto the shaver.
Cleaning for the shaving heads
1/Clean the shaving heads every two months
2/ Press the rslease button and take off the unit(fig. 11)
3/ Rotate the button, and take off the retaining frame(fig 13)
4/ Take off the shaving heads from the unit head one by one. ( Note: do
not exchange the group of cutters and guards, or slse it will effect the
shaving performance(fig. 14)
5/ Clean the cutters with brush(fig. 15)
La
6/ Clean the guards with brush(fig. 16)
no
7/ You can also clean the shaving heads with a degreasing liquid
Dur
(e. g. Alcohol)when needed. If you do, lubricate the shaving heads with
a drop of sewing machine oil after cleaning. This prevent wear of the
shaving heads(fig. 17)
8/ Put the shaving heads and retaining frame back into the unit head
one by one
er
Shaving heads replacement
bat
Replace the shavingheads every two years for optimal shaving performance. din
Use ROZIA shaving heads to replace damaged or oldone in order to com
get the better shaving performance
Battery dispose
The batteries used in this shaver contains material that will pollute
the environment. If you need to dispose the shaver, please dismantle
the batteries and turn them to the fomal collection places
Youyourself also can dismantle the battery in the shaver(fig. 18)
Before dismantle the battery, the shaver must be cut from
The power and without any remaining electricity in it. if there is remaining
electricity, turn on the shaver until motor stops
Dismantle the batteries(fig 19), and turn them to the formal
collection places
After dismantling thr battery,do not connect the shaver to the AC outlet