This item has closed with no items sold
View the relisted Item
View the relisted Item
View other items offered by szulou1847
Similar products

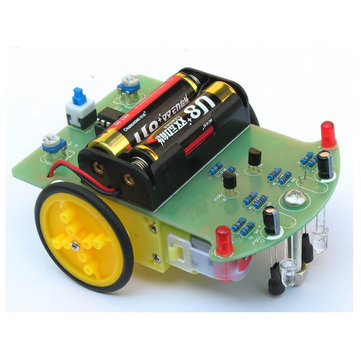
Tracking Patrol Lline Intelligen tRobot Car DIY Kit With Reduction Motor
New
R382.00
Closed
11 May 24 00:05
Shipping
Standard courier shipping from R30
R30 Standard shipping using one of our trusted couriers applies to most areas in South Africa. Some areas may attract a R30 surcharge. This will be calculated at checkout if applicable.
Check my rate
Check my rate
Ready to ship in
The seller has indicated that they will usually have this item
ready to ship within 12 business days. Shipping time depends on your delivery address. The most
accurate delivery time will be calculated at checkout, but in
general, the following shipping times apply:
Standard Delivery
| Main centres: | 1-3 business days |
| Regional areas: | 3-4 business days |
| Remote areas: | 3-5 business days |
Returns
Get it now, pay later
Seller
Buyer Protection
Product details
Condition
New
Location
International
Bob Shop ID
612374836
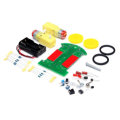
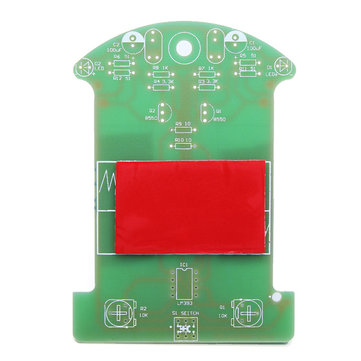
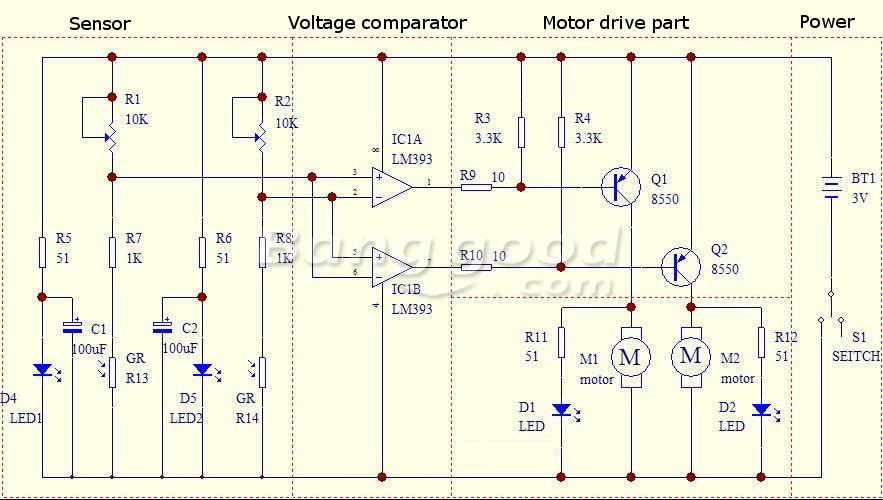
The assembly steps:
Step 1: Welding circuit
Electric welding part is simpler, welding sequence according to the principle of component level from low to high, the first welding eight resistance, is important to use multimeter to confirm resistance is correct, D4, D5 R13 R14 can temporarily not welding, integrated circuit chips can temporarily not inserted
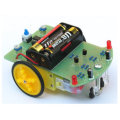
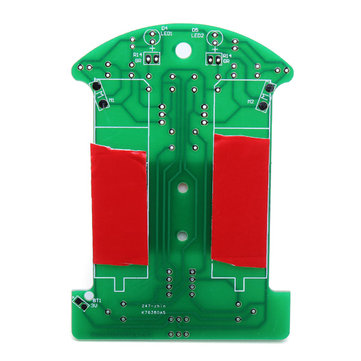
Step 2: Mechanical assembly
The red line is connected to the 3V positive power supply, the yellow line grounding, excess wire can be used for motor wire.
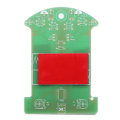
Step 3: The installation of a photoelectric circuit
Photosensitive resistance and light-emitting diodes (note polarity) is reverse-mounted on the PCB, and the ground distance is about 5 mm, both photosensitive resistance and light-emitting diodes are 5 mm distance. Finally, you can power test.
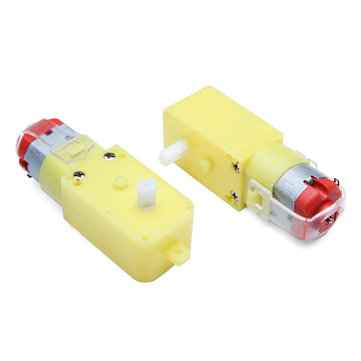
Step 4: Vehicle debugging
The right direction is along the universal wheel direction, if you press and hold the left photoresistor, the wheels on the right side of the car should be rotated. Press and hold the right photoresistor, the wheels on the left side of the car should be rotated, if the car driving back, can also exchange the wiring of two motors, if the one side normal and the other side back up, as long as you can swap wiring of back side.
Note: We don't supply any manuals please note about this befor you buy it.
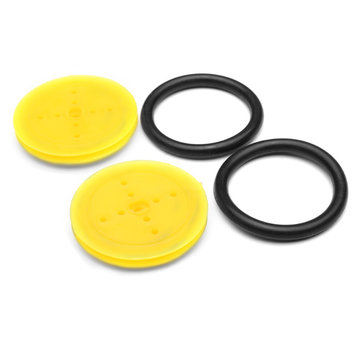
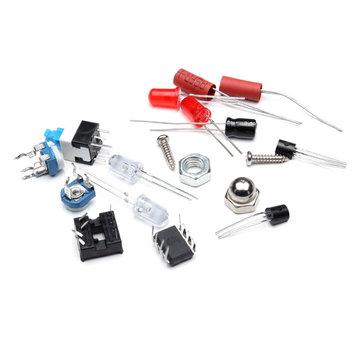
Package included:
1 x Electronic DIY Kit (batteries are not included)
 ,
, 


Step 1: Welding circuit
Electric welding part is simpler, welding sequence according to the principle of component level from low to high, the first welding eight resistance, is important to use multimeter to confirm resistance is correct, D4, D5 R13 R14 can temporarily not welding, integrated circuit chips can temporarily not inserted
Step 2: Mechanical assembly
The red line is connected to the 3V positive power supply, the yellow line grounding, excess wire can be used for motor wire.
Step 3: The installation of a photoelectric circuit
Photosensitive resistance and light-emitting diodes (note polarity) is reverse-mounted on the PCB, and the ground distance is about 5 mm, both photosensitive resistance and light-emitting diodes are 5 mm distance. Finally, you can power test.
Step 4: Vehicle debugging
The right direction is along the universal wheel direction, if you press and hold the left photoresistor, the wheels on the right side of the car should be rotated. Press and hold the right photoresistor, the wheels on the left side of the car should be rotated, if the car driving back, can also exchange the wiring of two motors, if the one side normal and the other side back up, as long as you can swap wiring of back side.
Note: We don't supply any manuals please note about this befor you buy it.
Package included:
1 x Electronic DIY Kit (batteries are not included)
,