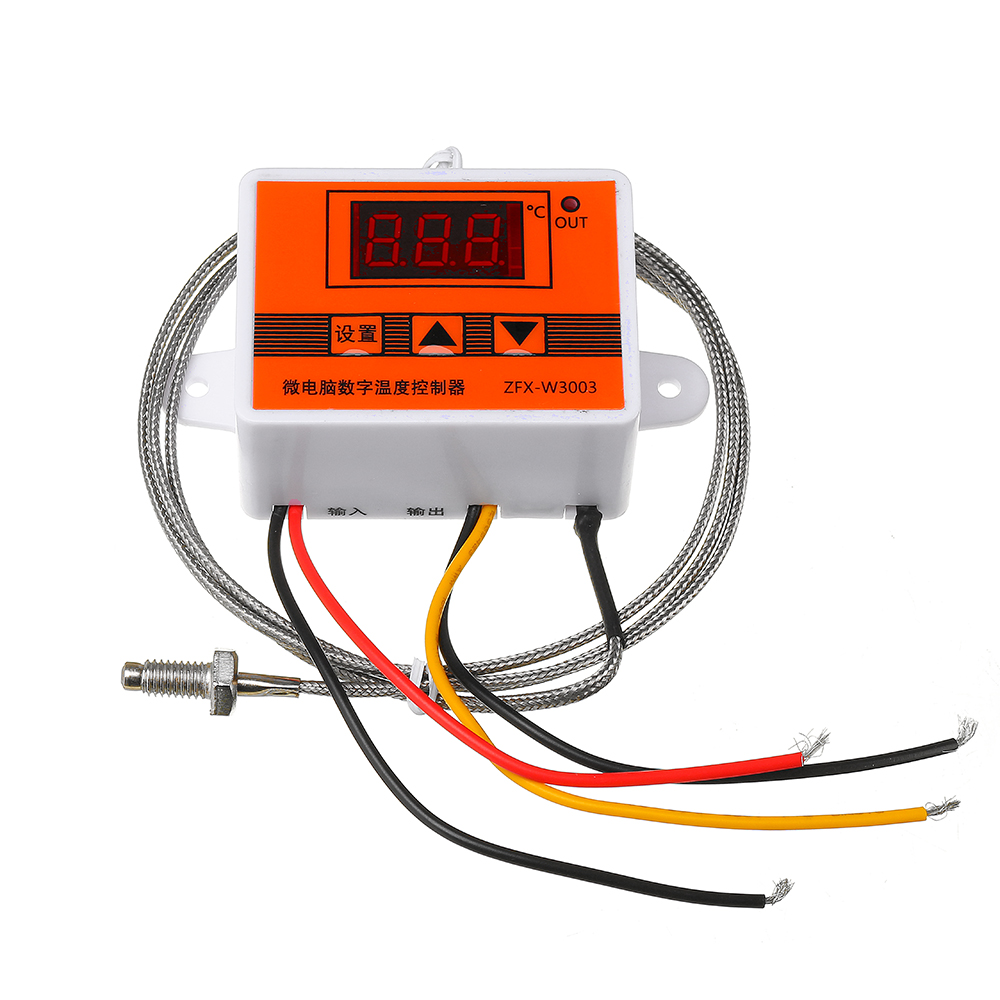
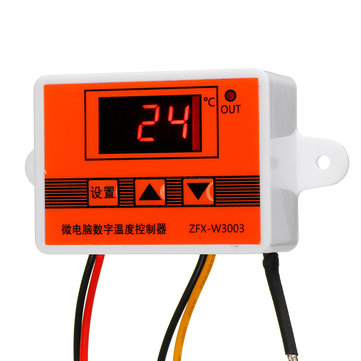
SELECTED OPTION:
VOLTAGE: 24V
Specifications: ? Supply voltage: 12V/24V/220V Load power: 120/240/1500W Temperature control range: 0-450 ?ᆪC Temperature range: 0-450 ?ᆪC Temperature control accuracy: 0.1 ?ᆪC Measurement input: k-type thermocouple Output type: direct output Output capacity: up to 10A Mounting aperture: 73mm Aperture: 4mm Size: 60*45*31mm ?
Introduction: 
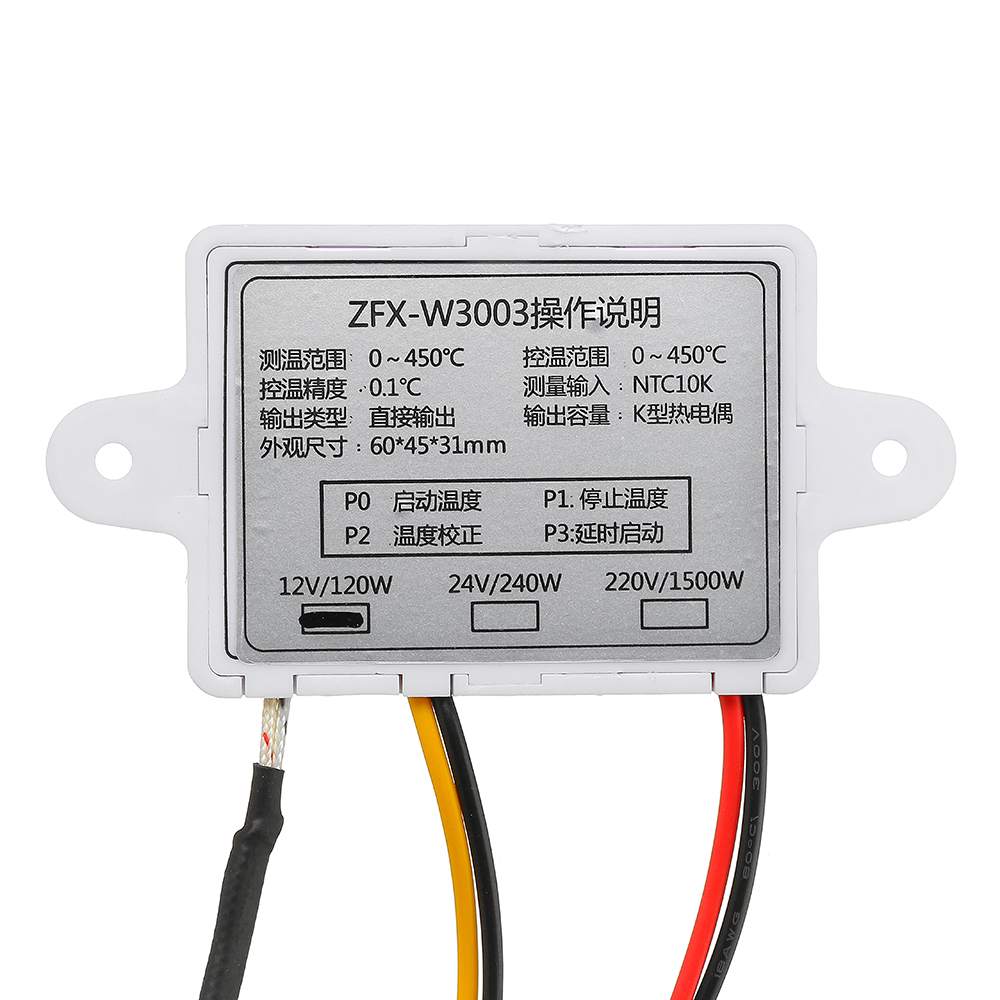
Setting parameter table:
Code | Description | Setting range | Factory settings |
P0 | Starting temperature | 0-450a?? | 00 |
P1 | Stop temperature | 0-450a?? | 00 |
P2 | Temperature correction | -10-10a?? | 0 |
P3 | Delayed start | 0-10 min | 0 |
? - P0 sets the starting temperature Press the setup button to enter the internal menu. The default display is T0. Press the setup button again to set the desired startup temperature via the up and down buttons. - P1 sets the stop temperature b Set the button to enter the internal menu, the digital display is P0, switch to P1 through the up and down buttons, press the setting button again, and set the required stop temperature through the up and down buttons. - P2 set temperature correction In the same way, enter the internal menu, switch to P2 by pressing the up and down buttons, press the setting button again, and set the required calibration temperature by the up and down buttons. In the setting, if the detected temperature value is 0.5 ?ᆪC larger than the actual temperature value, then the calibration temperature to be set is -0.5 ?ᆪC. If the inspection temperature value is 1 ?ᆪC smaller than the actual temperature value, the calibration temperature to be set is 1 ?ᆪC. Temperature + - Correction temperature = actual temperature. - P3 sets delayed start In the same way, enter the internal menu, switch to P3 by the up and down keys, press the setting button again, and set the required delay time by the up and down buttons (the unit is minute > delay start is generally used for compressor refrigeration, if needed for refrigerator freezer, This value needs to be set. The value of the compressor back pressure is set to 3-6 minutes. If you are not using it to control the compressor or do not need the delay function, skip this item. ? Heating mode setting method: Setting method: starting temperature Setting method: Press the SET button to enter the internal menu, set the startup temperature by setting the P0 value, and set the stop temperature by setting the P1 value. ?Use Cases: Control the water heater, heat it to 50 ?ᆪC to stop, and the temperature will fall back to 40 ?ᆪC to start heating again. How to set it? Step 1: Determine the working mode as heating mode, starting temperature Step 2: Press the SET button to enter the internal menu, select P0 and press the SET button to set the P0 value to 40 ?ᆪC. Step 3: Press the SET button to enter the internal menu, select P1 and press the SET button to set the P1 value to 50 ?ᆪC. ? Cooling mode setting mode: Setting method: Start temperature > stop temperature (program automatically determines the working mode is cooling mode) The setting method is as above. ?
Note: 
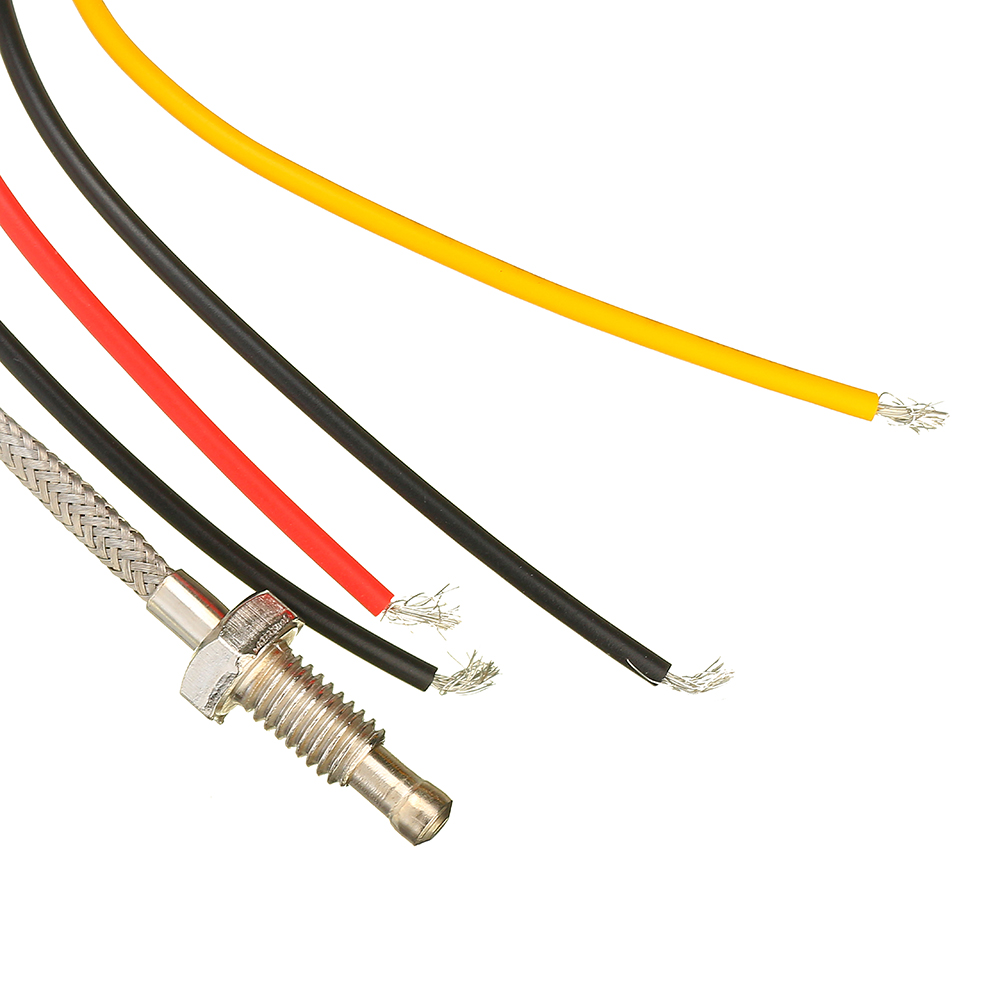
? When setting the heating mode, if you accidentally set the set temperature value upside down, the output indicator will not light, the load will not work. If the above situation occurs after the setting is completed, you can check whether the set temperature value is reversed. . ?
Package Included: ? 1 x Digital Display Intelligent Temperature Controller