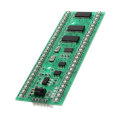
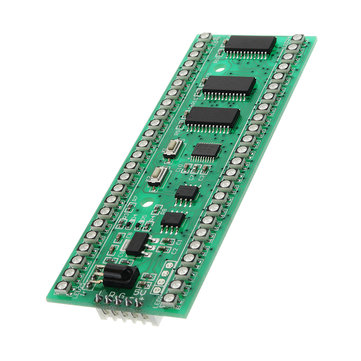
DC 5V To 6V 250mA RGB Double Channel Double 24 LED Level Indicator MCU With Adjustable Display Mode
New
Shipping
Standard courier shipping from R30
R30 Standard shipping using one of our trusted couriers applies to most areas in South Africa. Some areas may attract a R30 surcharge. This will be calculated at checkout if applicable.
Check my rate
Check my rate
Ready to ship in
The seller has indicated that they will usually have this item
ready to ship within 15 business days. Shipping time depends on your delivery address. The most
accurate delivery time will be calculated at checkout, but in
general, the following shipping times apply:
Standard Delivery
| Main centres: | 1-3 business days |
| Regional areas: | 3-4 business days |
| Remote areas: | 3-5 business days |
Returns
Get it now, pay later
Seller
Buyer Protection
Product details
Condition
New
Location
International
Bob Shop ID
615099295
Description:
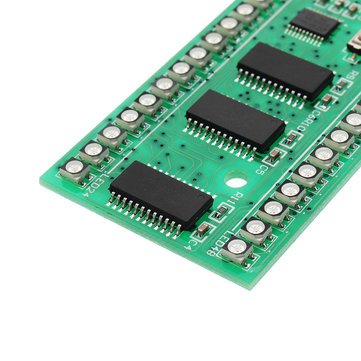
? Uses three color SMD LED, colorful, color flexible configuration, prefabricated a variety of color scheme, can set a color scheme specific to the color of each point, there are various design can choose, can adjust the brightness, the sensitivity adjustable, can set the infrared remote control convenient self-learning control (infrared remote control need to match, only supports the NEC code format, this format is more common, can take home try television, set-top boxes, I get home in nine receiver remote control, remote control, haier TV day cat magic box remote control and a waste of VCD remote control test can be used, The remote control of the electric fan in the home and the remote control of the air conditioner cannot be used.
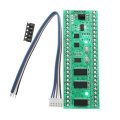
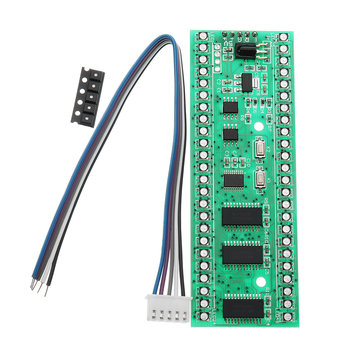
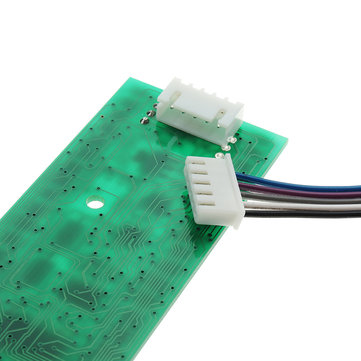
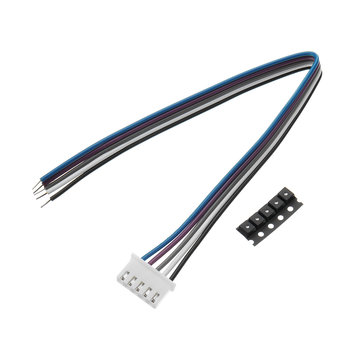
? Size: 100*35*12.5mm (length*width*thickness) The two mounting hole centers are 52mm away, and the hole diameter is 3.2mm. (notice that the insulation of the wiring around the installation hole is better with insulation spacer) Power supply: DC 5V-6V / 250mA (maximum current is the full amount of LED and the highest brightness, under normal circumstances less than 100mA) Audio signal: connect the three wires on the headphone socket, which is the signal ground (connected to the power negative of the board) and the right channel.
? Notes:
? 1. If the switching power supply is used, pay attention to the equipment connected with the switch power supply and other equipment with switching power supply; Have earth wire in the case of electric equipment, connected to the signal wire is easy to produce a moment of high voltage high current damage easily port, although the board has been with original anti surge of ESD protection, but still try to avoid this situation 2. The power supply voltage of 5V is less than 5V, which may not work properly. The maximum current of 6V in the limit may cause the voltage regulator to be overheated and damaged, and the 5V voltage is the best. 3. Waterproof and moisture-proof, do not exert excessive force on the circuit board, causing the circuit element to be damaged or unsoldered.
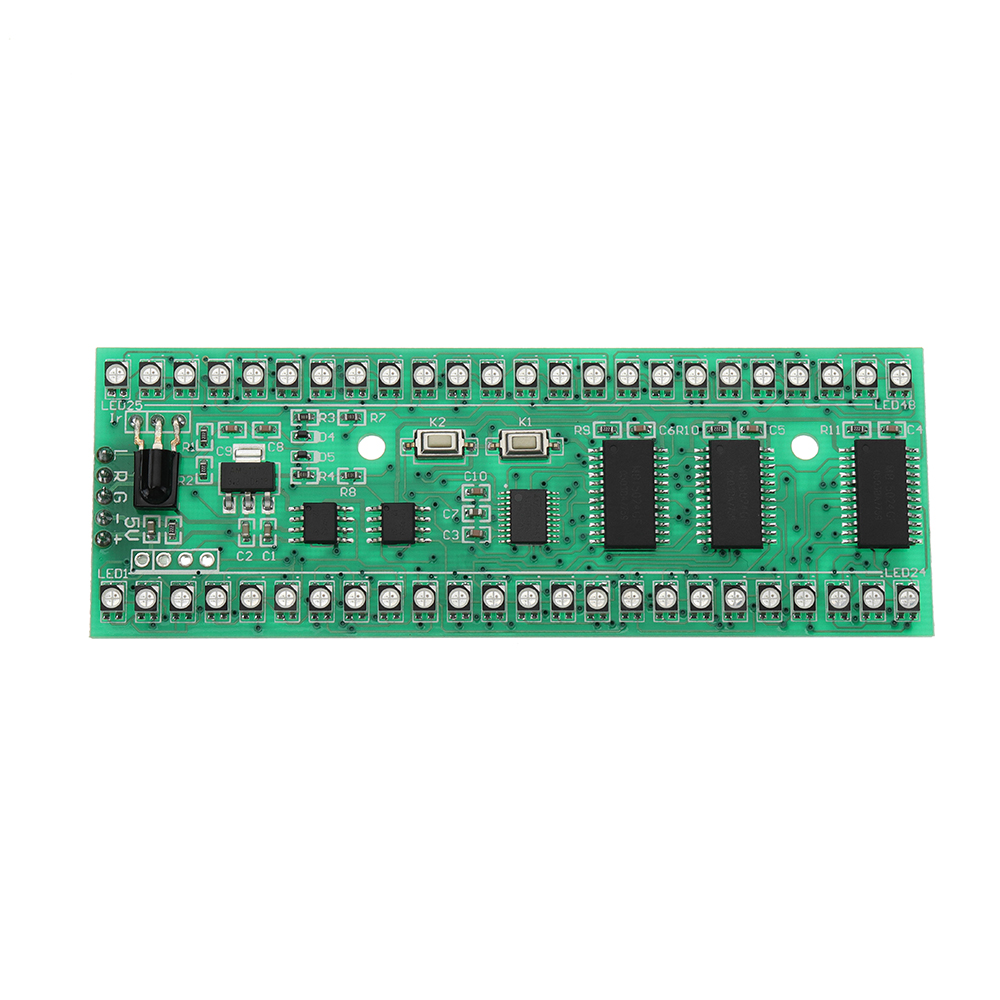
? Functional status and key operation:
? The two buttons, K1 and K2, are divided into short press (press time is greater than 0.2 seconds less than 1 second) and long press (the press time is more than 1 second). The short press is not specified in the statement.
? 1. Level display status: according to the brightness, pattern, color scheme and sensitivity of the previous power failure, the normal level is displayed. In this state, the key function: K1/ display pattern selection press a different pattern, pattern to the end from the beginning of the cycle. K1 long press/enter the color scheme selection state of this pattern (note: the bottom end up with the pattern of the long press will enter the infrared learning button state). K2/ sensitivity selection click on the sensitivity change level, the order is the highest sensitivity... .. The lowest sensitivity > automatic sensitivity > returns the highest sensitivity. K2 long press/enter brightness adjustment state.
? 2. Brightness adjustment status: the left 24 segments are fully illuminated with 8 red 8 green 8 blue, the right side shows the current brightness (red), and 3 shows 1 level, with 8 levels. In this state, the key function: K1/ press the brightness to heighten the level, the highest level is all bright. K1 long press/return level display state and return the brightness before setting. K2/ press the brightness lower level, the lowest is the low end of 3 led lights. K2 long press/save the set brightness and return the level display status.
? 3. Selection status of color scheme: both left and right leds display the current color of each led (the top led is the color of the peak in the peak mode). This state the button functions: K1 / click the show next prefabricated color configuration scheme, the order is a scheme > > the current program, the last a prefabricated scheme > custom solutions (note that custom solutions when the factory is empty, that is, all black, the need to define the color of each dot) > prefabricated plan 1, so cycle. K1 long press/save and select the current scheme to return the level display state. K2/ click on the reverse order of K1. K2 long press/enter custom color configuration status.
? 4. Custom color configuration status: left and right side shows a custom color (not after custom shows full red) keep on top of the mode leds (peak said the color of the peak point) on the left side of the low end of the led flashing said the current led is selected. In this state, the key function: K1/ press the selected led to move up one, the top end will move to the lowest end of the other column. K1 long press/color changes to the next color, change sequentially red yellow green green blue blue 6 color cycling display. K2/ click the selected led to move down one, and the lowest end will move to the top end of the other led. K2 is selected by saving the current color scheme and returning the color configuration scheme.
? 5. Infrared key state: a study into the state of all lights all out K1 and K2 button press any returns level display status to NEC coding format of the infrared remote control, remote control to the mixed) general television set-top boxes, such as remote control can try sure no air conditioning, remote control or a lot of NEC format, is actually use the four buttons on the remote control to the corresponding board K1 short press and press K2 short press and long according to the four functions. Since the learning process: the first is the K1 short according to the corresponding function, with the remote control of the sensor of the board (without getting too close to) press the button, if learn to work on the left will light up six led and into the K1 long according to the corresponding function learning state again press the corresponding K1 long press the remote control button again to add 6 led into the same process in order to learn the K2 short press and K2 long press after the four keys will automatically save and return to the level display status at that time you can use the remote control to control, convenient try? If you press the remote control button, it is not suitable for the infrared coding format. You can only change the remote control and try again.
Package included:
1 X LED level indicator
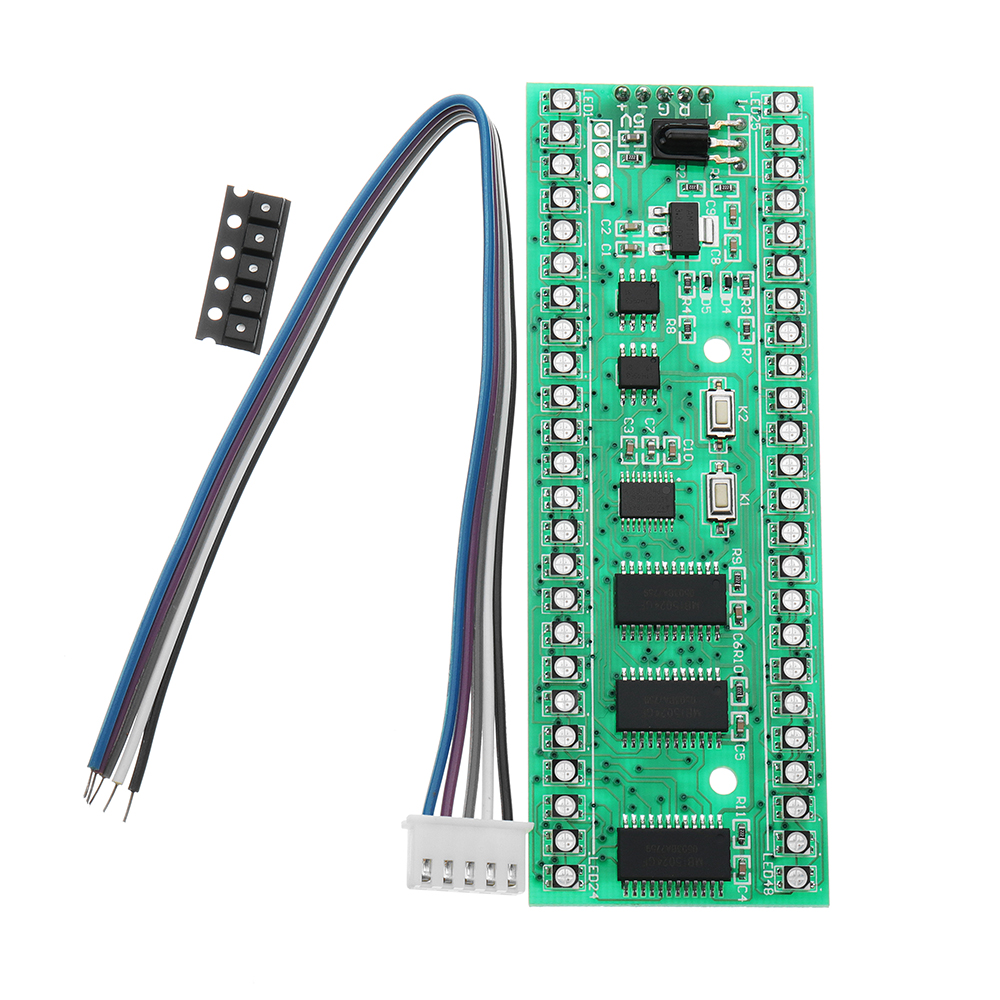


? Uses three color SMD LED, colorful, color flexible configuration, prefabricated a variety of color scheme, can set a color scheme specific to the color of each point, there are various design can choose, can adjust the brightness, the sensitivity adjustable, can set the infrared remote control convenient self-learning control (infrared remote control need to match, only supports the NEC code format, this format is more common, can take home try television, set-top boxes, I get home in nine receiver remote control, remote control, haier TV day cat magic box remote control and a waste of VCD remote control test can be used, The remote control of the electric fan in the home and the remote control of the air conditioner cannot be used.
? Size: 100*35*12.5mm (length*width*thickness) The two mounting hole centers are 52mm away, and the hole diameter is 3.2mm. (notice that the insulation of the wiring around the installation hole is better with insulation spacer) Power supply: DC 5V-6V / 250mA (maximum current is the full amount of LED and the highest brightness, under normal circumstances less than 100mA) Audio signal: connect the three wires on the headphone socket, which is the signal ground (connected to the power negative of the board) and the right channel.
? Notes:
? 1. If the switching power supply is used, pay attention to the equipment connected with the switch power supply and other equipment with switching power supply; Have earth wire in the case of electric equipment, connected to the signal wire is easy to produce a moment of high voltage high current damage easily port, although the board has been with original anti surge of ESD protection, but still try to avoid this situation 2. The power supply voltage of 5V is less than 5V, which may not work properly. The maximum current of 6V in the limit may cause the voltage regulator to be overheated and damaged, and the 5V voltage is the best. 3. Waterproof and moisture-proof, do not exert excessive force on the circuit board, causing the circuit element to be damaged or unsoldered.
? Functional status and key operation:
? The two buttons, K1 and K2, are divided into short press (press time is greater than 0.2 seconds less than 1 second) and long press (the press time is more than 1 second). The short press is not specified in the statement.
? 1. Level display status: according to the brightness, pattern, color scheme and sensitivity of the previous power failure, the normal level is displayed. In this state, the key function: K1/ display pattern selection press a different pattern, pattern to the end from the beginning of the cycle. K1 long press/enter the color scheme selection state of this pattern (note: the bottom end up with the pattern of the long press will enter the infrared learning button state). K2/ sensitivity selection click on the sensitivity change level, the order is the highest sensitivity... .. The lowest sensitivity > automatic sensitivity > returns the highest sensitivity. K2 long press/enter brightness adjustment state.
? 2. Brightness adjustment status: the left 24 segments are fully illuminated with 8 red 8 green 8 blue, the right side shows the current brightness (red), and 3 shows 1 level, with 8 levels. In this state, the key function: K1/ press the brightness to heighten the level, the highest level is all bright. K1 long press/return level display state and return the brightness before setting. K2/ press the brightness lower level, the lowest is the low end of 3 led lights. K2 long press/save the set brightness and return the level display status.
? 3. Selection status of color scheme: both left and right leds display the current color of each led (the top led is the color of the peak in the peak mode). This state the button functions: K1 / click the show next prefabricated color configuration scheme, the order is a scheme > > the current program, the last a prefabricated scheme > custom solutions (note that custom solutions when the factory is empty, that is, all black, the need to define the color of each dot) > prefabricated plan 1, so cycle. K1 long press/save and select the current scheme to return the level display state. K2/ click on the reverse order of K1. K2 long press/enter custom color configuration status.
? 4. Custom color configuration status: left and right side shows a custom color (not after custom shows full red) keep on top of the mode leds (peak said the color of the peak point) on the left side of the low end of the led flashing said the current led is selected. In this state, the key function: K1/ press the selected led to move up one, the top end will move to the lowest end of the other column. K1 long press/color changes to the next color, change sequentially red yellow green green blue blue 6 color cycling display. K2/ click the selected led to move down one, and the lowest end will move to the top end of the other led. K2 is selected by saving the current color scheme and returning the color configuration scheme.
? 5. Infrared key state: a study into the state of all lights all out K1 and K2 button press any returns level display status to NEC coding format of the infrared remote control, remote control to the mixed) general television set-top boxes, such as remote control can try sure no air conditioning, remote control or a lot of NEC format, is actually use the four buttons on the remote control to the corresponding board K1 short press and press K2 short press and long according to the four functions. Since the learning process: the first is the K1 short according to the corresponding function, with the remote control of the sensor of the board (without getting too close to) press the button, if learn to work on the left will light up six led and into the K1 long according to the corresponding function learning state again press the corresponding K1 long press the remote control button again to add 6 led into the same process in order to learn the K2 short press and K2 long press after the four keys will automatically save and return to the level display status at that time you can use the remote control to control, convenient try? If you press the remote control button, it is not suitable for the infrared coding format. You can only change the remote control and try again.
Package included:
1 X LED level indicator