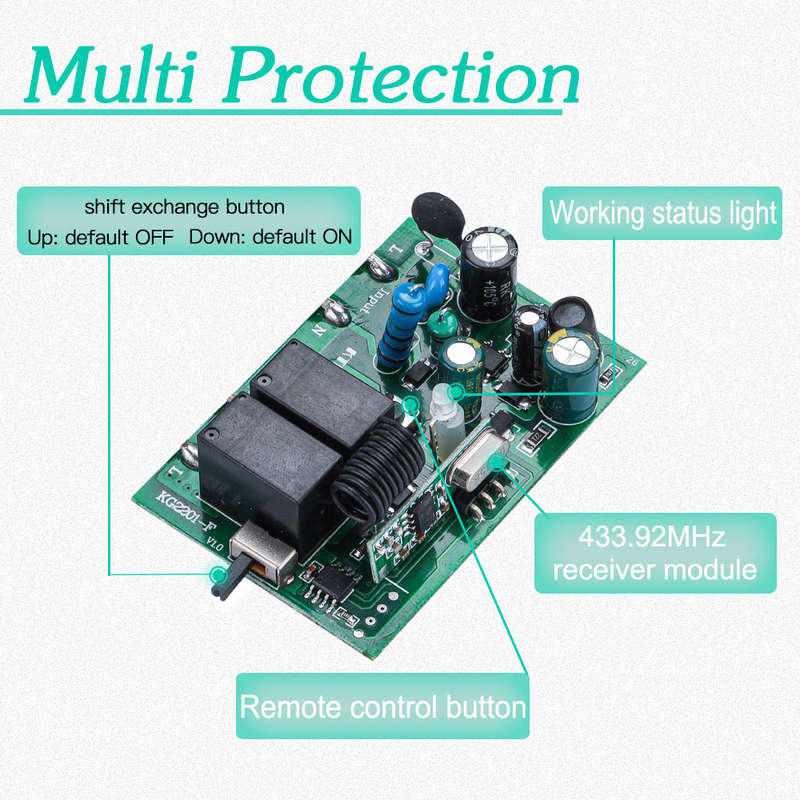
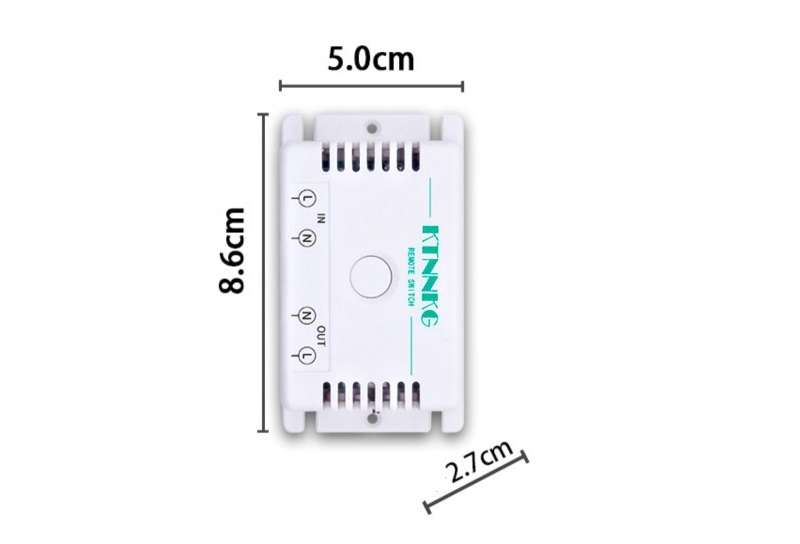
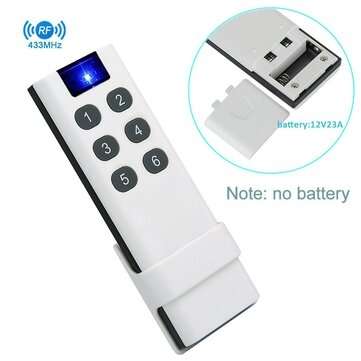
Parameter: 1. Product model: KG2201F-10A 2. Working voltage: AC90-250V 3. Quiescent current: 8mA 4. Working frequency: 433MHz 5. Load power: 2200W 6. Receiving sensitivity: -105dbm 7. Frequency deviation: ±0.2MHz 8. Coding method: learning type 9. Working mode: self-locking, interlock, delay 10. Modulation method: ASK 11. Remote control distance: 100M (open place without interference) 12. PCBA size: 63mm*43mm*20mm 13. Shell size: 89MM *51MM *26M 14.Working temperature: -10a~+80a
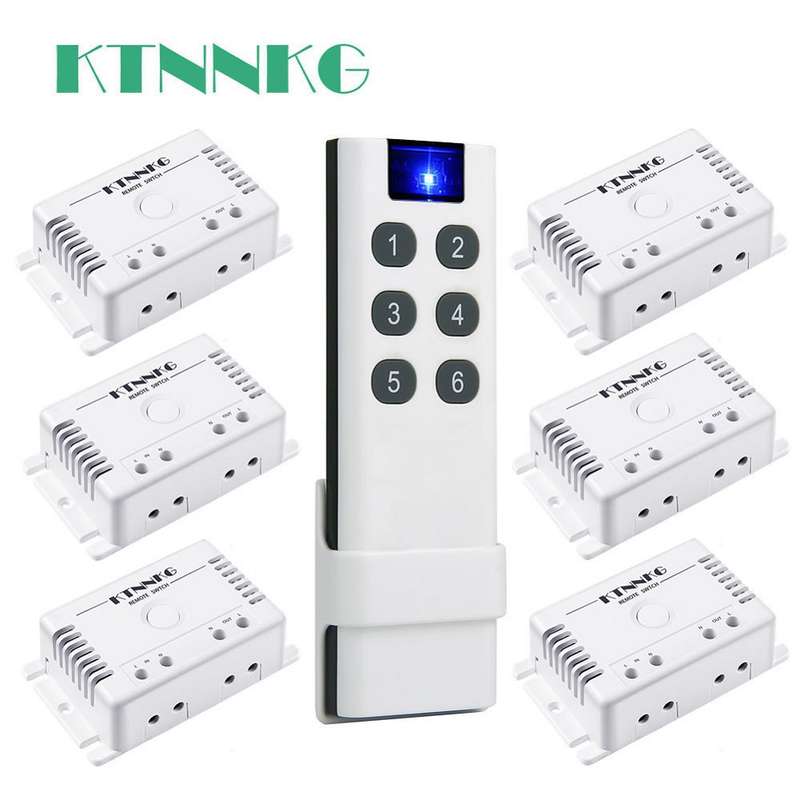
Package included: 6PCSReceiver 1PCS Remote control
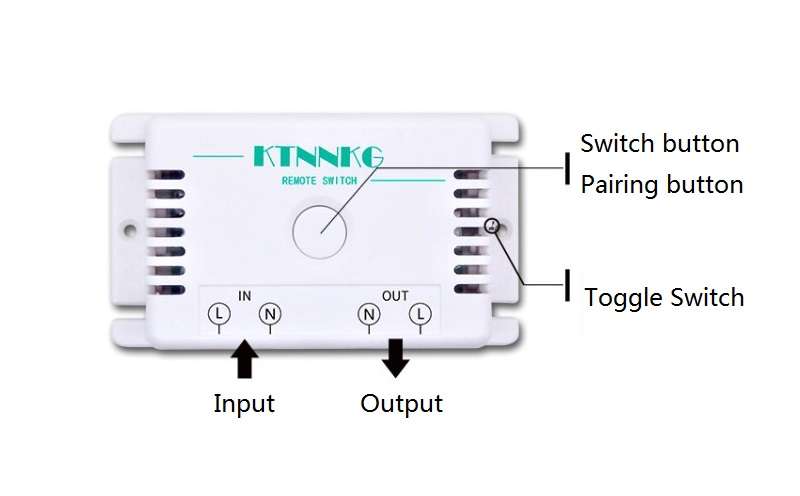
Pairing method: Turn on the power, the red and green indicator lights will light up at the same time (the two lights will turn yellow together), press the manual button once, the green light will go out, and the red light will stay on.
1. Press the pairing button 8 times continuously, the red light flashes 3 times and then goes out, the code clearing is successful;
2. Press the pairing button twice continuously, the red light is on and flashing slowly, indicating that you are waiting for pairing, press the remote control button, the red light flashes 3 times and goes out, and the self-locking mode is set successfully.
3. Press the pairing button 3 times in succession, the red light is on and flashing slowly, indicating that you are waiting for pairing, press the remote control button A, the red light flashes 3 times and goes out, release your finger, and then press the remote control B button, the red light is fast Flashes 3 times and goes out, release your finger, the interlock mode is set successfully (ie A is on and B is off).
4. Press the pairing button 4 times continuously, the red light is on and flashing slowly, indicating that you are waiting for pairing, press the button on the remote control, the red light flashes 3 times and goes out, release your finger, and the 10S delay mode is set successfully.
5. Press the pairing button for 5 consecutive times, the red light is on and flashing slowly, indicating that you are waiting for pairing, press the remote control button, the red light flashes 3 times quickly and goes out, release your finger, and the 20S delay mode is set successfully.
6. Press the pairing button for 6 consecutive times, the red light is on and flashing slowly, indicating that you are waiting for pairing, press the remote control button, the red light flashes 3 times and goes out, release your finger, the 30S delay mode is set successfully.
7. Press the pairing button 7 times continuously, the red light is on and flashing slowly, indicating that you are waiting for pairing, press the remote control button, the red light flashes 3 times quickly and goes out, release your finger, and the 60S delay mode is set successfully.
Explanation of output mode: 1. Self-locking: Press the same remote control button, press it once, the relay is turned on, and press it again, the relay is turned off.
2. Interlock: Press the A button on the remote control to turn on the relay, and press the B button on the remote control to turn off the relay.
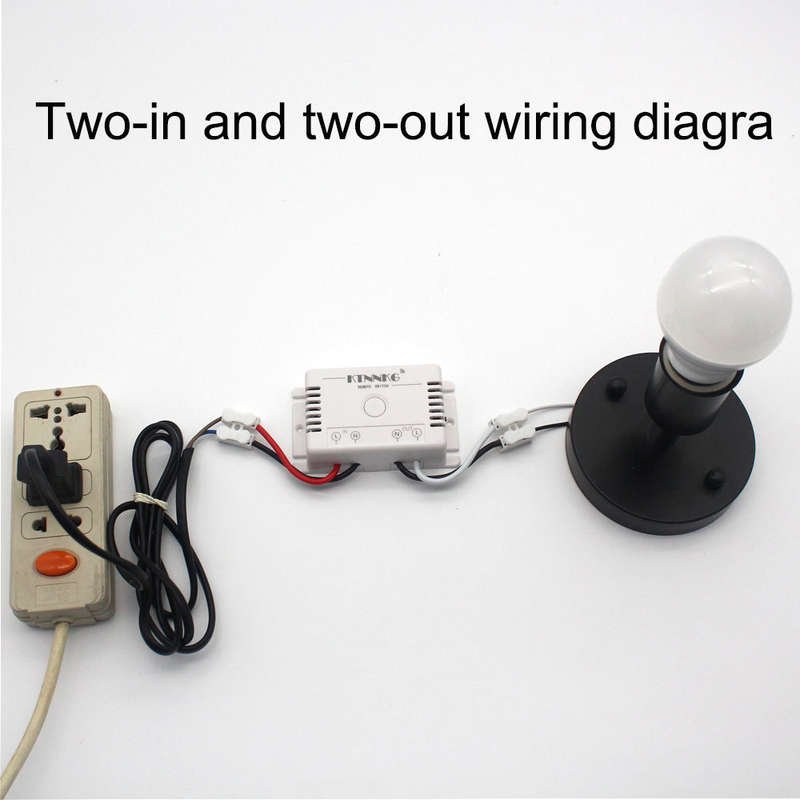
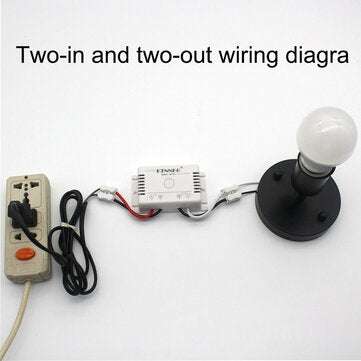
NOTE: 1. Do not operate with electricity, turn off the power supply for operation, and turn it on after the test is confirmed to be correct.
2. When the remote control voltage is low, please replace the battery in time (when the remote control battery voltage is low, the remote control distance will generally become shorter).
3. When using wireless electronic products, pay attention to avoiding metal masks, large electronic devices, electromagnetic fields, etc., which have strong interference sources, and avoid the short distance between the remote control and the receiving device or the failure of normal operation.
4. Do not use this electronic product abnormally. Abnormal use will reduce the performance and life of the product. In severe cases, it will damage the product and bring hidden dangers to your safety.